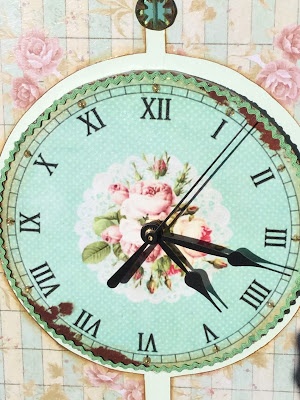
While visiting one of my favorite blog sites, Shabby Art Boutique I can across a lovely clock face.
I knew right away that it would make a great clock with a wooden clock blank I have been saving for years. Just waiting for the right image. And I finally found it.
Here is the wooden clock blank I started with.
I began by painting this clock blank and feet white.
 |
| front |
 |
| back |
For the second coat I used a pale aqua paint.
While these where drying I prepped the clock face.
I sized the clock face to fit the blank then I glued it to a circular piece of foam core board. I cut a border from patterned paper to cover the edge , then cut the center whole and glued vintage baby rick rack around the edge.
On the face of the clock I stippled on Mod Podge.
Next I used air dry clay and a mold to make the medallion. When it was dry I painted it white then aqua.
Next I added papers cut out to fit around the clock face. On all the edges I used distress ink to give a vintage look. I also glued the feet to the bottom.
I glued more paper to the back just in case I stand the clock where the back can be seen.
I also cut a piece of balsa wood to cover the back opening that will swivel to change the clock battery. And covered that with matching paper.
To decorate the top of the clock I glued 3 vintage drawer pulls, 2 porcelain and 1 glass, topped with a little bling and pearls.
Next I glued 5 Czech glass beads at the paper edges and intersections.
And here it is, love the look.
Now I just have to decide in which room I am going to use the clock.
Thanks again Kerryanne at Shabby Art Boutique for the wonderful clock face image.
Happy Crafting!


No comments:
Post a Comment