Tuesday, February 27, 2018

Trio of Popsicle Stick Frames


One more popsicle stick project.  A set of three frames.

First step was to glue the sticks into 3 squares.  Then I cut extra sticks to fit on the back side to fill in and make the back of the frames flush.


Using hot glue I added the extra cut sticks to the back of each of the frames.


I wanted some dimension to the frames.  Using paper clay I molded 3 small roses and using white glue I added one to each frame.


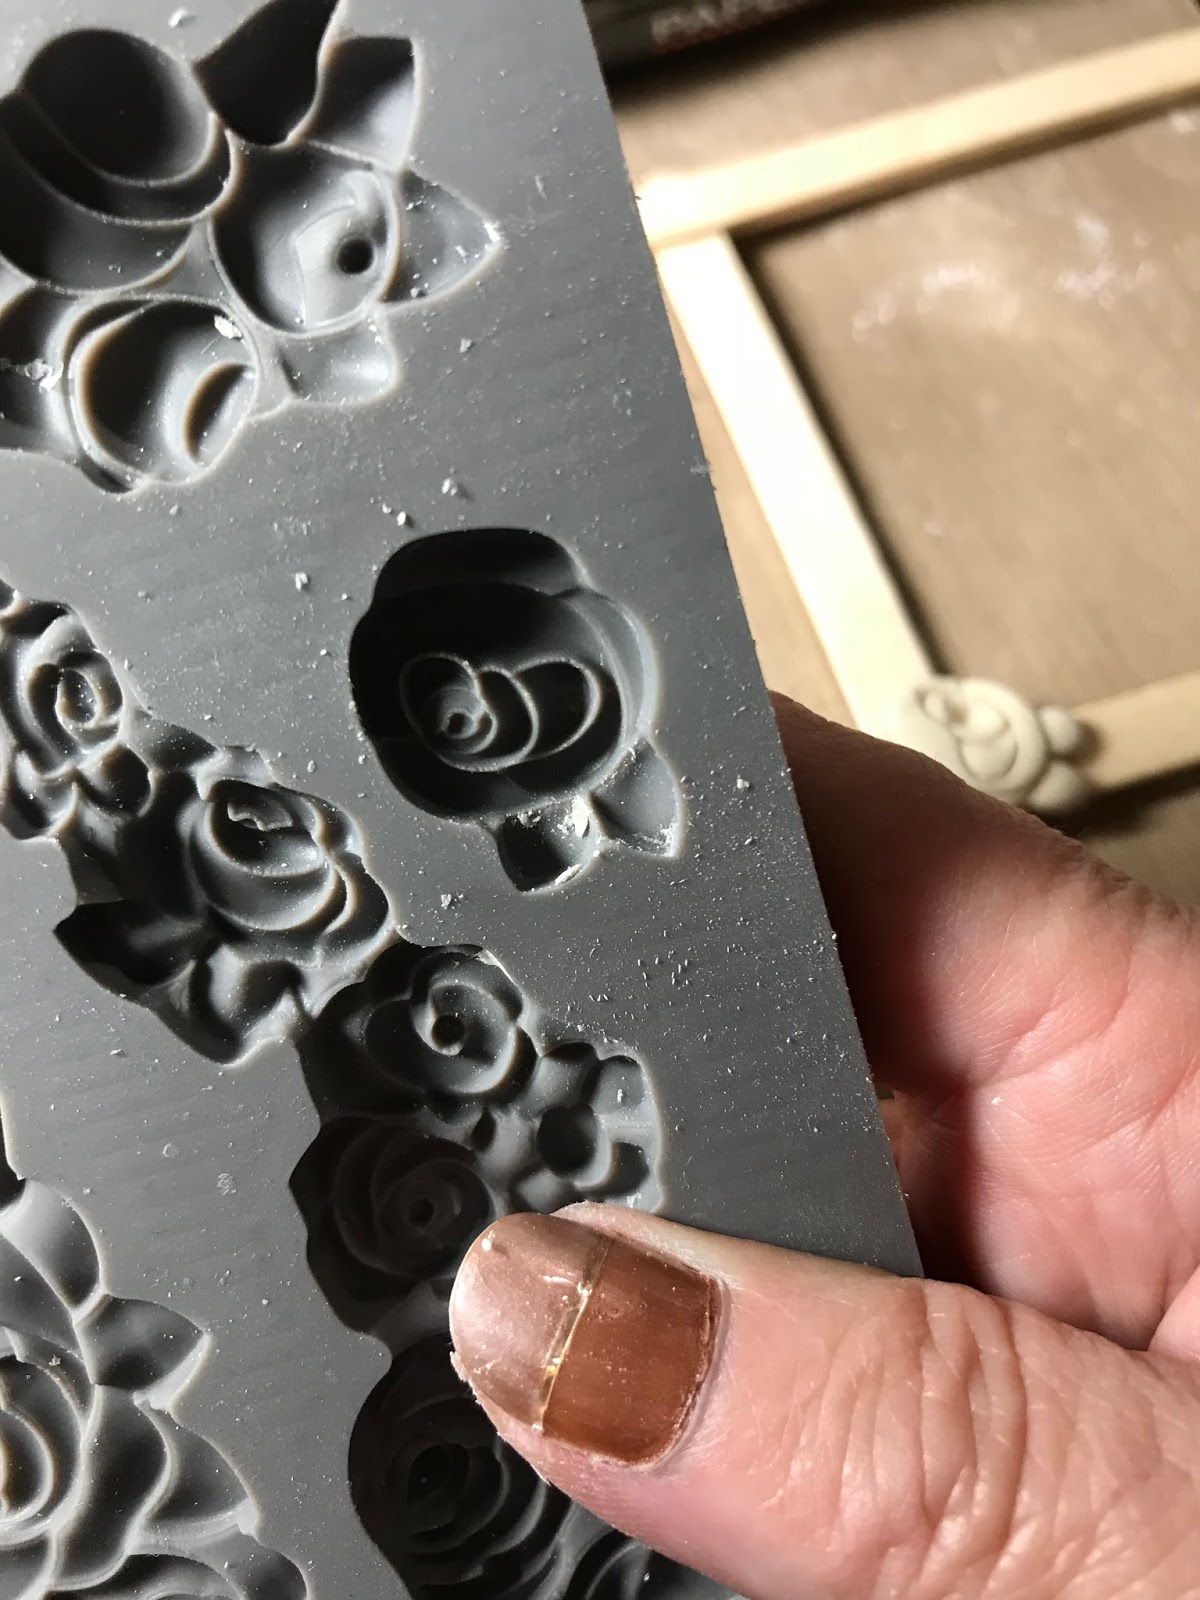
While the clay was still wet and using the pointed end of a paint brush I made a small indentation in the center of each rose making a spot to glue a gem in place when the paint was dry.

With pink chalk paint I painted all three frames.


Next I went through my stash of papers and selected 3 coordinating patterns to glue to the back of the frames.  And cut each to size.


When the paint was dry I glued gems to the center of the roses for a little sparkle.


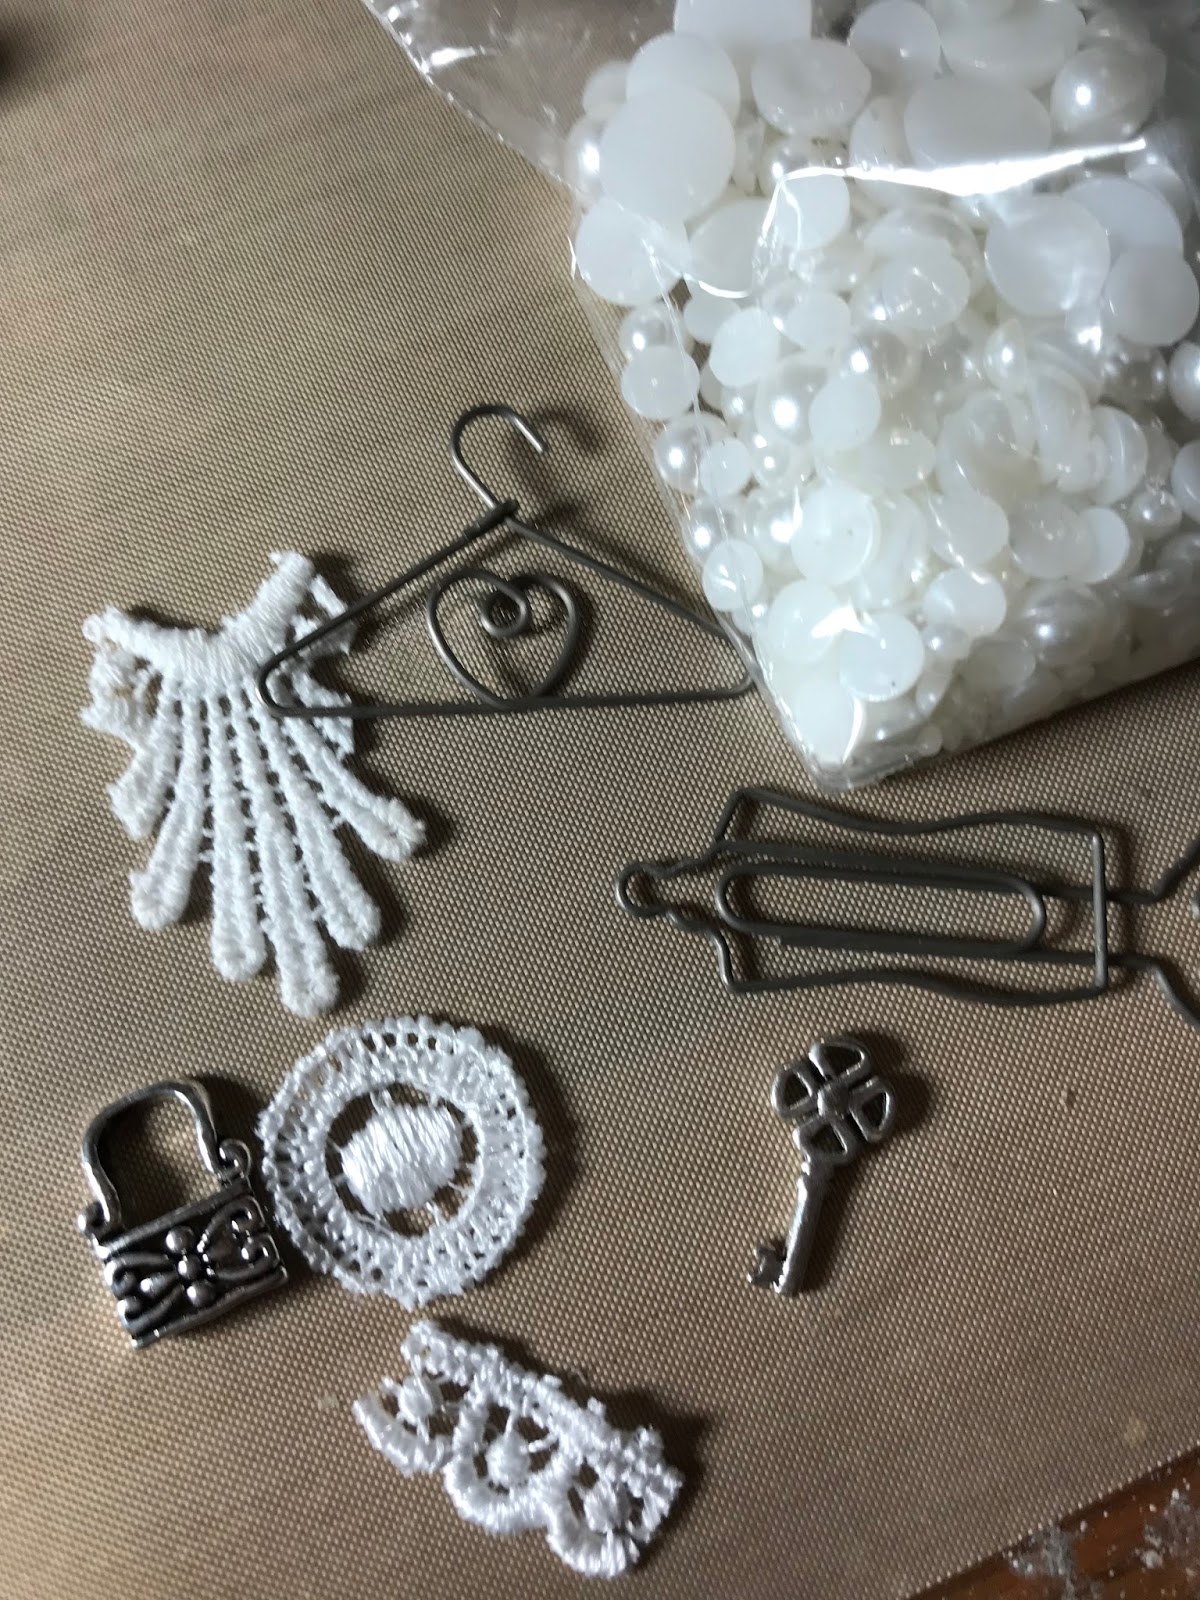
I gathered a few things to add to the frames.  Buttons and fussy cut images.


I chose 3 of my handmade flowers.


And a few more embellishments.


I had this vintage trim I decided to use to connect the 3 frames together.


Finally I divided the embellishments and glued them in place on the 3 frames.


Happy Crafting!


SaveSave

Thursday, February 22, 2018

A Little Winter Scene


I found this picture of a little cottage in the snow on the Internet.  I looked to wintry I decided to print it off and make a mixed media project.

What an idyllic little scene.  Wouldn't you just love to be curled up by the fire with a good book.  At least as long as someone else had to shovel the snow.


I printed the picture out at 4" by 6".  And chose an 8" x 10" canvas for this project.


To begin I marked out the dimensions of the print on the canvas and decoupaged the print in place.


For the background of the canvas I mixed white and black and a little brown acrylic paint, leaving it marbled.


And painted the canvas.


Next I dabbed on some bronze and silver acrylic paint to the background.  I wanted the background to  have a stormy appearance.


Using IOD moulds and paper clay I formed a few medallions and borders.  Next I painted them black with a soft brush and using white glue I adhered them to the canvas.


I used a ruler to make sure all the borders where square and even.


Once the glue was set I used silver Rub N Buff on the raised areas then used and antique gold to give the trim a little depth and warmth.


And finally I added some crystal Stickles to give the snow a bit of sparkle.


When it was totally dry I glued a piece of latter yarn for a hanger and hung it on my gallery wall.  I will probably change it out as the season change.


Happy Crafting!


Monday, February 19, 2018

Updated Camp Craft Trinket Box


I have been working on cleaning out my work areas.  While cleaning today I came across a pack of popsicle  sticks.  Hum!!  I think I will try to make a trinket box like we used to make at camp.  Only this time I want to really glam it up.


I began by glueing 11 sticks side by side with Alleene's Tacky Glue.  Next I added 2 cross pieces.  I made 2 of these, one for lid and one for the bottom.


On the back of the lid I added a couple of the sticks cut in half on the inside of the cross pieces to help to keep the lid from sliding off the base.


Then I began adding the sides alternating as the walls go up.


 I ended up with sides about 2 inches tall.


I grabbed my pink chalk paint and painted the entire piece.


I went through my stash and found a pretty rosebud paper and cut it to fit in the inside bottom.


I also had a small bag of clear beads.  I chose to use the largest size for feet, one on each corner.


After all the paint was dry I worked on decorating the lid.  I cut out a round label, glued that on and added a clear knob.


Then I fussy cut a few roses and glued those on and put a bead of Stickles around the label and on a few areas of the roses.  I used a platinum color and a clear colored Stickles.


Then I went into my supplies and found different sized flat back pearls.


I also had some green leaf trim.


I first cut a few leaves and added those.


Next I glued 4 of the largest pearls to the lid corners.


And lastly I added leaves to the sides and laces in the opposite corner from the flowers.  I also glued 2 pieces of lace on the lower side pieces under where the lid sits.


This was a fun twist on an old craft.  It is very sturdy and a nice size to store my watch or any small items.


Happy Crafting!