Showing posts with label box. Show all posts

Monday, February 19, 2018

Updated Camp Craft Trinket Box


I have been working on cleaning out my work areas.  While cleaning today I came across a pack of popsicle  sticks.  Hum!!  I think I will try to make a trinket box like we used to make at camp.  Only this time I want to really glam it up.


I began by glueing 11 sticks side by side with Alleene's Tacky Glue.  Next I added 2 cross pieces.  I made 2 of these, one for lid and one for the bottom.


On the back of the lid I added a couple of the sticks cut in half on the inside of the cross pieces to help to keep the lid from sliding off the base.


Then I began adding the sides alternating as the walls go up.


 I ended up with sides about 2 inches tall.


I grabbed my pink chalk paint and painted the entire piece.


I went through my stash and found a pretty rosebud paper and cut it to fit in the inside bottom.


I also had a small bag of clear beads.  I chose to use the largest size for feet, one on each corner.


After all the paint was dry I worked on decorating the lid.  I cut out a round label, glued that on and added a clear knob.


Then I fussy cut a few roses and glued those on and put a bead of Stickles around the label and on a few areas of the roses.  I used a platinum color and a clear colored Stickles.


Then I went into my supplies and found different sized flat back pearls.


I also had some green leaf trim.


I first cut a few leaves and added those.
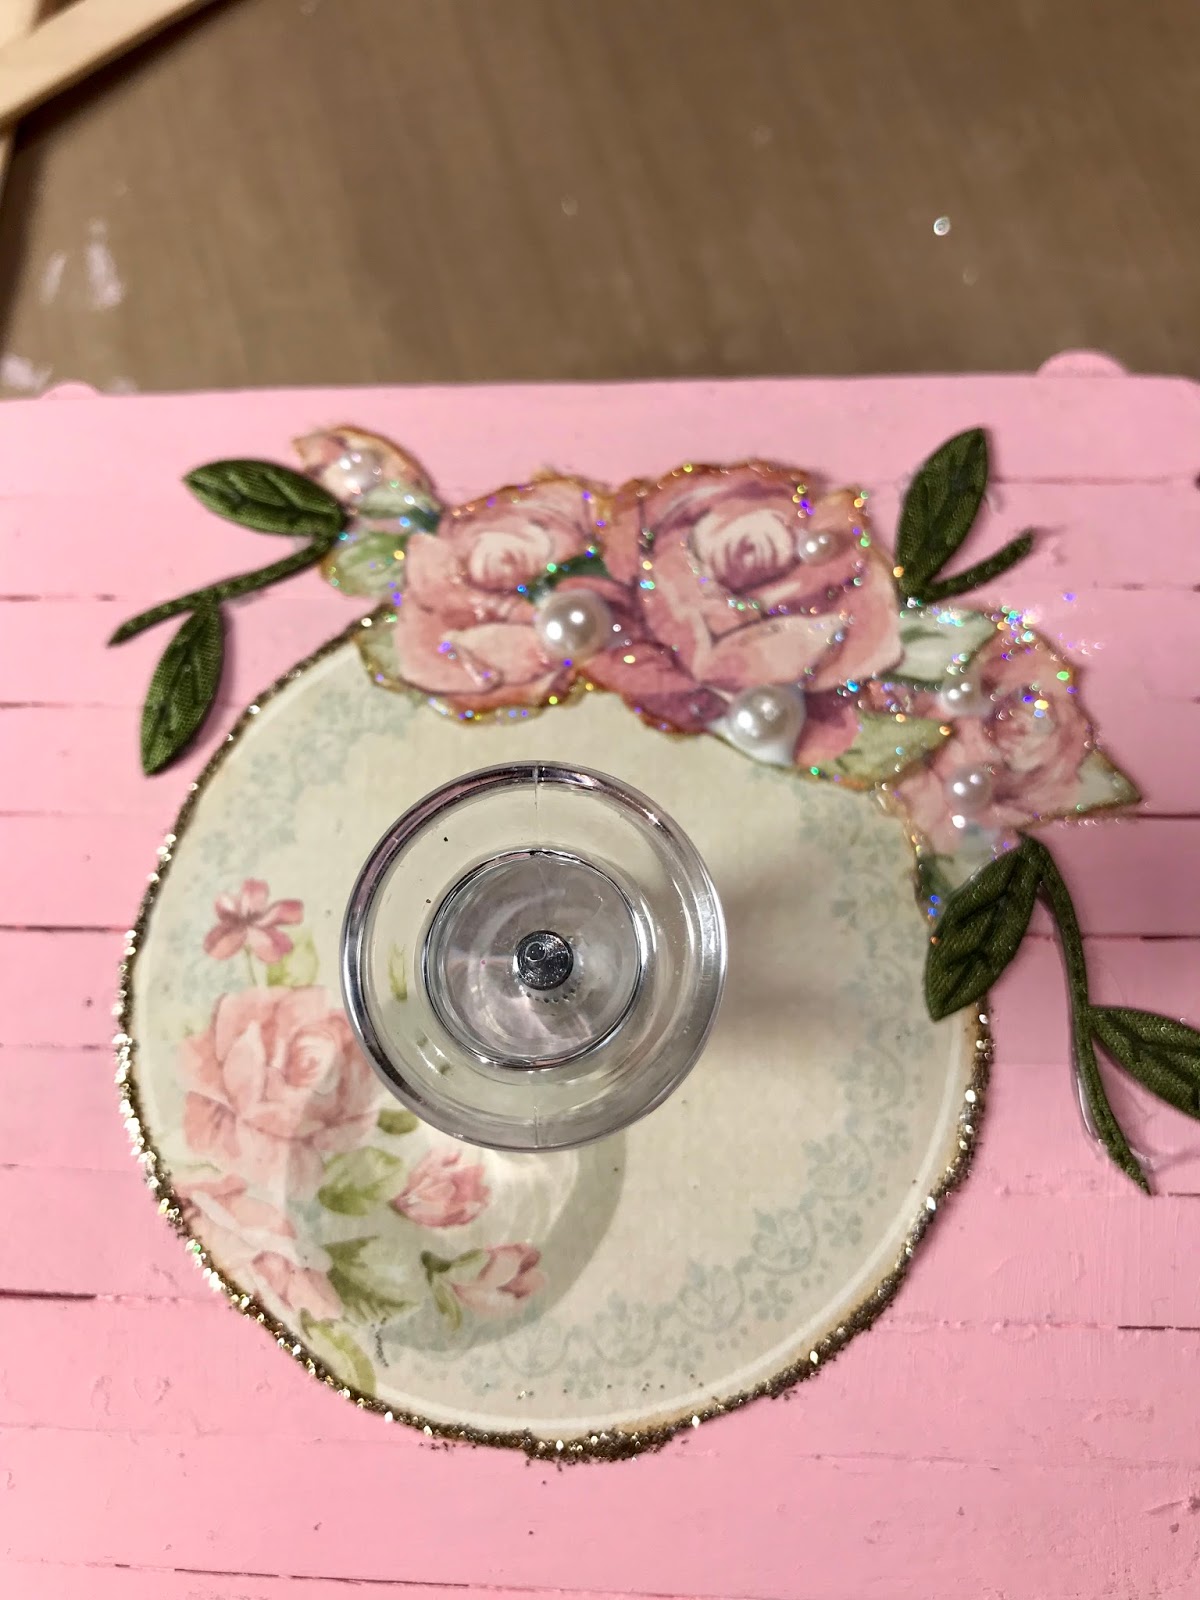

Next I glued 4 of the largest pearls to the lid corners.


And lastly I added leaves to the sides and laces in the opposite corner from the flowers.  I also glued 2 pieces of lace on the lower side pieces under where the lid sits.


This was a fun twist on an old craft.  It is very sturdy and a nice size to store my watch or any small items.


Happy Crafting!


Friday, August 19, 2016

Upcycled Christmas Tag Box


If you saw last week's post about my Christmas Journal then you know I used Christmas tags on the pages and had one leftover.

I decided to make a small vignette ornament out of the leftover box the tags came in and use the one remaining tag.

This box was just too cute to toss away.


The first thing I did was to cover the inside of the box with red polka dot paper.  Then I attached the one remaining tag to the box by glueing several small pieces of foam core board cut smaller than the tag and stacked to lift the tag off the back of the box.


I positioned Santa so he would show through the window on the frond of the box.


I cut the fireplace and Christmas tree to fit in the background and added a piece of Christmas greenery at the bottom.


Next I placed a battery operated tea light in the upper right corner to light the interior of the box.


Then I cut not quite square pieces of paper to form shingles for the roof of the box and glued them in place at the top front of the box in 2 rows.


I cut a Christmas sign from paper and glued that above the window,  and some holly below the window.  For the snow I used some white dimensional paint and sprinkled a combination of clear tinsel style glitter and some fairy dust glitter.  Then highlighted the holly and berries with red and green Stickles.


The back side I covered with large polka dot paper glued on a gold wreath from my stash then another Santa.


Here you can see the tea light lighting the interior of the box.  The box came with a ribbon on the top so this ornament can also be hung.


And here is how it will look on a shelf lit and ready for Christmas.


Happy Crafting!


Thursday, August 11, 2016

Little Brown Box Remake


Every year I save the first weekend of August for the Foresthill Community Garage Sale.  It is a little mountain town not far from home.


 All the proceeds go to fund the local firefighters.  You have to cross the highest bridge in California to get there.  And I mean it is up there.


Foresthill, CA is a small mountain town not far from here.  It was an early gold rush town like so many around this part of California.

 Their sale always has so many great finds, from furniture, to knick knacks and books.  Each year I mark it on my calendar so I won't forget and miss it.  

I found so many gorgeous things.  The sale is held all  over town from the library, fire station to the  Veterans hall and even the elementary school.  Each location specializes.  Vet's hall has collectibles, the school has books and clothing, fires station corner had furniture and of course the library had books, too.

This is the Veteran's, during the sale this gets filled with collectibles galore.


This little box was one of the days finds.  I just knew I could do something to bring it to life.  It was only $.50 so there was't much of an investment to try my remake.


I started by dry brushing the box with pink chalk paint, making sure to only hit the high areas with paint and leave the low areas unpainted.  I covered the hardware, too.


The inside was covered with very dark velour so that
 got a light coat of paint, too.


Next I gave the hardware a light coat of silver paint leaving some of the pink paint showing.


On the inside of the lid I glued a tag I cut down to fit after the paint had dried.


After the topcoat of Mod Podge was dry I used hot glue to add some silver bling that comes by the yard around the edge.


I also added the bling by the yard to several places on the outside.


And here is my little shabby chic box all finished.


Happy Crafting!