Showing posts with label bling. Show all posts

Friday, December 22, 2017

Vintage Fair Finds


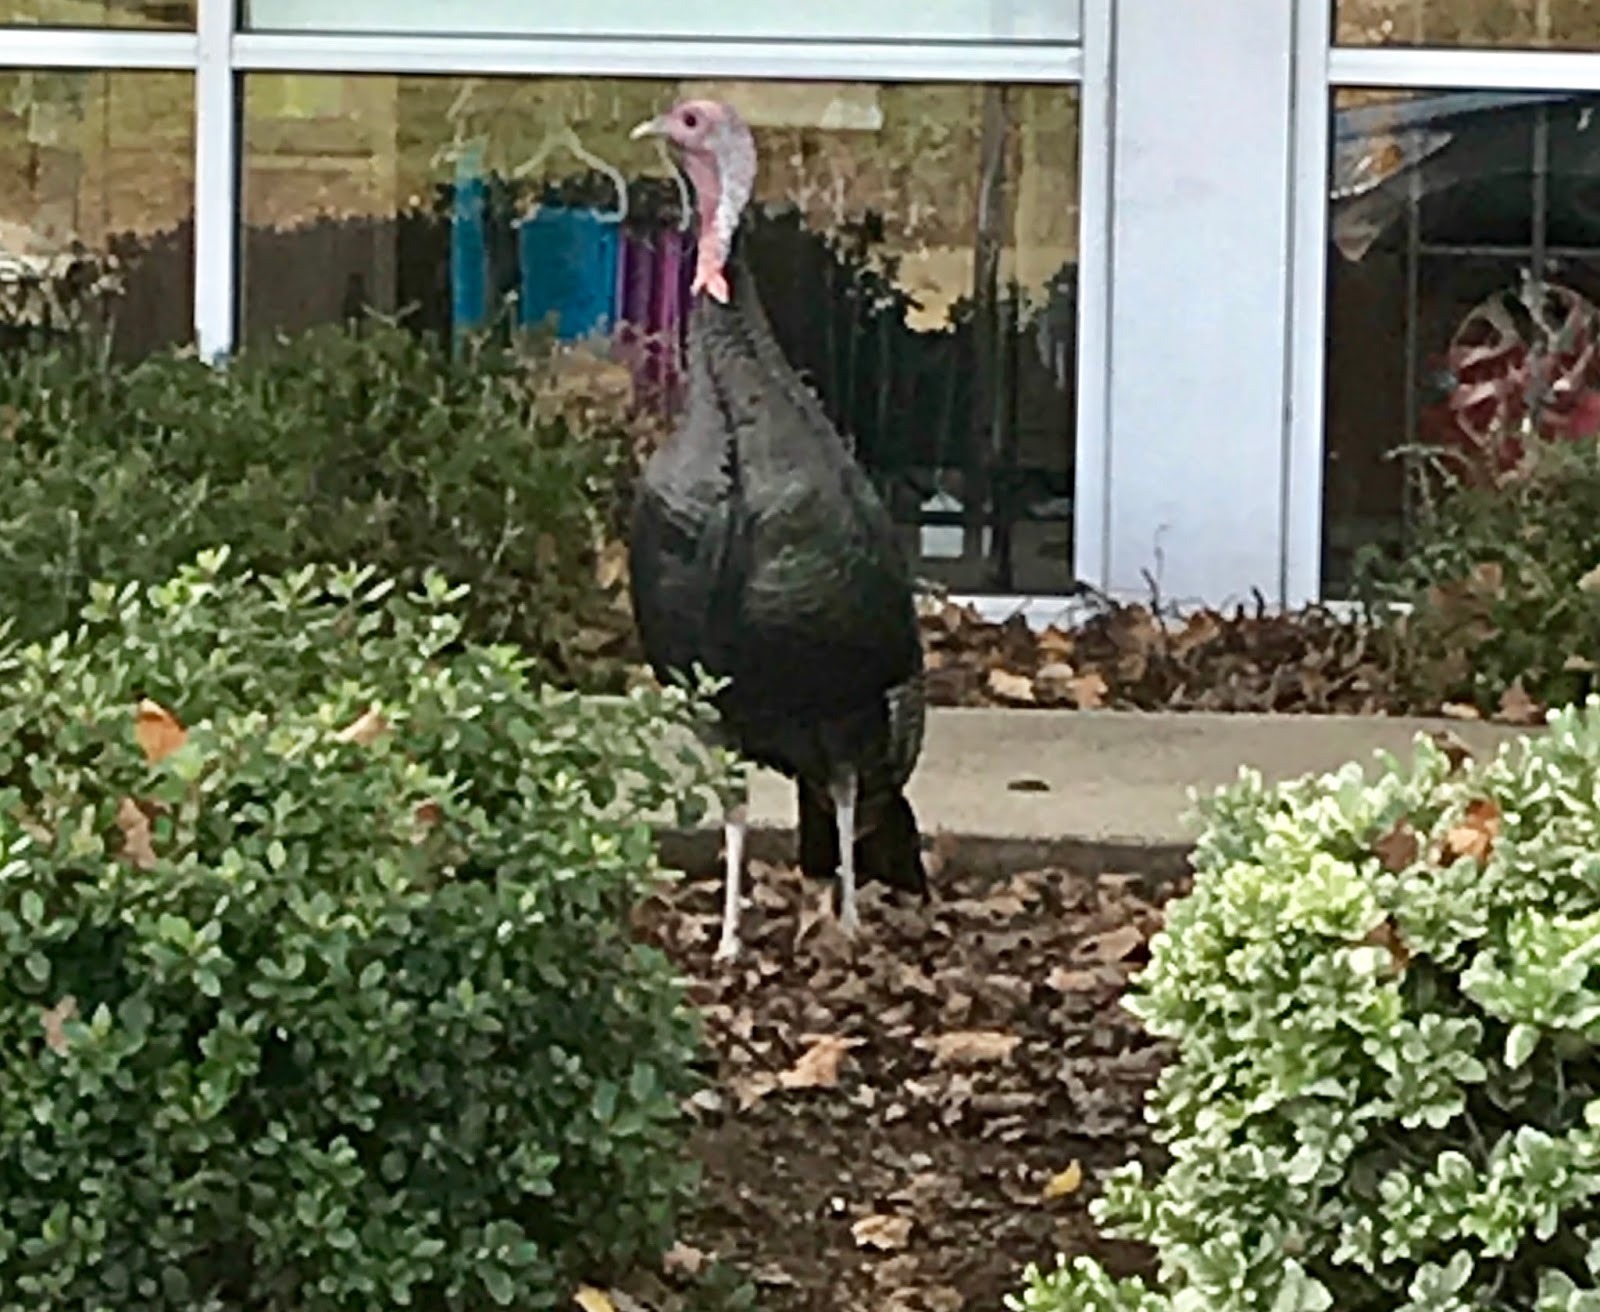
While driving home this guy was standing at the street corner staring at us when we stopped for the red light.  This is a really busy street in the middle of town.  Yet the wild turkeys are thriving.  It is said they are one of the most successful reintroduction of wildlife in the country.  They are everywhere.


Here is the only vintage item I found this month.  It is about two feet long and looks to be an old piece of oak trim.  I think I will make a skinny sign with it.


I also bought these little pieces of bling.  They were only $3.00 each.  The little round crown fits on an old bottle I bought a few months ago.  

 I decided to make a pair of earrings for the Holiday Season from the round rhinestone balls. Haven't decided how I will use the crown pin, yet.


I went to my stash and gathered a few items.


I began with the rhinestone balls for the bottom piece.
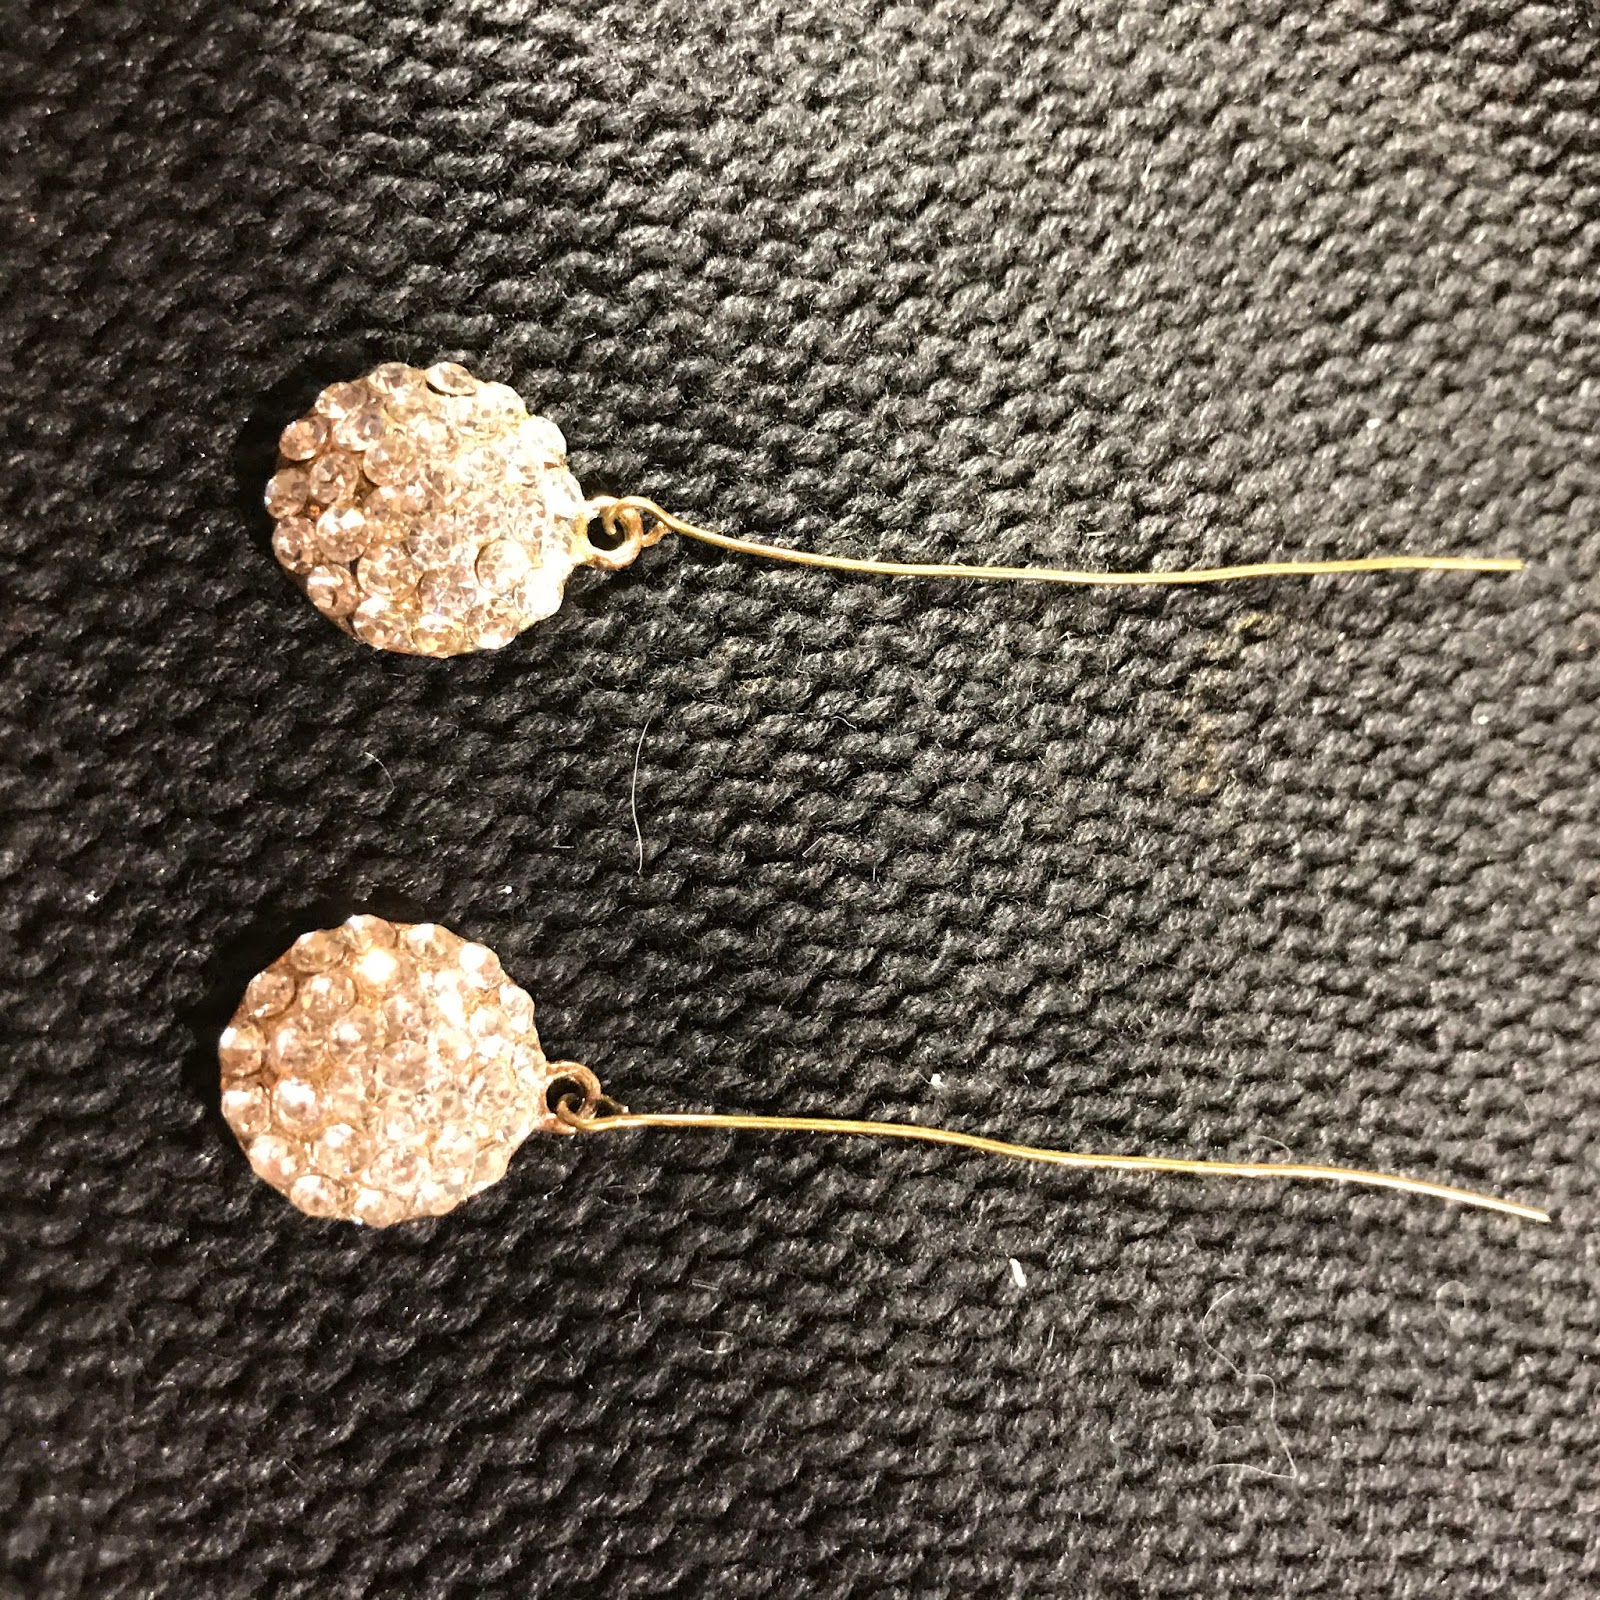


And added to them from there.

They look like just the thing for this time of the year.


Happy Crafting!


Friday, November 18, 2016

Matching Flowerpot


We are truly into Fall now.  I woke up to an array of beautiful colors outside my window.


The other day while crossing the parking lot at Costco I saw this cute raggedy bird nest.  That little bird really decorated her nest with all kinds of things.


For today's makeover I had this flowerpot in my bathroom window. It was looking pretty scruffy now that I have the new little set of drawers I refinished early in the week sitting along side.

It was a worn sage green color and just didn't look nice anymore.


I decided to paint it to match the drawers.  It only took one coat of chalk paint.  Thank goodness because I was almost out of that color of paint.  The new color looks fresh and bright on the pot.


I used the same trims I used on the set of drawers.  Silver bling and pearls.

I followed the indentations on the flowerpot and used hot glue to adhere the silver bling  and pearls to the pot.


And lastly I added 3 of the largest pearls at the top on front.


Now they look good side by side in the bathroom window.


Happy Crafting!


Thursday, August 11, 2016

Little Brown Box Remake


Every year I save the first weekend of August for the Foresthill Community Garage Sale.  It is a little mountain town not far from home.


 All the proceeds go to fund the local firefighters.  You have to cross the highest bridge in California to get there.  And I mean it is up there.


Foresthill, CA is a small mountain town not far from here.  It was an early gold rush town like so many around this part of California.

 Their sale always has so many great finds, from furniture, to knick knacks and books.  Each year I mark it on my calendar so I won't forget and miss it.  

I found so many gorgeous things.  The sale is held all  over town from the library, fire station to the  Veterans hall and even the elementary school.  Each location specializes.  Vet's hall has collectibles, the school has books and clothing, fires station corner had furniture and of course the library had books, too.

This is the Veteran's, during the sale this gets filled with collectibles galore.


This little box was one of the days finds.  I just knew I could do something to bring it to life.  It was only $.50 so there was't much of an investment to try my remake.


I started by dry brushing the box with pink chalk paint, making sure to only hit the high areas with paint and leave the low areas unpainted.  I covered the hardware, too.


The inside was covered with very dark velour so that
 got a light coat of paint, too.


Next I gave the hardware a light coat of silver paint leaving some of the pink paint showing.


On the inside of the lid I glued a tag I cut down to fit after the paint had dried.


After the topcoat of Mod Podge was dry I used hot glue to add some silver bling that comes by the yard around the edge.


I also added the bling by the yard to several places on the outside.


And here is my little shabby chic box all finished.


Happy Crafting!