Showing posts with label pink. Show all posts

Monday, January 30, 2017

French Inspired Picture Frame


At the end of last year I found this black picture frame for $1.00 at a thrift sale because it was missing the cardboard that goes behind the glass.  The glass was taped to the frame and I still need to remove the sticky tape residue from that glass.

I instantly thought it would be so pretty painted in a French gold and white style.

I wanted the details of the scroll work to make a better showing on the frame.  All black it doesn't show it's beautiful details.


Plus there were a lot of chips and dings in the black paint.


I gave the entire piece a coat of off-white chalk paint leaving the recessed areas black to give the piece more dimension.


Again I brush over the raised areas on the frame but this time with a gray color.


Next I hit a few areas with aqua colored paint.


Then I brushed a few areas with pink.  And distressed the edges lightly around the frame.


My final coat of paint was a brilliant white.  Again just hitting a few raised areas on the front of the frame just to tone down the aqua and the pink a bit.


The last thing I applied was a liquid gold leaf to some of the scrolls on the frame.


I just wasn't getting the effect of the gold on the frame in these shots.  I was lucky because today the sun was shining brilliantly and outside I went.


Here you can see a better overall view of the finish.  It appears to be white with only a hint of the aqua and  pink.

A very shabby chic finish.  I think I will add this to the downstairs half bath as soon as I have time and energy to repaint that room.  It will coordinate perfectly with the small oval bisque plaque I bought last time I went to the Vintage Market.


Right now that bath is painted a dark color and since it has no windows the room seems even smaller.  

Can't wait to change it up with a new coat of light paint and add some light accessories to that room including this frame.  Now I just need to decide which picture to add to the frame.


Happy Crafting!


Friday, January 20, 2017

Quick Change Bowl


There is a bit of sunshine for a few minutes between storms as the dark and threatening clouds gather. We are looking at another night with 50 mile an hour winds.  Time to hunker down, as they say, and weather the storm.

I made a huge pot of vegetable soup that will last us a few days.  (See recipe on October 21, 2016 post, Clean out the Frig. soup.)  This time I didn't add the pasta, instead I diced a few small Yukon Gold potatoes and added them right after I added the garlic.  That is what I love about this recipe you can make it with whatever you have on hand.  Sometimes I will add leeks or spinach. 

 I usually make this soup the night before I go shopping.  Great time to use most of the vegetables in the refrigerator and buy fresh on shopping day.


That left me time for a really quick project while the soup was simmering.

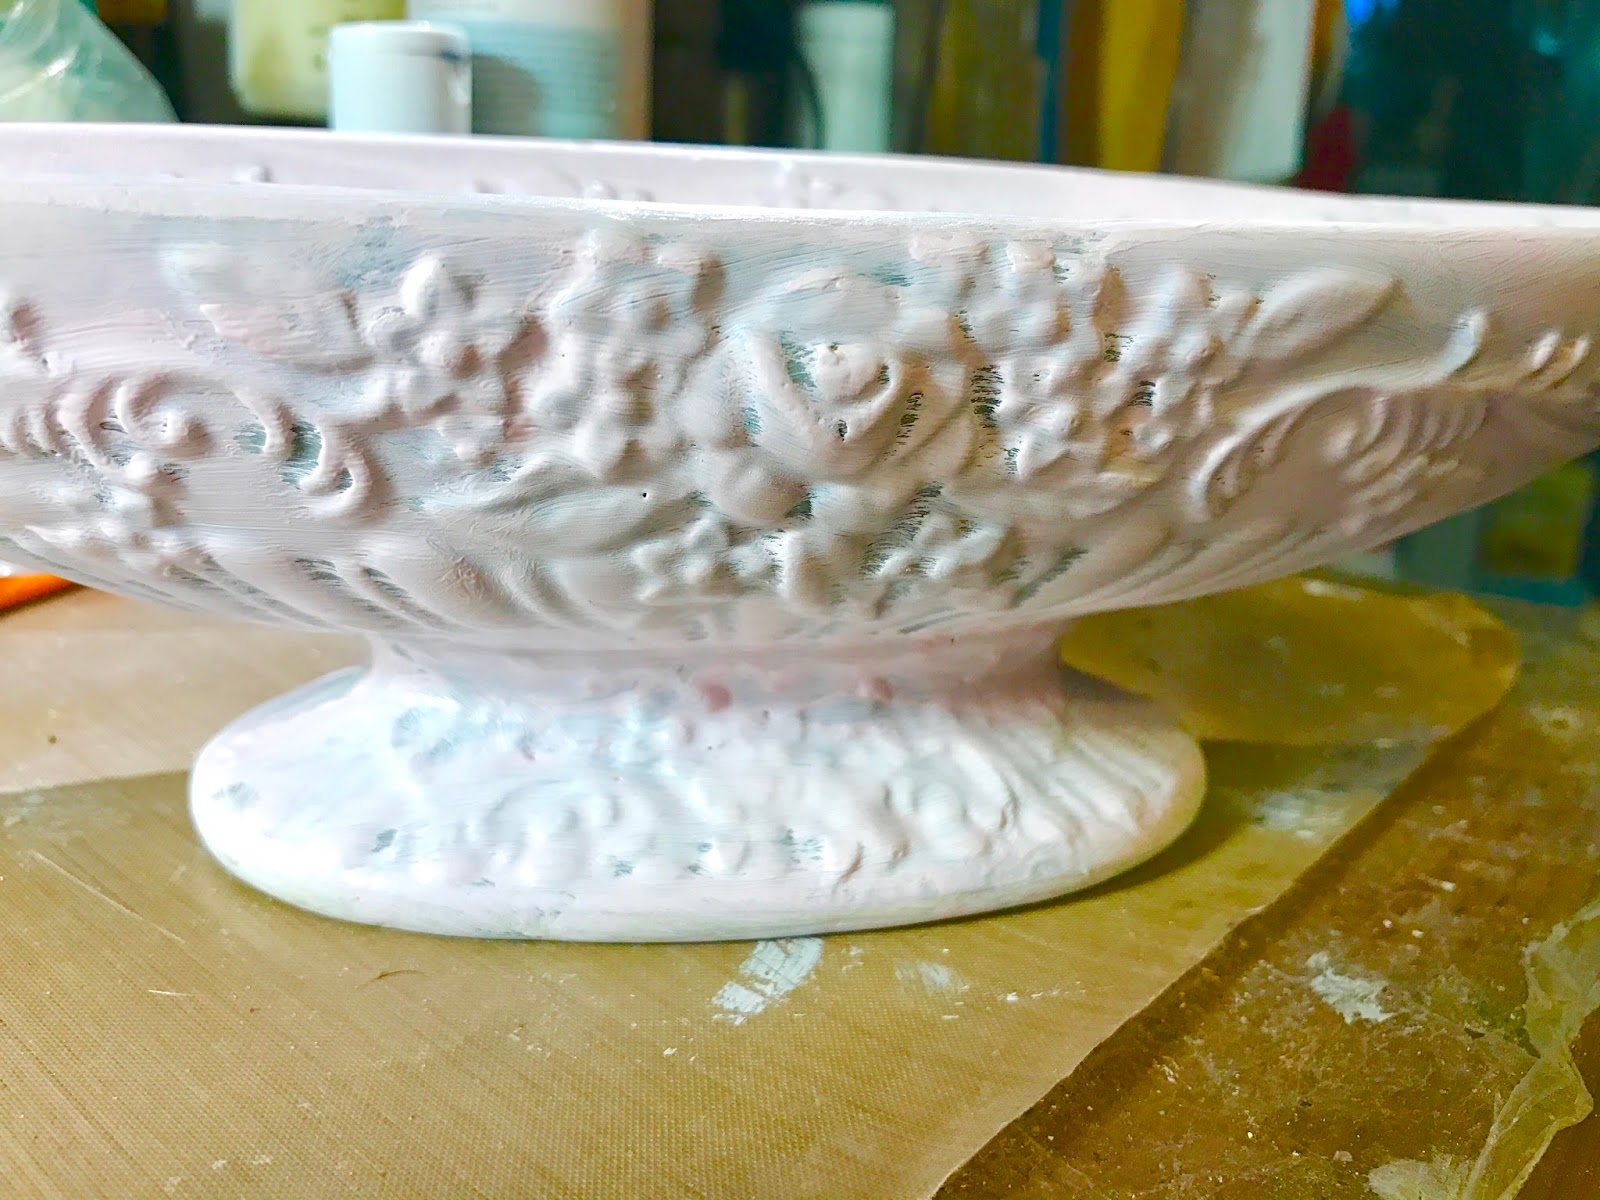
A few weeks ago I found this cute little rose bowl at a thrift sale.  What can I say I love just about anything with roses.


But ever since I bought this little bowl I have been wanting to change the color.  Love the rose design but the color was just too dark of a gray for my tastes.  To me it had the look of something that had survived a fire and was still covered with soot.


I thought it would be cute on the table for Valentine's Day filled with something.

So, I got out my pink chalk paint and gave the entire surface a light coat of paint.  Making sure to leave a few of the gray areas showing through.


I really like the light pink with just a touch of the gray in the background.


Now it is perfect for the center of our table.


Happy Crafting!


SaveSave

Monday, September 26, 2016

Upcycled Tray


Well, I have internet back but still no phone.  We live in area where until just recently one company had exclusive rights to serve our area.  We finally have a chance to change from that one company that doesn't know what costumer service is to another company.  The only problem the guy they sent out didn't know what he was doing.  He told us they would have to dig up our yard and driveway to install the cable.  No WAY!

Called the company back and they are sending someone else out on Monday to check out our problem.  But until then we still don't have a phone because it depends on their installation.

I guess we will still be stuck with the old company if all they want to do is tear up our yard.  So hopping the installation can go through because we are so tired of the company we have now.

Today's project is a brass tray I bought at a second hand store.

It is a nice size however I don't want to spend my life polishing brass. It is pretty tarnished already.


I began by painting the tray white with 2 coats of chalk paint.


one coat

After both coats of paint were dry I used pink chalk paint just on the raised outer edge.


Next using painters tape I adhered a stencil to the center of the tray and using a brush with most of the paint tapped off on a paper towel I added the center medallion.


Now I have a  nice tray with no polishing that I can use for serving or to add under a center piece on the table.


Happy Crafting!


Friday, June 3, 2016

Hidden Compartment Stack of Books


You might remember last December I bought this piece at thrift store on half price Saturday.

It was pretty beat up and the colors where all wrong for me.


The front book swings open to reveal a hidden area with two hooks.
Nice piece but again awful colors for my decor and lots of nicks and scrapes.


The first thing I did was paint the entire piece white.


Then I had to decide what color to paint the individual books.  I choose a soft gray for the outer books and pink for the front, aqua for the bottom book.  I also stenciled a few designs on the different books when the paint was dry.  Then I sanded to distress the stencils and edges.


All of the page areas I painted with a combination of tan and white to simulate paper pages.

Next I added pieces of lace and pearls with my hot glue gun and printed a vintage girl's picture for inside the frame.


Here is a peek at the inside.


Happy Crafting!


Sunday, May 15, 2016

Altered Coffee Canister


Awhile back while visiting with family I rescued this canister before it landed in the trash. I got some really strange looks for wanting to collect trash.  But I knew right away what I wanted to do with it.
I had a vision of how to alter it for storage. It is one of those red Folger's canisters with the black lid.

For the color palette I decided to go with pink and black.  Before I started painting I made sure it was clean and dry, next I scuffed the entire outside lightly with an Emery board to give the paint something to cling to.   You could also use fine sandpaper.  

Here you can see it getting it's first coat of paint.


While the paint was drying I worked on the lid. I used this pretty black and white floral from Heidi Swapp collection.  I measured the top and cut out a circle.


I distressed the edges with pumice stone and glued the paper to the lid.


Next I cut out a couple of swirls and labels on my Big Shot Machine and glued the swirls to the lid.


Then I added a fluffy white fabric flower, from my stash, that I made. 


I used hot glue to glue the flower to the lid along with a butterfly I punched from black paper, I also added 2 pink rhinestones to the butterfly.


Next I glued the label to the front with another butterfly.


Love my knew storage container.  Now I just need to find some local friends that use this coffee so I can make a whole set of these.  Anyone local use Folger's Coffee?  I would gladly pick them up.


Happy Crafting!


Friday, April 29, 2016

Vanity Color Inspiration


This small project started my color scheme for the vanity area..  I found an ugly little dark green lampshade at at second hand store awhile back. I thought it was a nice size for some future project.

 It had been laying around in my workroom for awhile.  One day I decided to give it a new look. I went through my scrapbook papers and found this animal print in pink and black. There where pieces left from another project, not enough to cover the lamp shade in one piece. So I decided to cut up the paper and deccoupage the pieces in a random order covering the entire surface on the outside.


Next I hot glued the black ribbon and bow to the top, the ball fringe and the eyelash fiber. I glued the pink crystal trim to the bottom and more eyelash fiber.

The inside is painted gold.


I added the shade to a vintage glass lamp. They make a really cute accent light.  Not a lot of light,  just a little more than a nightlight.


That's when I decided to change the colors of my vanity.

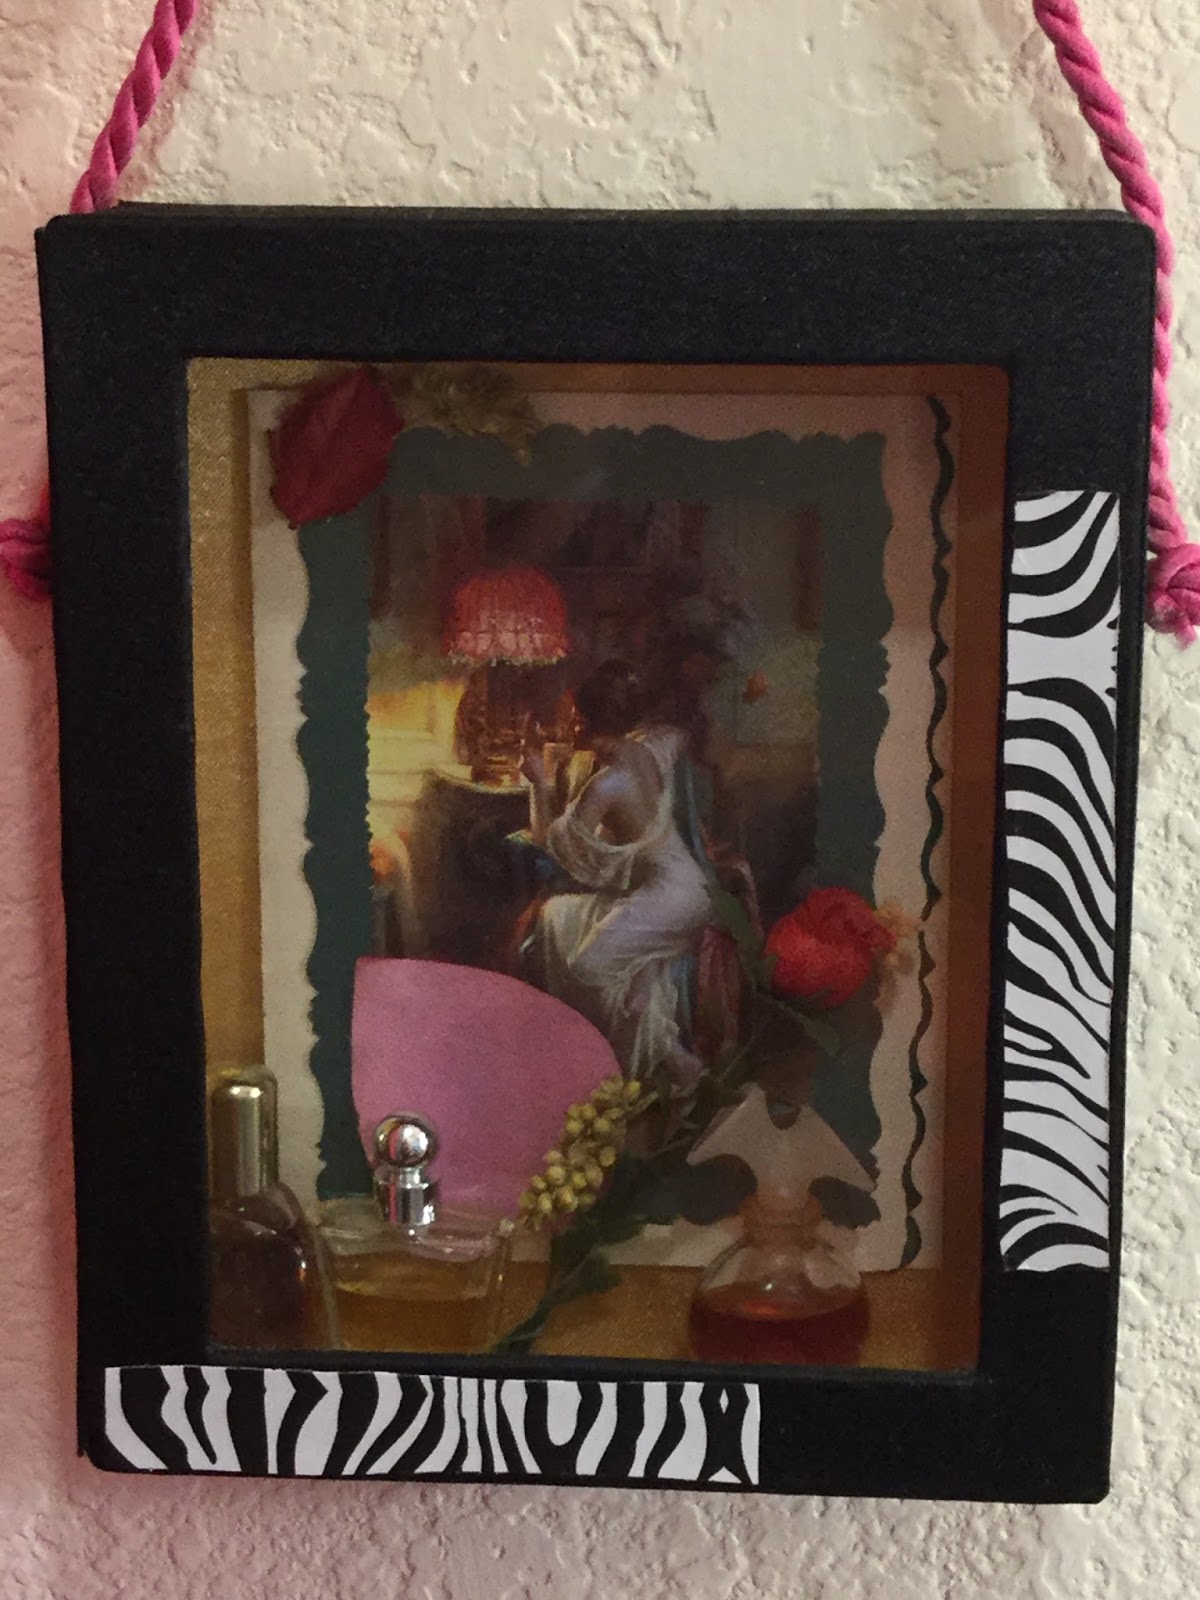
The next item I made was a shadow box with a vintage vanity theme using a picture from Pinterest.  For the shadow box itself I used an empty black velveteen box I believe perfume came in, it had the perfect window.  And the inside was already gold.   I matted the image and glued it to the inside of the box added a couple of tiny faux flowers and a trio of miniature perfume bottles.  On the outside I glued a piece of pink cording for the hanger. And on two sides added a small strip of the zebra adhesive paper.


Then the search was on.  I needed to find items with black zebra stripes and hot pink.

For the vanity skirt and bench seat cover I bought a set of extra long twin bed sheets in a Zebra pattern.  Believe it or not the set only cost $3.99 on Amazon.  And I knew that would give me plenty of fabric to work with.
My zebra collection grew and grew from there.  And the project  continues.

Happy Decorating!