Monday, November 21, 2016

Burlap Table Runner


I have been doing a few little updates around the house.  This rug that I had ordered has arrived .  I really like the distressed look.


My assistant immediately ran over to inspect the new area rug.


I think I have her approval.  She seems to love it and has barely moved off it for the last two days.


 For my new table runner I chose sage green burlap and ivory and white laces and white ribbons.  I thought the sage green burlap was a little dressier look than the normal brown burlap. I plan to use it through the Holidays into New Year's.


  I began by making my table runner by pulling 2 threads, one on each side, were I wanted to cut the width out of the burlap to get the size I needed.  I chose to cut the fabric about 16" wide and used salvage to salvage for the length.  So I pulled one thread out 16" apart.  That is the easiest way to get a straight cut on burlap.


Here you can see where I followed the missing thread to cut my straight side.  You can also see how crooked the piece is  and what I cut off from where the fabric was cut at the store.


Next I took everything to the sewing machine.

I turned over a 1/2" seam to the wrong side and used a wide zig zag stitch on each long edge.


This made a very neat edge without a lot of bulk.


I measured the laces to be sewn to each end and hemmed the ends of all the laces to make a nice finish. Again I turned the edge to the back and zig zagged the raw edges.


Next I stitched the widest lace to both ends of the burlap first.


On top of that I stitched the narrower white lace on top of the ivory lace again using a wide zig zag stitch.
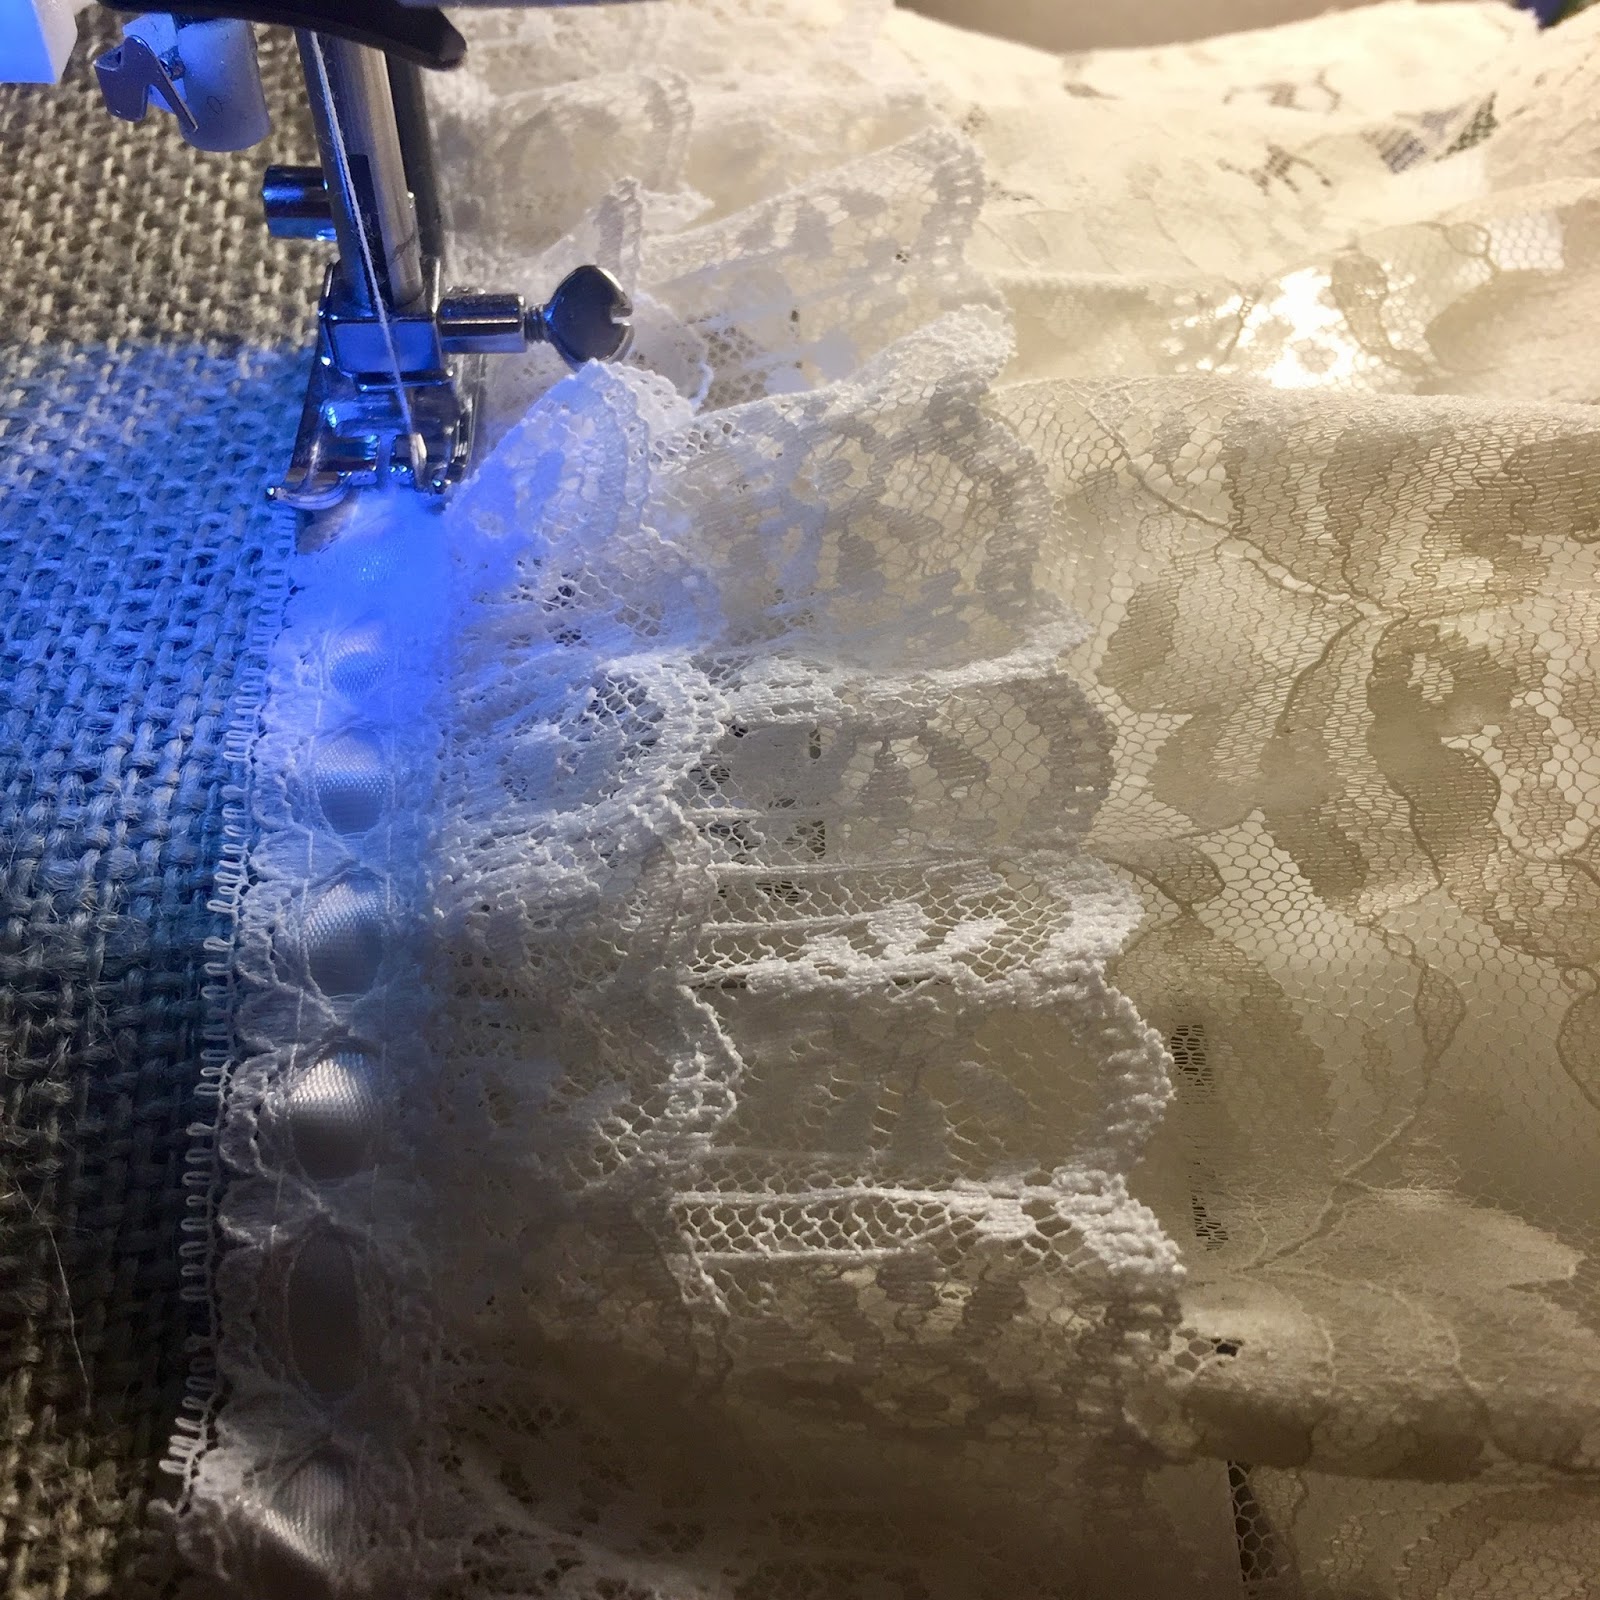


Next I used the two pieces of white satin ribbon to make a bow for each end that I hot glued in place.
I used a lighter to lightly singe the ends of the ribbon to avoid any raveling in the future.


And here is my finished runner.


Happy Crafting!


Saturday, November 19, 2016

Week in Review


Monday

Cute Little Chest of Drawers Redo


Tuesday


Christmas Sale Finds


Wednesday

Updated Vintage Phone


Thursday

What to do With a Single Glass Candle Holder


Friday 

Matching Flowerpot


Happy Weekend!

Friday, November 18, 2016

Matching Flowerpot


We are truly into Fall now.  I woke up to an array of beautiful colors outside my window.


The other day while crossing the parking lot at Costco I saw this cute raggedy bird nest.  That little bird really decorated her nest with all kinds of things.


For today's makeover I had this flowerpot in my bathroom window. It was looking pretty scruffy now that I have the new little set of drawers I refinished early in the week sitting along side.

It was a worn sage green color and just didn't look nice anymore.


I decided to paint it to match the drawers.  It only took one coat of chalk paint.  Thank goodness because I was almost out of that color of paint.  The new color looks fresh and bright on the pot.


I used the same trims I used on the set of drawers.  Silver bling and pearls.

I followed the indentations on the flowerpot and used hot glue to adhere the silver bling  and pearls to the pot.


And lastly I added 3 of the largest pearls at the top on front.


Now they look good side by side in the bathroom window.


Happy Crafting!


Thursday, November 17, 2016

What to do With a Single Glass Candle Holder


What can you do with all those, oh so pretty, single glass candle holders at the Thrift Stores?  Or did you break one of your favorite candle holders and just have one left.  Don't toss it out or give away, Make a battery operated candle holder with it.

Find yourself a single candle holder and a single glass light shade and make a fast, easy Holiday battery operated light you can put almost anywhere.  In the window, in a curio cabinet, on a table where you don't have electricity, in the bath to set the mood for guests or in a china cabinet.

Here is what I used for mine.  A glass candle holder, glass shade, battery operated candle (taper or tea light),  small green wreath, Tacky Wax, a few red berries and some red ribbon for a bow.


Adhere your tacky wax or museum wax in several places around the top of the candle holder and gently but firmly adhere your shade.  If you want to make a permanent light you can attach the glass shade with E6000.


Wire a few red berries to your wreath and tie a bow with your ribbon.  Add your choice of battery candle.  That's it, your done.


So easy and so fast with a great big festive Holiday look.  Make two or more and add to your table centerpiece.


Great last minute decoration.


Happy Crafting!


Wednesday, November 16, 2016

Updated Vintage Phone


This phone has been in the family since the 1970's.  It is a working phone but I was tired of the vintage flowers on the base.  It still has my Mother's old phone number on the label.


I decided a little bling would do the job of updating this cute vintage style phone.

I ordered blue crystals to match the blue of the phone.  

I used 1/4" score tape to glue on the crystals. I started by placing the score tape around the edge.


Then I place the stones one at a time around the bottom onto the core tape and pressed firmly.


I also glued a single stone to the center of each flower.


Next I repeated the process around the dial.  I also added 3 stones to the gold cradle of the phone.


To each end of the hand set I glued a large white flat back pearl.


Love the new look.  Not a lot of change just enough to give it a little updated look.


Happy Crafting!


Tuesday, November 15, 2016

Christmas Sale Finds


Over the weekend I went to a Christmas sale at my favorite Thrift store.

I found a bunch really cool stuff.

The weather was so warm it felt like Summer not Fall.  The leaves are falling but the weather is hot.  Our forecast says cool weather is on the horizon.  Fingers crossed.


The drive was beautiful with just a few light clouds in the mountains.


I snapped these from the the car window as we were driving up the freeway.


Not a great picture but I have always loved this old barn just off the freeway.  I wonder what tales it could tell.


And here are my finds from the Thrift Store.  The tall Santa will be added to my skinny Santa collection.  And I plan to use the jingle tree in the front hall to match my jingle wreath for the front door.

The little Fenton vase is hand signed and the little angel is to adorable.  

I couldn't contain my excitement when I came across the Nordic Ware Christmas tree bundt pan.  I have always wanted one but they are so expensive.  They usually run over $35.00.  This one was only $3.00.  Yeah.  The white metal basket in the background is made to hold Holiday cards.

All my finds where $.50 or $1.00.  The most expensive item was only $3.00.  I would say I had a pretty good day of hunting for bargains.


  All these trays were only $3.00 and I will use them under my crystal china as Christmas Charges.


These Reindeer Antlers and red bell are going to decorate our car for the Holidays.  The book of iron on transfers has hundreds of images for Christmas.  My mind went wild with so many ideas.

Love the blue Christmas dish for the wall.  And the six penguin plates and bowls will be great to serve lunch for the two of us during the season.  The Martha Stewart snowflake punch was a steal at $2.00.


More Martha Stewart this time Christmas ornaments. I am planning a gold and pink decorated tree this year and these will fit in perfectly with the theme.


I couldn't resist the adorable bell pillow it still had part of the original price tag. The plate with cats all over the place reminds me of the current commercial on TV with all the cats tearing the tree and presents apart and making just a general mess of everything

.  The purple iris flower is a night light.  And I plan to use the large plate on the lazy susan  on my table. 


Happy Hunting!