Showing posts with label lace. Show all posts

Monday, November 21, 2016

Burlap Table Runner


I have been doing a few little updates around the house.  This rug that I had ordered has arrived .  I really like the distressed look.


My assistant immediately ran over to inspect the new area rug.


I think I have her approval.  She seems to love it and has barely moved off it for the last two days.


 For my new table runner I chose sage green burlap and ivory and white laces and white ribbons.  I thought the sage green burlap was a little dressier look than the normal brown burlap. I plan to use it through the Holidays into New Year's.


  I began by making my table runner by pulling 2 threads, one on each side, were I wanted to cut the width out of the burlap to get the size I needed.  I chose to cut the fabric about 16" wide and used salvage to salvage for the length.  So I pulled one thread out 16" apart.  That is the easiest way to get a straight cut on burlap.


Here you can see where I followed the missing thread to cut my straight side.  You can also see how crooked the piece is  and what I cut off from where the fabric was cut at the store.


Next I took everything to the sewing machine.

I turned over a 1/2" seam to the wrong side and used a wide zig zag stitch on each long edge.


This made a very neat edge without a lot of bulk.


I measured the laces to be sewn to each end and hemmed the ends of all the laces to make a nice finish. Again I turned the edge to the back and zig zagged the raw edges.


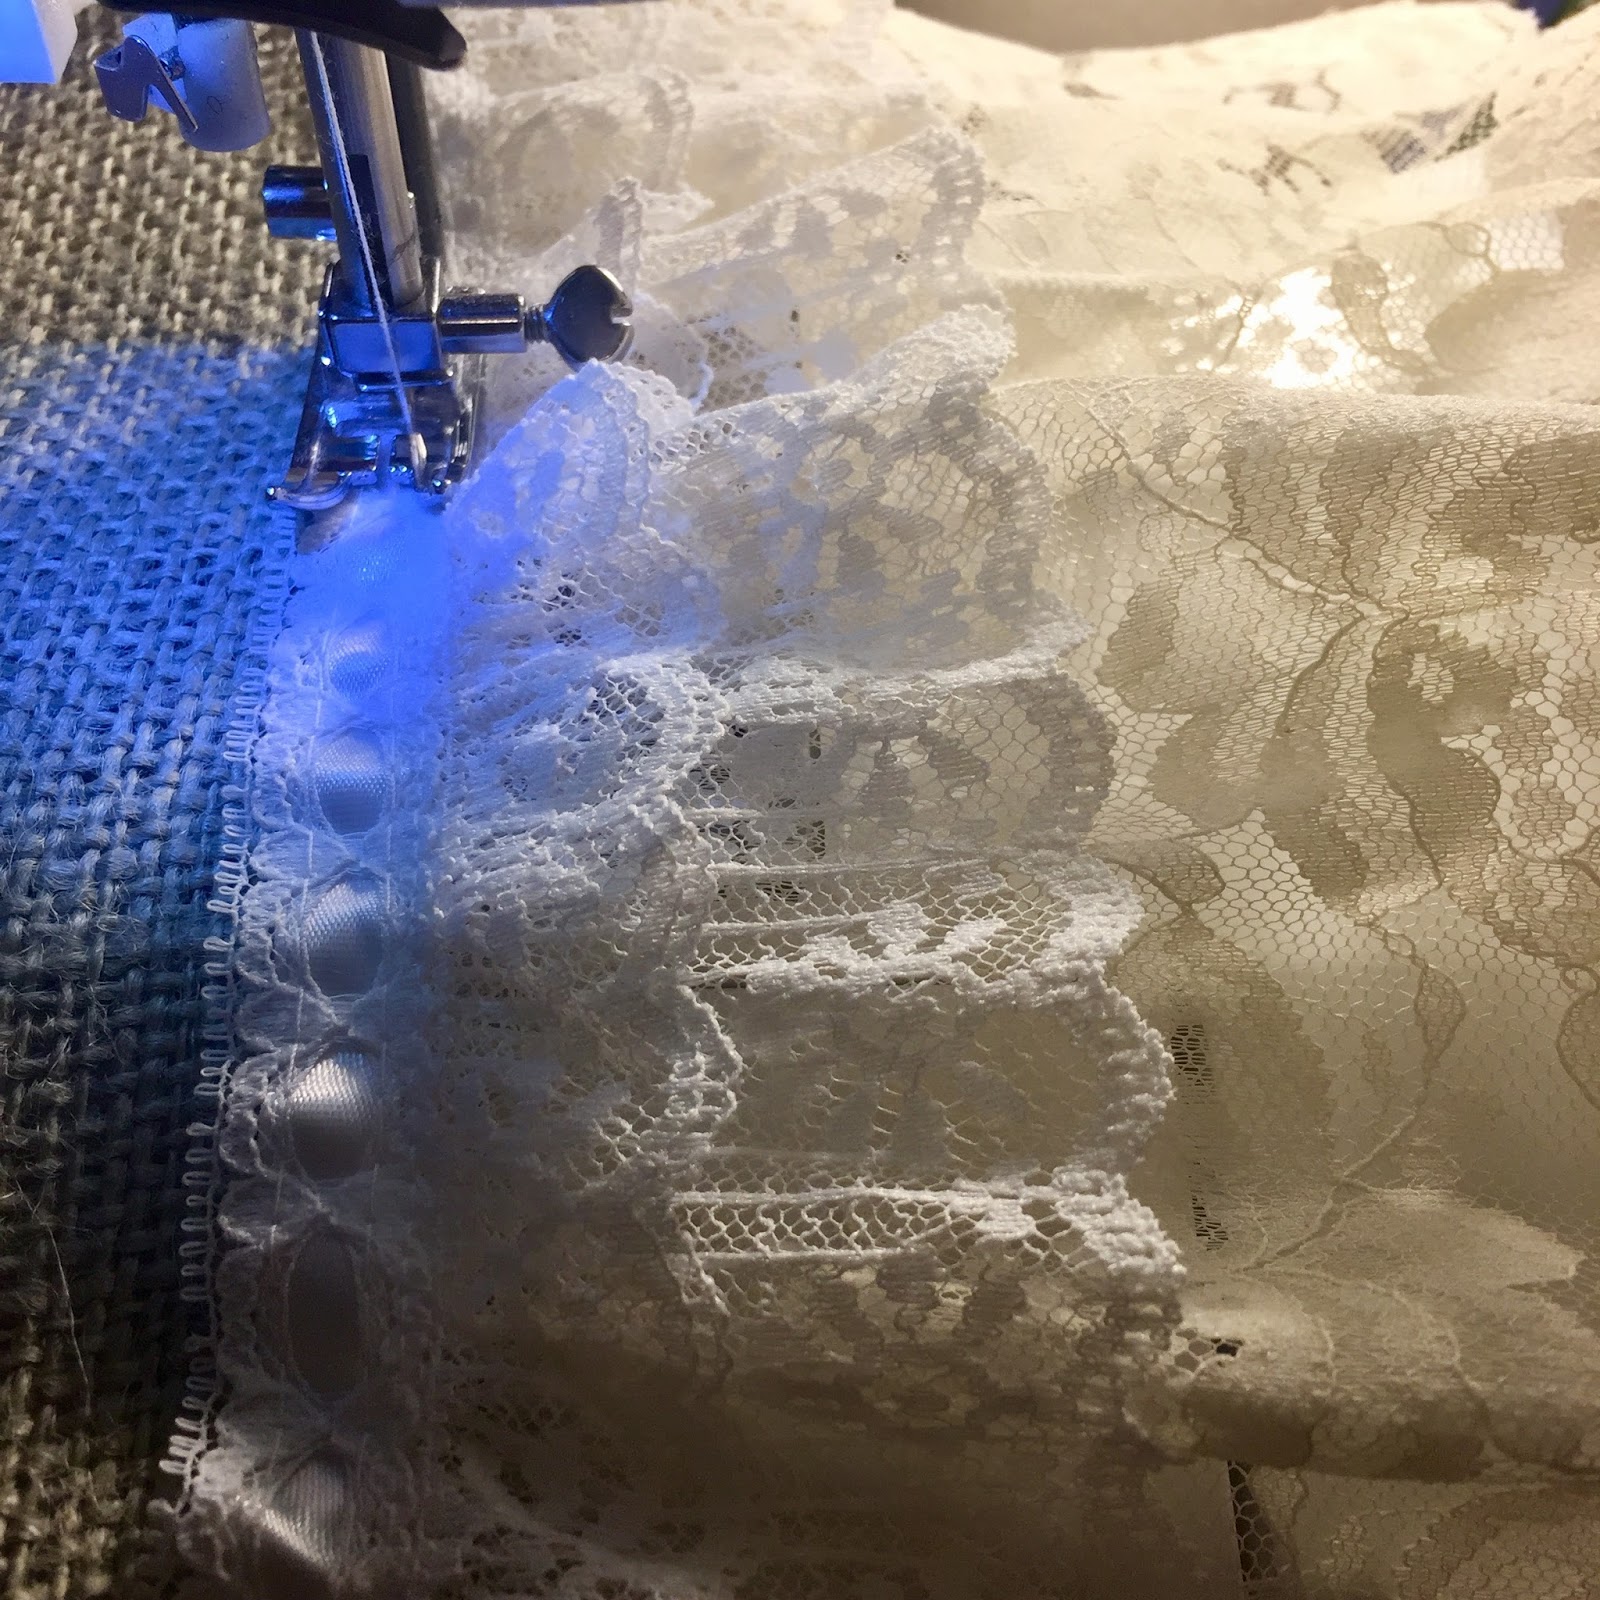
Next I stitched the widest lace to both ends of the burlap first.


On top of that I stitched the narrower white lace on top of the ivory lace again using a wide zig zag stitch.


Next I used the two pieces of white satin ribbon to make a bow for each end that I hot glued in place.
I used a lighter to lightly singe the ends of the ribbon to avoid any raveling in the future.


And here is my finished runner.


Happy Crafting!


Monday, October 17, 2016

New Wall Hangings


We got our first rains of the season today.  There hasn't been a drop of rain since last May.  This is such a welcome relief.

So we ventured out in the storm today to attend this month's Vintage Gypsy Fair.  I didn't find very much, but I did find a pretty single gold trimmed vintage salt shaker I will probably make into a tassel  and a pair of miniature cast iron yard tools. 

When I finished my china cabinets a few weeks ago there was only one thing I didn't like.  The sides had holes along the front edge, which at one time must have been for shelves.  I didn't want to fill them in just in case at a later time I wanted to use them again.  But I wanted to disguise them somehow.

Luckily after I used the shelf pins on the inside I had two left over to use on the outside of the cabinet for the wall hangings to hang from.


When I saw these cast iron tools today I was certain they would be perfect to make into wall hangings.

Here are some of the elements I used.  I also used more laces and tiny birds.


I cut 2 pieces of burlap ribbons and clipped them to the two mini metal hangers.


Next I cut wire and wired the tools to the ribbon.


And bent the wire on the back to secure.


Using hot glue I added some pretty lace at the top.


I also used a little bit of hot glue in a few places just to make the tools stable.


Next each hanging received a pale yellow flower.


A crocheted mini doily and a pearl cabochon .


Under the tool I cut to size a small cardboard tube and adhered it to the back of the ribbon with hot glue.


Next I glued a couple of lace flowers to the tube on the front.


Then I glued two pieces of lace under the tube at the bottom of the ribbon.


And two little birds and some paper shred to make a nest for the birds.


And hot glued those onto the top of the tube.


Then I glued some real tree twigs to each side of the tube.

Also another flower at the bottom of the handle of each of the tools.


And they where all done and ready to hang.  So happy how they fit perfectly and cover the little holes at the side of my cabinets.

You could make these using large silver salad fork and spoon instead of the cast iron tools.


Later I could use these in another area if I choose to move my cabinets.


Happy Crafting!


Wednesday, October 12, 2016

New Curtains for the Bedroom


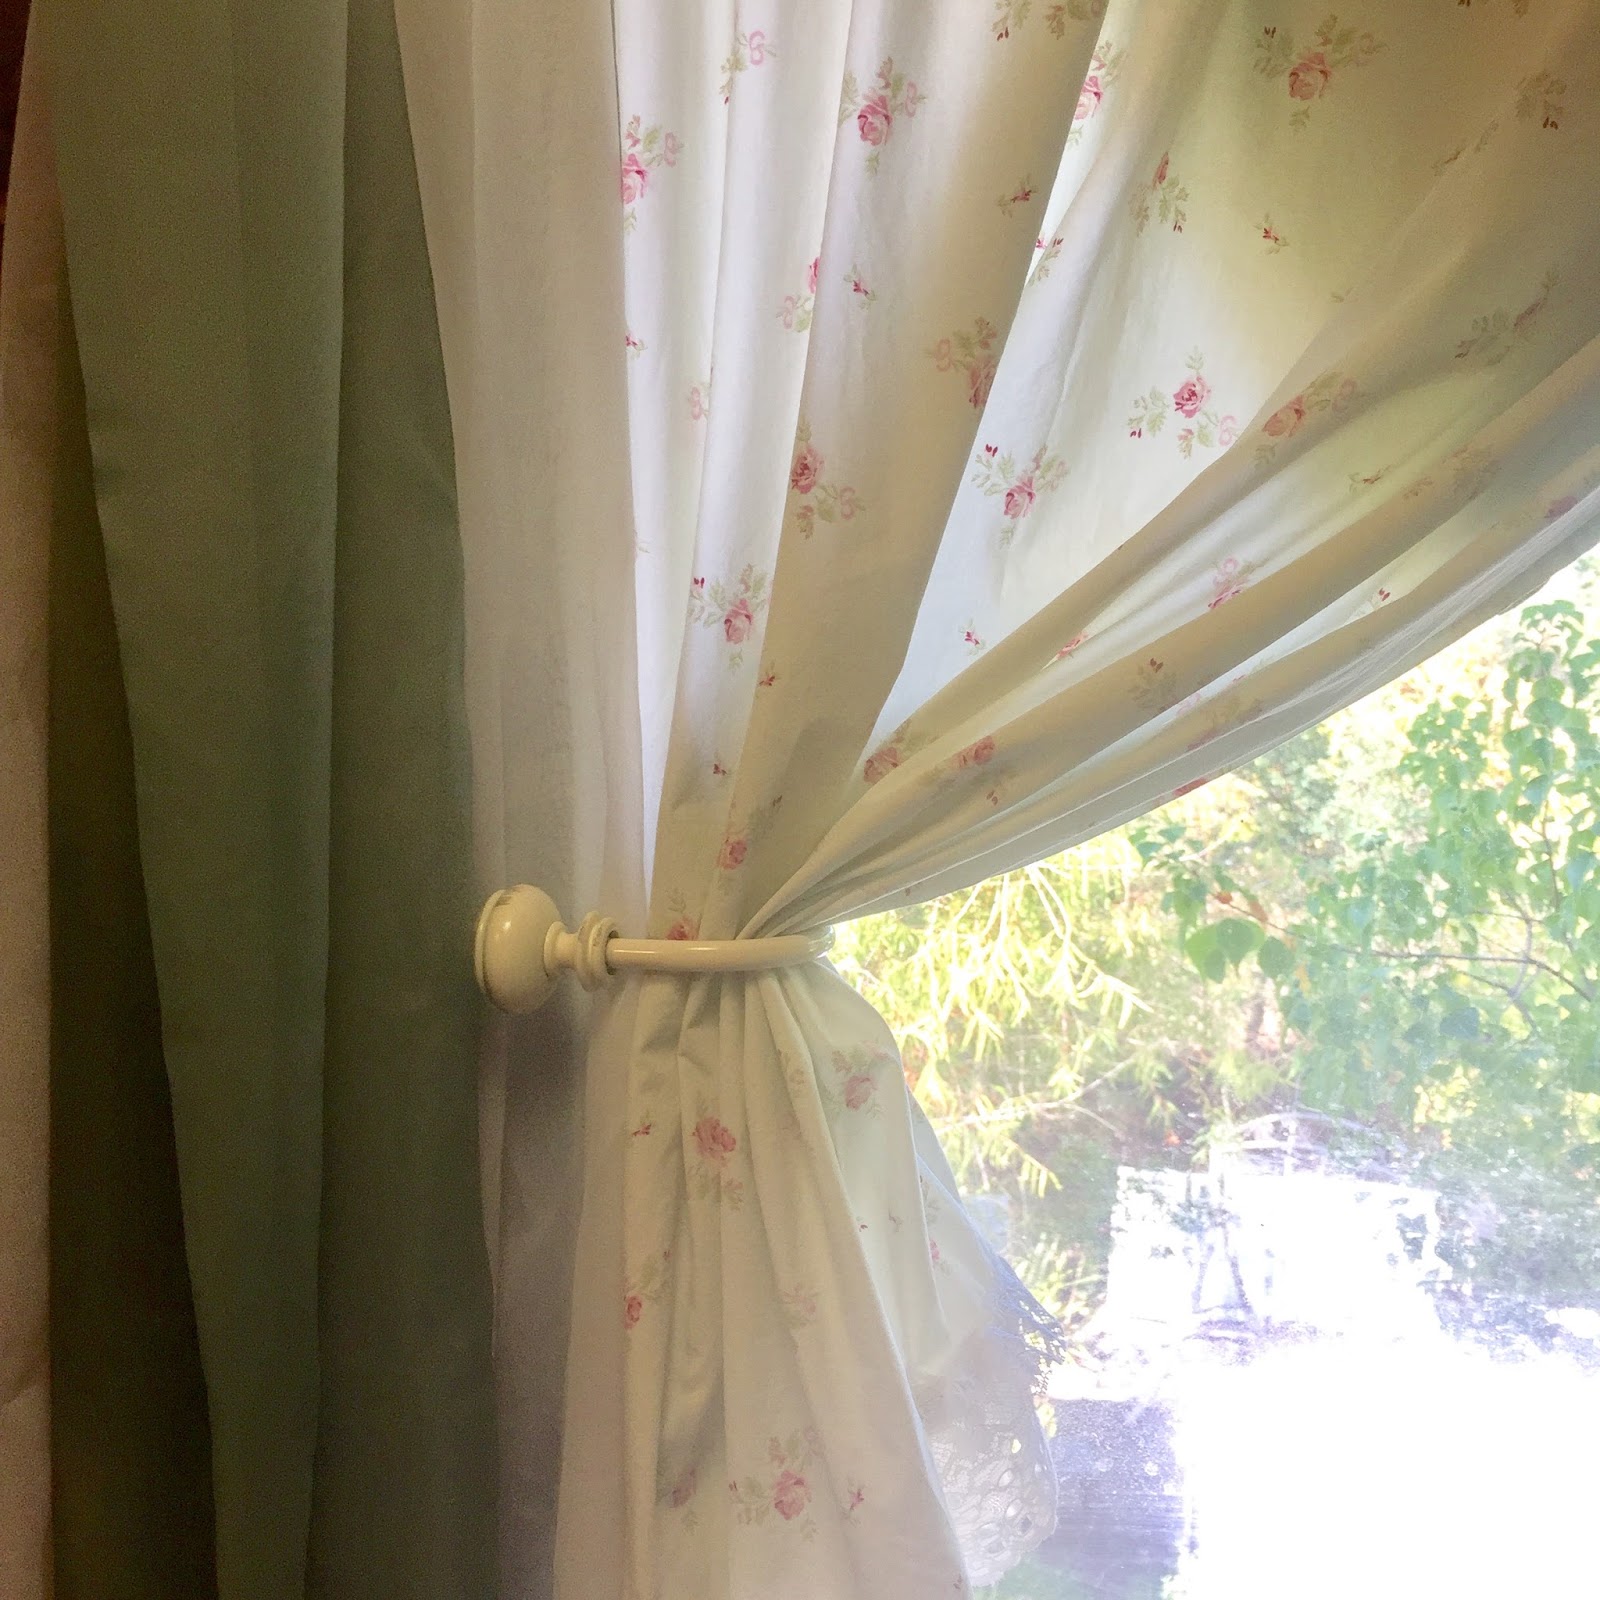
I bought a couple of pretty petite rose patterned shabby chic bed sheets from an estate sale.  One was white with pink roses and the other was pale green with pink roses.

For this project I chose to use the green sheet to sew two pairs of curtains for our 2 bedroom windows. The walls are painted a muted grey green that goes beautifully with this fabric.  The green inside goes so well with all  the natural green outside.  It makes the room seem very restful and peaceful.  This green becomes a very neutral color.


I bought this pile of lace at a church bazaar, I plan to sew both these laces to the bottom to the curtain panels.


First I stitched the 4 panels to fit just the size of the windows.  I wanted them just to touch the window sill since I have a kitty that likes to sit in the windows.  If they were too long she would have a hard time getting in and out of the window.

When the panels were stitched and hemmed I added the two rows of lace to the bottom of each panel.


Here they are all finished and hung in the window. 


I love to look out on our backyard, so for the daytime I added to pull backs one to each side of the window in order to  pull the curtains back and enjoy the view during the daylight hours.


Under the curtains I have window shades I made a couple of years ago.  They just roll up and the ties form bows to hold them open at any height.  They can be tied all the way to the top or just a few inches or any place in between.  They really help block out the light if one of us needs to sleep during the daytime.


Happy Sewing!


Wednesday, July 13, 2016

Textured Wallpaper Cone.


I decided I wanted something shabby chic to hang from my mantel. So I looked around my stash to see what I could use.  While looking through my supplies I came across a scrap of textured wallpaper leftover from my kitchen project.

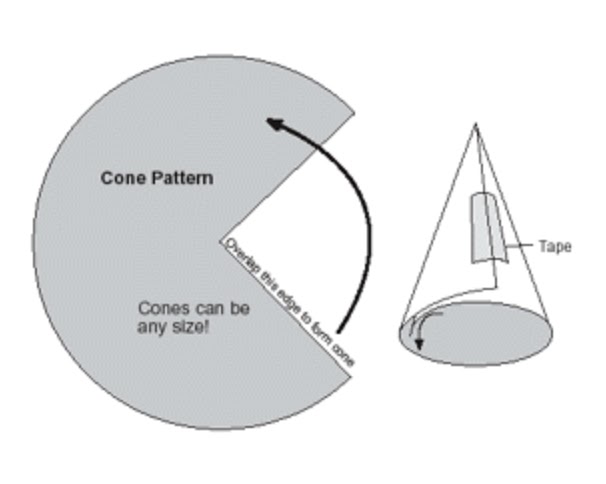
I cut out a cone shape .  My cone measures about 14" long.  After I cut out the shape I measured the top and cut scallops along the edge for added interest.


Around the cone a few inches from the top I hot glued an off white lace, then added flat back pearls and a few blush leaves with white flowers.


On each side of the center I attached two cameo brads.  I also went around the entire scalloped edge with Stickles glitter.  And at the center front I glued on a large handmade white chiffon flower.


I also added lace to the bottom of the cone.


On each side at the top I put a grommet to thread some seam binding through to make a hanger.


And here it is hanging from the mantel with a bouquet of white and blush colored flowers.


Happy Crafting!


Wednesday, July 6, 2016

Two More Altered Bottles


It is still very hot outside and now I have a cold so I am only working on small projects.  Such a bummer to catch a summer cold.

I have been saving special bottles until I had time to alter them.  

The first one started life out as an L'Occitane Perfume bottle.

I unscrewed the top, cleaned it very well then found an image in my files I thought would look cute with what I had in mind.


I decided to use these two little angels.


And I really like the little saying at the bottom.  
I added pretty little string pearls to the bottom and pearl medallions to the sides.  Next I glued the bottle to a Dollar Store glass candle holder using E6000.


At the top I covered the bottom of the clear knob with pink velvet ribbon added crystals and pearls and beads to the top.
I used two metal filigree pieces around the neck of the bottle.  And on the left side added a white rose, lace and more pink velvet ribbon.


I used distress ink on the back of  the images added another metal filagree piece and stamped some vintage words.  Then I gave all the paper images a light coat of Mod Podge.


This little altered bottle is now living on the nightstand in my guest room.


For the second bottle I poured white acrylic paint and silver glitter then turned it upside down on paper towels to dry.

I added this image I found on Pinterest by printing it out on decal paper and applying it to the bottle.


I added a couple of rows of lace and vintage rick rack to the top of the decal and to the bottom of the decal.  On each side of the decal I applied  silver Stickles to the edges.


Frst I inserted a chandelier acrylic crystal into the cork top.  I used a cork covered with silver foil, next I dripped with wax then silver Stickles.  
Around the top edge I glued blue velvet ribbon, added to silvered metal pieces, 2 white roses, 2 drapes of silver pearls.  And added a lace medallion to the front and back.


Also added a lace medallion to the back.


Happy Crafting!