Showing posts with label stencil. Show all posts

Tuesday, June 28, 2016

Rescued Little Table


Wow, we are having our first really long heatwave of the the summer.  So no outside projects this week.

I lost my mother a few years ago and I am just now starting to incorporate some of her things into my home.  

This little table is one of the items I am moving out of storage.  It started out as a beautiful little table, but one day my mom had her window open and the sprinkler accidentally sent water through the window.  She didn't see that it had hit the table.  The backside suffered water damage to the finish.  And the leather top had seen better days, too.  I brought it inside and cleaned it well.  

 I knew one day I would change the finish and here is how I did just that.


sitting on a box to make it easier to paint


I began by turning it upside down on a box to make it a little easier to paint the legs and center column.

On this part of the table I am using a light gray chalk paint.


I painted the trim on the tabletop gray, also.


Next I painted the top and sides with a cream colored chalk paint.


I ended up with a crackle finish on the top.


When the gray was dry I used a dry brush to lightly brush on a silver paint on the tops of the legs, feet and center column.


I ended up using 3 coats on the top of the table and when those where dry I used the gray and silver  and stenciled a medallion in the center.


I painted the inside of the little drawer a pretty shade of aqua and then stenciled another silver/gray medallion in the center of the drawer.


And here it is finished in front of the fireplace.  Now I need to refinish my 2 chairs to match and my little spot for tea will be complete.


Happy Decorating!


Thursday, June 9, 2016

Brass Lamp and Lampshade Makeover


Well, we are finally having our first heat wave of the year.  Time to hibernate indoors until the sun goes down.

Last night at about midnight I decided I needed a lamp on the bedside table I just finished.  Hmmm. The only one I could move into the guest room was brass with a dark green shade.  No! Just not right.

I think I get a little daring in the middle of the night. Anyway I decided to paint the lamp aqua.  Now what to do about  the shade.  Well, I read somewhere you can paint fabric with chalk paint.  So that's what I did.


Like I said it was the middle of the night so I forgot to get before pictures.  The shade was dark green like the one above.  And the lamp to the right is very similar to the one I had


I gave the lamp 2 coats of aqua chalk paint.  I really like the color and the shape, now.


The lampshade also took 2 coats of paint.  I used a small stiff brush to work the paint into the trim.

When the paint was dry I used a stencil with gray chalk paint to add the focal medallion.  I was initially concerned that the very dark green fabric would be difficult to hide.  But no, the paint completely covered the dark color.


The lamp gives off a nice soft light for bedside the bed.  Not too bright and glaring.  I have a reading light that is mounted on the wall directly over the bed.  So there is need for bright light from this lamp.


Now I just might have to paint the reading light shade to match this lamp.  I will have to give that some thought.  The fixture is also shiny brass.  Maybe I will paint that to match this lamp, also.


Happy Crafting!


Friday, October 23, 2015

Shabby Chic Tray Table Redo


This sad little vintage tole painted table needed some love and care.  It came from Mr. K's family so I felt like I wanted to save it.  This piece would make a really cute shabby chic end table.


There was a lot wrong with it, to start with the front edge was bent and rusted.  The paint had cracked in places.

I straightened the metal tray and gave it a coat of, (you know what's coming) chalk paint, of course, to hide it's many flaws.
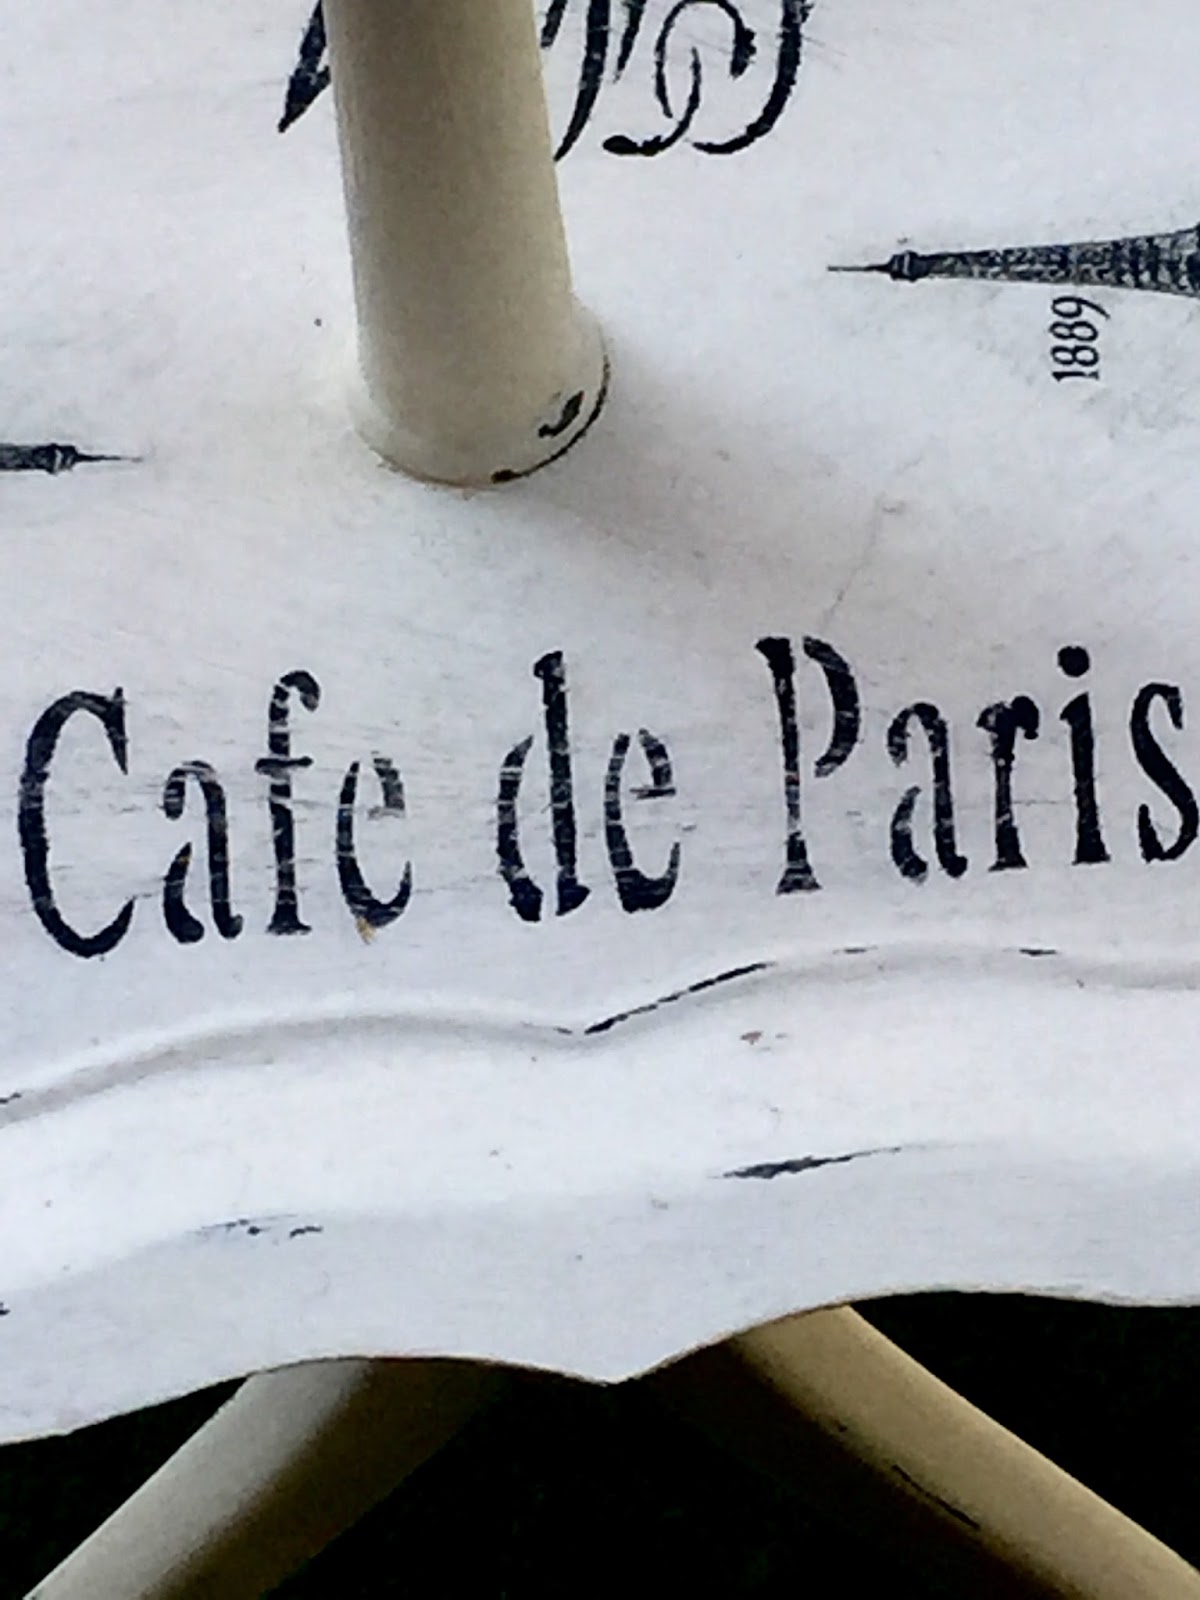
French graphic stencil

Then I added a French graphic from one of the stencils I had ordered off Amazon. Next I decoupaged two Eiffel Tower images from paper napkins to the top. 

Paper napkin image

 When everything was dry I lightly sanded the stenciling and high points of the tray.


That's it, done.  Pretty simple transformation.