Showing posts with label napkin. Show all posts

Tuesday, April 12, 2016

Urn Plain to Shabby Chic


As you may recall I picked this urn up at an Estate sale before Christmas.


It was pretty beat up, rusty and not that great looking,  but I liked the shape, so I gave it a make over this morning.


 I decided to go with a blue and white chippy look,


Front
With touches of worn gold.  I painted the urn with an aqua blue chalk paint, let that dry and came back with a few touches of off white chalk paint, leaving some of the original color showing in the deep crevices of the base and around the relief parts.

Back
For the design I used Mod Podge and glued on a print from a patterned napkin after the Paint was dry, separating the layers and only using the top layer of the napkin. 

 Below is the detail of the decoupaged design on the front of the urn.


And here is the detail of the back.  I cut off the border of the napkin for the blue band around the back side and decoupaged that to the urn, also.  When everything was dry I went back took off the paint in places to give it some chipped and worn areas.

Since this urn is a metal I used a craft knife instead of sand paper to chip away at the paint.


This is a close up view of one of the handles.  Here you can see the distressing and chipped paint along with the bits of worn gold.  

I used a gold leafing pen to add the bits of gold color here and there. And then went back when that was dry and lightly went over parts of the gold with a dry paint technique using the white paint to age the gold a bit.  I didn't want it to look too shiny and new.


Happy Crafting!


Monday, January 11, 2016

Altered Ikea Glass Dish


I have been wanting to make a shabby chic decoupaged plate for awhile.  So on my last visit to Ikea I bought a few of the dinner size clear glass plates with the idea of altering them.


I also sent for a package of gorgeous rose print napkins from Amazon.  These where luncheon sized.


I began by cleaning the plate throughly. Separated the two layers of the napkins and cut out the flowers I wanted to use.

Next I taped the back white layer of the napkin to a piece of printer paper.  Sized the Eiffel Tower graphic to fit the center of the plate and ran that through my printer.

On my printer if I secure tissue paper to printer paper with tape it goes through just like regular paper and prints the image perfectly.  You will need to experiment with your printer to make sure it won't cause a paper jam.  I have tried to do this on my husband's printer and it jams.

After all the images where cut out I decided on the placement and using Mod Podge I adhered the images to the back side of the plate being very careful not to tear the delicate images as I smoothed out all the air bubbles.

I also added a few faux gold nuggets for a little bling.  (These are actually tiny pieces of gold foil from saved candy wrappers.)  And I left the piece to dry.

I decided I wanted a bit of sheen to my design.  For this I used a light pink metallic paint from Martha Stewart.  I painted that coat on with a very thin transparent coat so the white paint to follow would  still show through.  Let that dry and coated the back of the plate with several layers of white acrylic paint, allowing the paint to dry between layers. When the paint was dry I added a protective coat of acrylic sealer.

I am very pleased the way this turned out.  I love it when something I see in my minds eye turns out to look the way I envisioned it.

Now I am trying to decide if I want to have a pair of these plates by making a co-ordinating plate.


Happy Crafting!


Friday, October 23, 2015

Shabby Chic Tray Table Redo


This sad little vintage tole painted table needed some love and care.  It came from Mr. K's family so I felt like I wanted to save it.  This piece would make a really cute shabby chic end table.


There was a lot wrong with it, to start with the front edge was bent and rusted.  The paint had cracked in places.

I straightened the metal tray and gave it a coat of, (you know what's coming) chalk paint, of course, to hide it's many flaws.
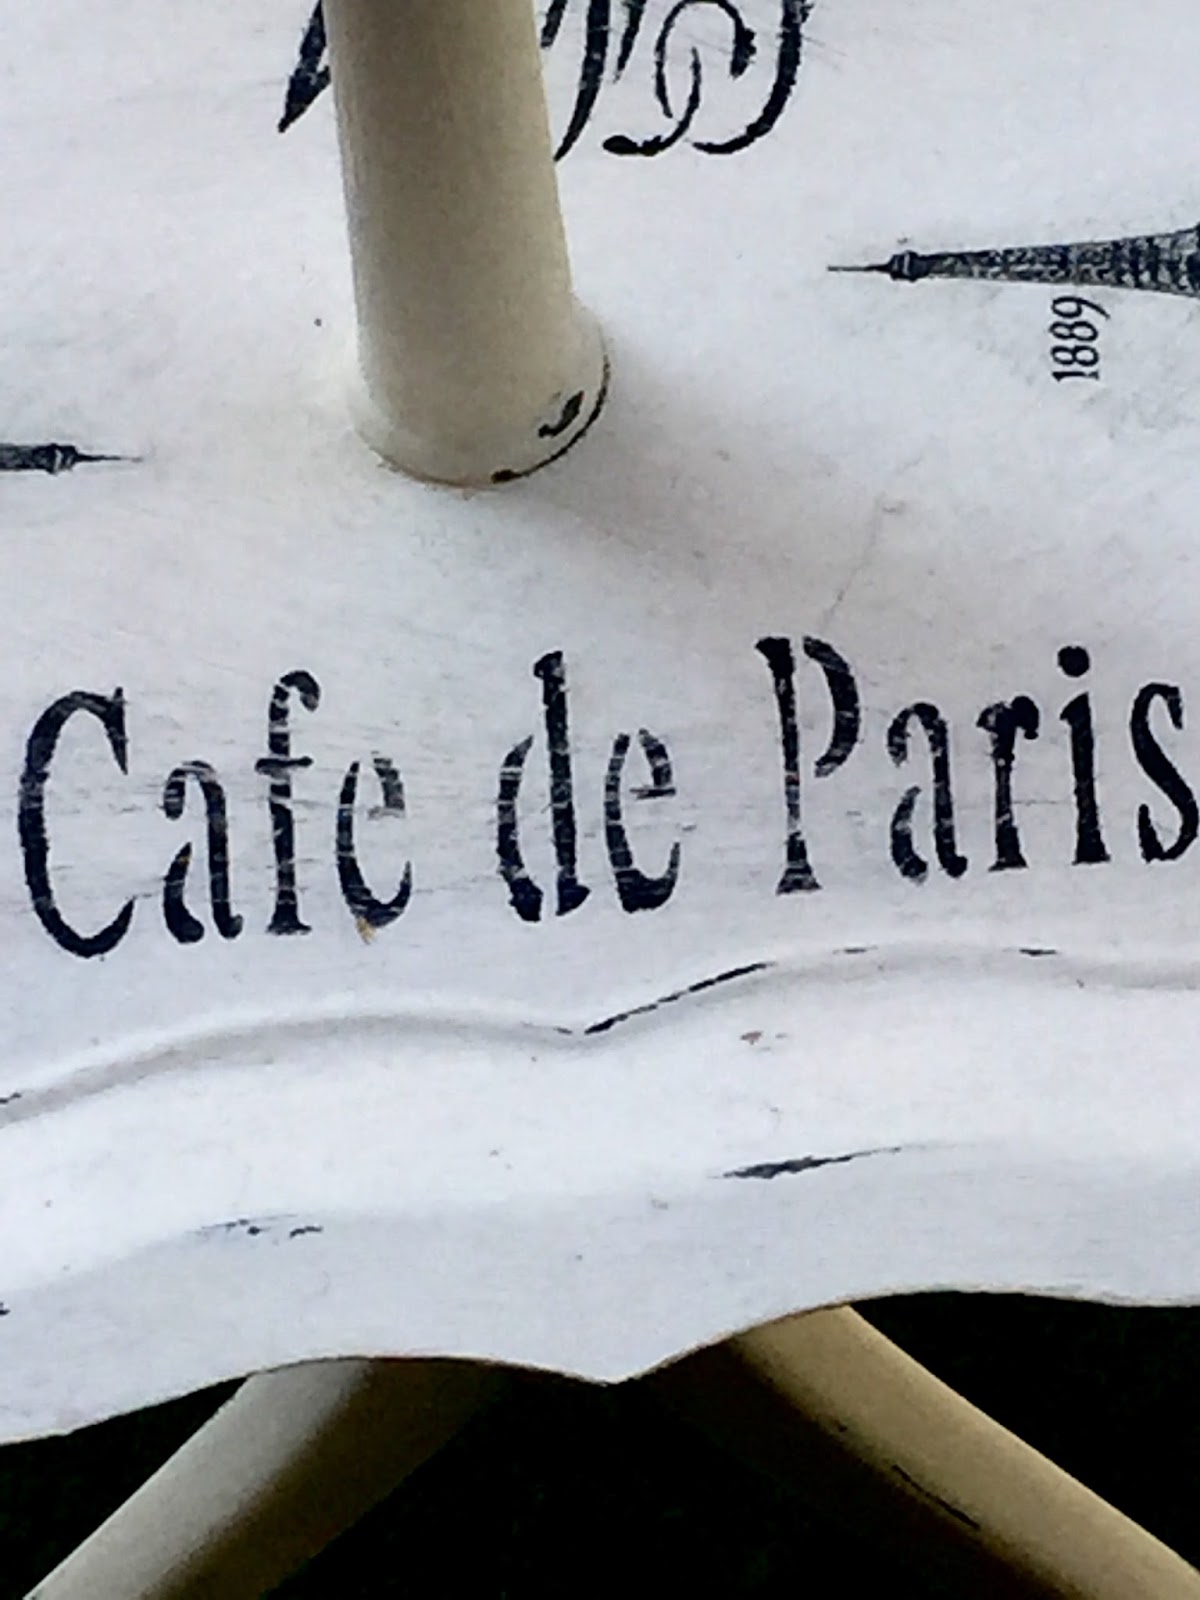
French graphic stencil

Then I added a French graphic from one of the stencils I had ordered off Amazon. Next I decoupaged two Eiffel Tower images from paper napkins to the top. 

Paper napkin image

 When everything was dry I lightly sanded the stenciling and high points of the tray.


That's it, done.  Pretty simple transformation.