Wednesday, June 15, 2016

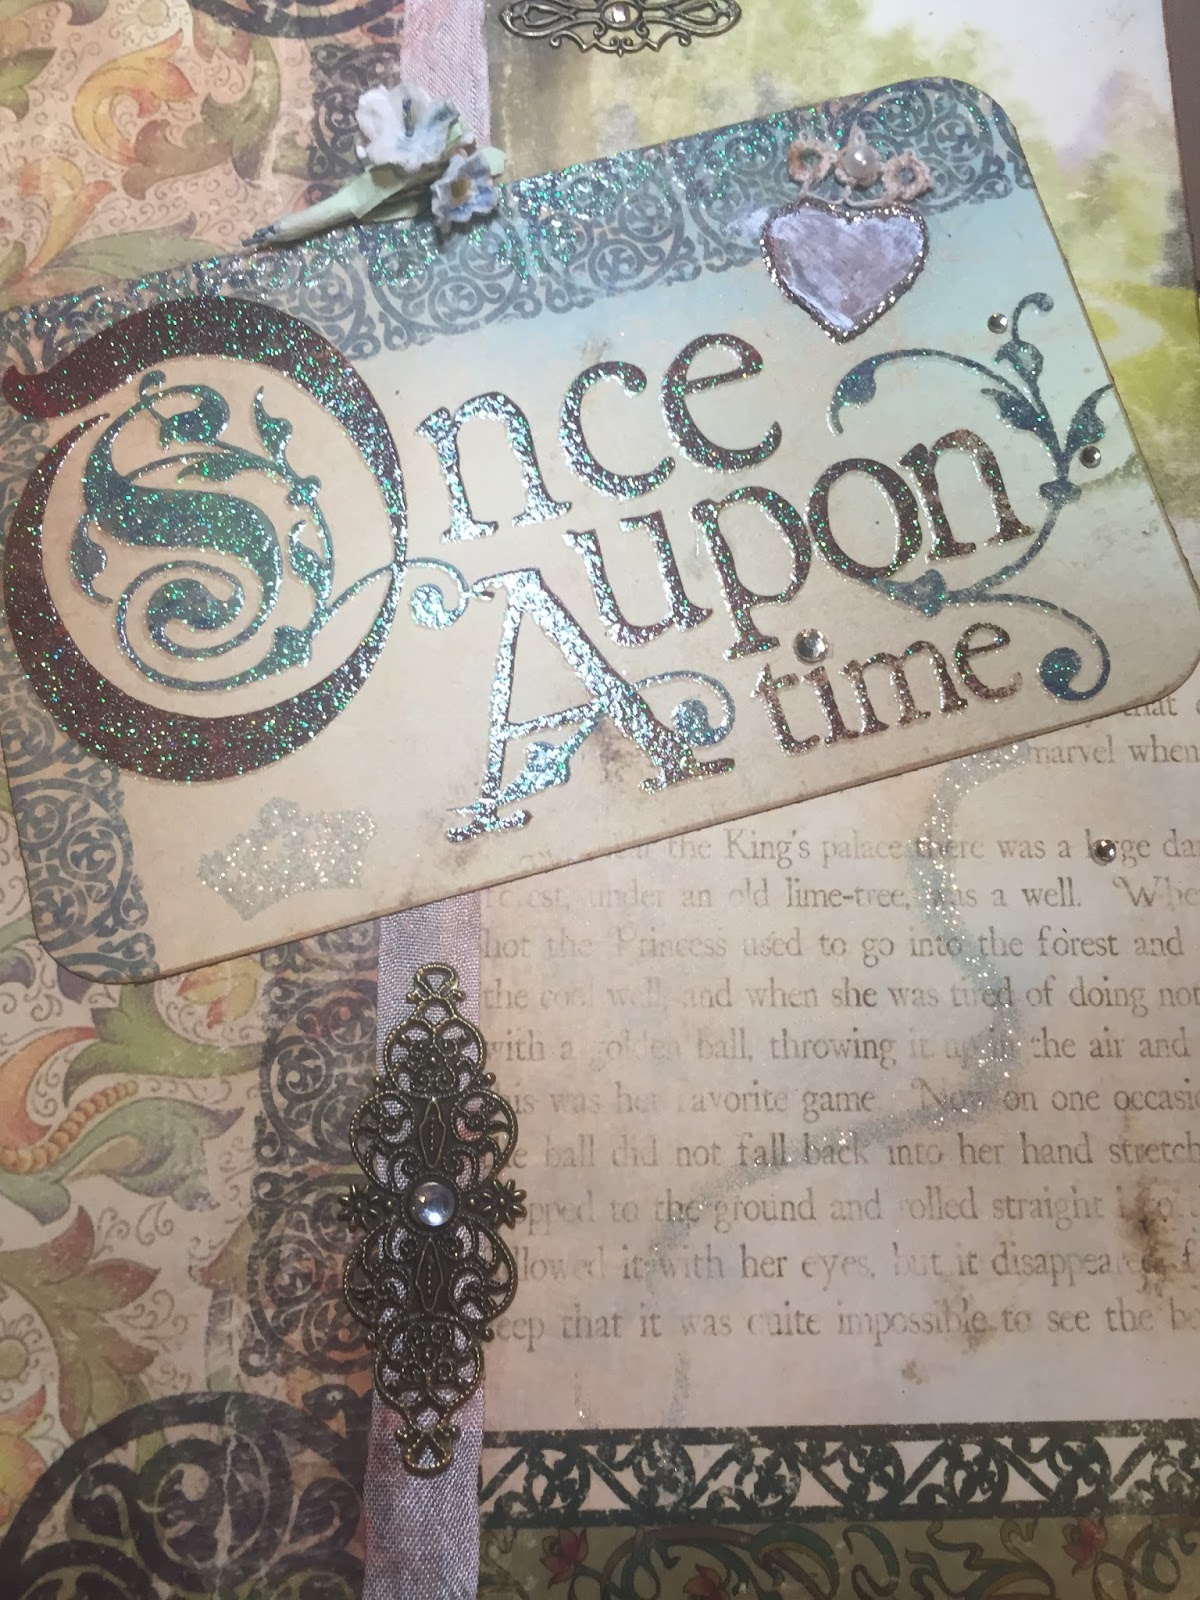
Once Upon a Time Upcycled Composition Book


I started out with this plain old fashioned composition book.


I chose my paper from this 2013  paper from DCWV called Once Upon a Time.


First thing I did was cover the front and back covers with papers.


from cover


On the inside cover I made a little pocket that I filled with 2 tags I made from the paper collection.

tags inside front cover


On the inside of the back cover I attached  a pen I covered with the same  paper I used on the cover then painted the tip of the pen to match the paper collection and glued a half pearl to the top.


These are the 4 papers I chose from the collection to form the divider pages.


I cut 2 tabs from matching page papers for each divider and a rectangle for the back page.  On the edges I used distressing ink to hide the white cut edges.


Here are the 4 pages cut to size with corners rounded.


Here is a shot of the edge.  The distress ink covers the whiteness of the cut edge.


Next I glued the 1 of the 4 dividers to every 25th page.


1st divider

First divider, here you can see the seam binding and fiber I used for a book mark.

2nd divider

Another page glued into place.

3rd divider

One more divider glued into place.

4th divider


Back cover.


Here is some of the detail from the front cover. Now all ready to use for journaling, notes, or what ever  you need to keep track of.


Happy Crafting!


Tuesday, June 14, 2016

Finial Make Over


I came across this poor little finial in a thrift store. It stands about 8" tall.  I thought I could repair and paint it in shabby chic colors.  A couple of the leaves where chipped and the there was a chip at the bottom.


Here it is getting it's coat of gray paint.  I repaired the chips first by mixing just a little Plaster of Paris and sculpting the leaf and filling the chips.

Plaster of Paris mixed with a little water for repairs

Repaired damage


Here is the the leaf repaired and painted.  You can't tell that it was ever broken.


Before the gray chalk paint was dry I lightly brush white onto the high areas and slightly blended.


When those colors where dry I highlighted the raised areas with an aqua colored chalk paint in just a few places.


Now it looks like it is concrete with worn off paint.


Happy Crafting!


Monday, June 13, 2016

Sewing Tools Organizer


I decided I needed something to keep all my little sewing tools handy while sewing.  Like seam rippers, little scissors, hem rulers, etc.  All the little things that always seem to roll off the table when I am working.  So I designed this little cloth book.

My organizer measures about 8" x10", folded close.  But you can make it any size you need to fit your tools.

 Below is a picture after stitching together before decorating.

front cover


I started out by measuring 2 pieces of cardboard for the covers.  I measured my longest tool to determine the height of the organizer and added about a half inch for folding the organizer closed.  Then I laid those out next to each other to get the width measurement.

Next I cut 2  pieces of fabric a little larger all around then the measurement of both pieces of cardboard laid side by side with a little space between, about 1/2" should be enough for the inside and outside covers.  For the pocket side I measured and cut 4 pieces of fabric to form the inside pockets, each about half shorter the last one and the width of the main fabric.   I hemmed the top of each piece and stitched pockets to fit my tools, leaving the bottom open as this will be sewn into the seam of the main cover piece later.

I stitched down both sides, right sides together with the pockets pinned together inside between the cover fabric pieces, sewing the pockets in place on each side and across the bottom then turned the piece right side out.  I inserted one piece of cardboard then stitched down the middle forming the spine.  I slipped the second piece of cardboard in and folded the remaining open end in and stitched it close with a piece of felt in the seam, facing out, to form the inside cover piece.  Here I used a piece of brown felt.  I also  added a loop of elastic in the seam, on the outside side of the organizer, as I stitched it close to form the closure.


felt folded to inside covering tools


Now flip felt to outside and fold organizer the opposite direction with felt underneath to stand.

Here is the organizer folded backwards with the felt underneath.  This keeps the organizer standing so it won't slip when in use and flips to the inside when folded close to protect my tools.


felt folded to outside forming non slip base

I had several different pieces of flannel left over from another project so I used these to form the pockets.  Love the way all the pattern are in coordinating colors. But you could use all the same colored fabric. I just wanted to use up all those little pieces of fabric I have been saving.  The flannel helps cushion my tools and being such a soft fabric the tools don't slide out of the pockets when opening and closing the organizer. 

pockets filled with tools


here I folded the felt underneath out of the way but still under the front for stability


I used my hot glue gun to add lace to the back, inside and front covers .

back and front covers


added 2 pieces of lace to inside back cover


2 pieces to outside cover

For the front cover I hot glued a piece of  white lace fabric to the front then I glued a narrow piece of ecru lace around the edge.   And lastly glued three vintage crocheted medallions in place with a pearl glued into the center of each.


closed with felt folded to inside and elastic closure around book

Very handy to stand by my sewing machine to keep everything in sight and easy to use.


Happy Crafting!


Saturday, June 11, 2016

Week in Review


Here's a review of this week's posts.

Monday

Garden Butterfly


Tuesday

Little Blue Green Bedside Table


Wednesday

Planter Redo


Thursday

Brass Lamp and Lampshade Makeover


Friday

Chunky Pearl Earrings


Happy Weekend!

Friday, June 10, 2016

Chunky Peal Earrings.


This morning I was looking through my stash of beads and thought these large pearls would be interesting made into a pair of earrings.  So here are the components I used.  For each earring I used a large pearl, a large light blue Czech bead and a smaller, darker Czech bead, plus 2 silver vintage bead caps.


I used the smallest bead to make a dangling component on a headpin.  Then added the bead caps to the  pearls along with the medium bead on an eye pin.


And here is the finished pair.  I am trying to grow my hair a little longer.  These are sure to show when it grows out longer.


Happy Crafting!


Thursday, June 9, 2016

Brass Lamp and Lampshade Makeover


Well, we are finally having our first heat wave of the year.  Time to hibernate indoors until the sun goes down.

Last night at about midnight I decided I needed a lamp on the bedside table I just finished.  Hmmm. The only one I could move into the guest room was brass with a dark green shade.  No! Just not right.

I think I get a little daring in the middle of the night. Anyway I decided to paint the lamp aqua.  Now what to do about  the shade.  Well, I read somewhere you can paint fabric with chalk paint.  So that's what I did.


Like I said it was the middle of the night so I forgot to get before pictures.  The shade was dark green like the one above.  And the lamp to the right is very similar to the one I had


I gave the lamp 2 coats of aqua chalk paint.  I really like the color and the shape, now.


The lampshade also took 2 coats of paint.  I used a small stiff brush to work the paint into the trim.

When the paint was dry I used a stencil with gray chalk paint to add the focal medallion.  I was initially concerned that the very dark green fabric would be difficult to hide.  But no, the paint completely covered the dark color.


The lamp gives off a nice soft light for bedside the bed.  Not too bright and glaring.  I have a reading light that is mounted on the wall directly over the bed.  So there is need for bright light from this lamp.


Now I just might have to paint the reading light shade to match this lamp.  I will have to give that some thought.  The fixture is also shiny brass.  Maybe I will paint that to match this lamp, also.


Happy Crafting!