Showing posts with label wood. Show all posts

Tuesday, November 8, 2016

Old Trellis Becomes a Rustic Christmas Tree


I have a few of these old redwood trellises leaning against the fence.  I used them for climbing vines. But now they have seen better days and are falling apart.

So, while out in the yard one day I was think what to do with these.  Toss them away or make something new?

You know the answer make something new and since it is near the Holidays why not a Christmas tree.


I went out and started pulling the pieces off and when I had a stack of graduated sized I brought them inside and began to assemble my Christmas tree.

 Only the top few pieces needed to be cut to length the rest where already the perfect length.

I pulled all the rusty wire staples out and set them in order of size.


And started to glue them to my longest piece, that formed the trunk, with hot glue.


In the picture below you can see the tree fully assembled.  It stands about 2 feet tall.


Using a dry brush technique I brushed on shades of green, pink and white on different pieces of the wood.


When my paint was dry, which didn't take very long since it went on almost dry I added my decorations.

Vintage buttons, white faux snow on the edges and a little glitter for a frosty effect.


I have 4 boxes of vintage buttons that people have given to me over the years.  It is hard nowadays to find very many vintage buttons a affordable prices.  Glad I still have some to work with in my crafting.


Haven't decided where to use it but I am sure I will find just the perfect spot when the time comes to decorate the house for Christmas.


Happy Crafting!


Friday, July 29, 2016

Shabby Chic Christmas Deer


Awhile back I found these 2 little wooden deer at the thrift store.  I paid $.50 each.  I thought I would make the pair of shabby chic momma and baby deer.


The first thing I needed to do was to remove the glue from the larger one.  That was a tough job.  I ended up, very carefully, using an Xacto Knife to carve and chip away all the glue.

Next I gave both of them a coat of white chalk paint.


Then I choose a rose patterned napkin from my stash and carefully separated the top printed layer from the bottom to layers.


After that I cut and tore the motifs I decided to use for the project.


Then using Mod Podge I glued the roses and buds in a pleasing design.  

I also glued three flowers to the back shoulders of the momma deer and 1 flower by her ear.


I gave them both a complete coat of Mod Podge and let them dry.

For their eyes I glued teardrop shaped black crystals to the baby and 2 black heart crystals for the momma.


Happy Crafting!


Tuesday, July 19, 2016

Vintage Market Globe


Last weekend I went to another local vintage fair.  This one is held once a month. Don't know how I had never heard of it before now.

I have been on the lookout for a small globe for some time that I could do a remake on.  There was a last chance room at the vintage fair where everything was marked way down and there it was.  The perfect little globe for what I had in mind.  It measures about 8 inches high.

It didn't look so perfect when I found the poor thing.  I did notice it was made of wood and was stamped on the bottom "Italy".  But the surface was scratched and the base was coming apart.

Not to worry though, it was easy enough to glue the base back together and patch the surface of the map.  I didn't care it had a scratched surface because I intended to paint the entire surface.

Before


I love the way it comes apart, spins and tilts.


My vision was to paint a globe in black and gold.  So here is the first coat of black and gold paint.  Not much of an improvement yet.


I added a second coat of paint.  For the gold I used Martha Stewart's liquid gold leaf.  Make sure to use this paint in a well ventilated area as it has some pretty strong fumes.

On the base I painted the columns flat black and the rest gold.

When the paint was dry I glued 4 crystals around the top edge of the stand and 4 on the bottom support, also 1 on the top of the globe.

What doesn't show in the photo is that I painted the vertical support for the globe itself gold on the edge and used a black shiny glitter black paint on the face.  I also coated the entire globe with a coat of glossy high luster Mod Podge when the paint was dry.

After


Before

Hard to tell this is the same little globe and here it is on my mantel setting on top of an antique book.  Now it looks like a piece you would find at one of those high end department stores.  Who would guess that I only paid $6.00 for this cute little globe.


Happy Crafting!


Wednesday, November 4, 2015

Wooden Book with Pull Out Drawer


 We have had two wonderful days of gentle rain.  According to today's newspaper, last year was the driest winter in 500 years.  I hope this rain is a sign of a better winter to come.


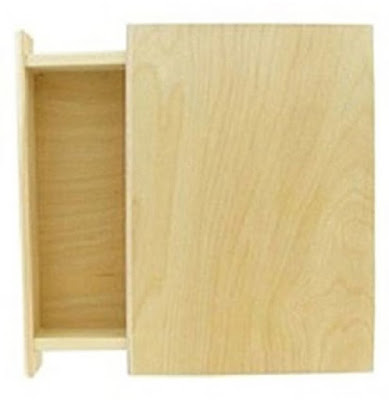
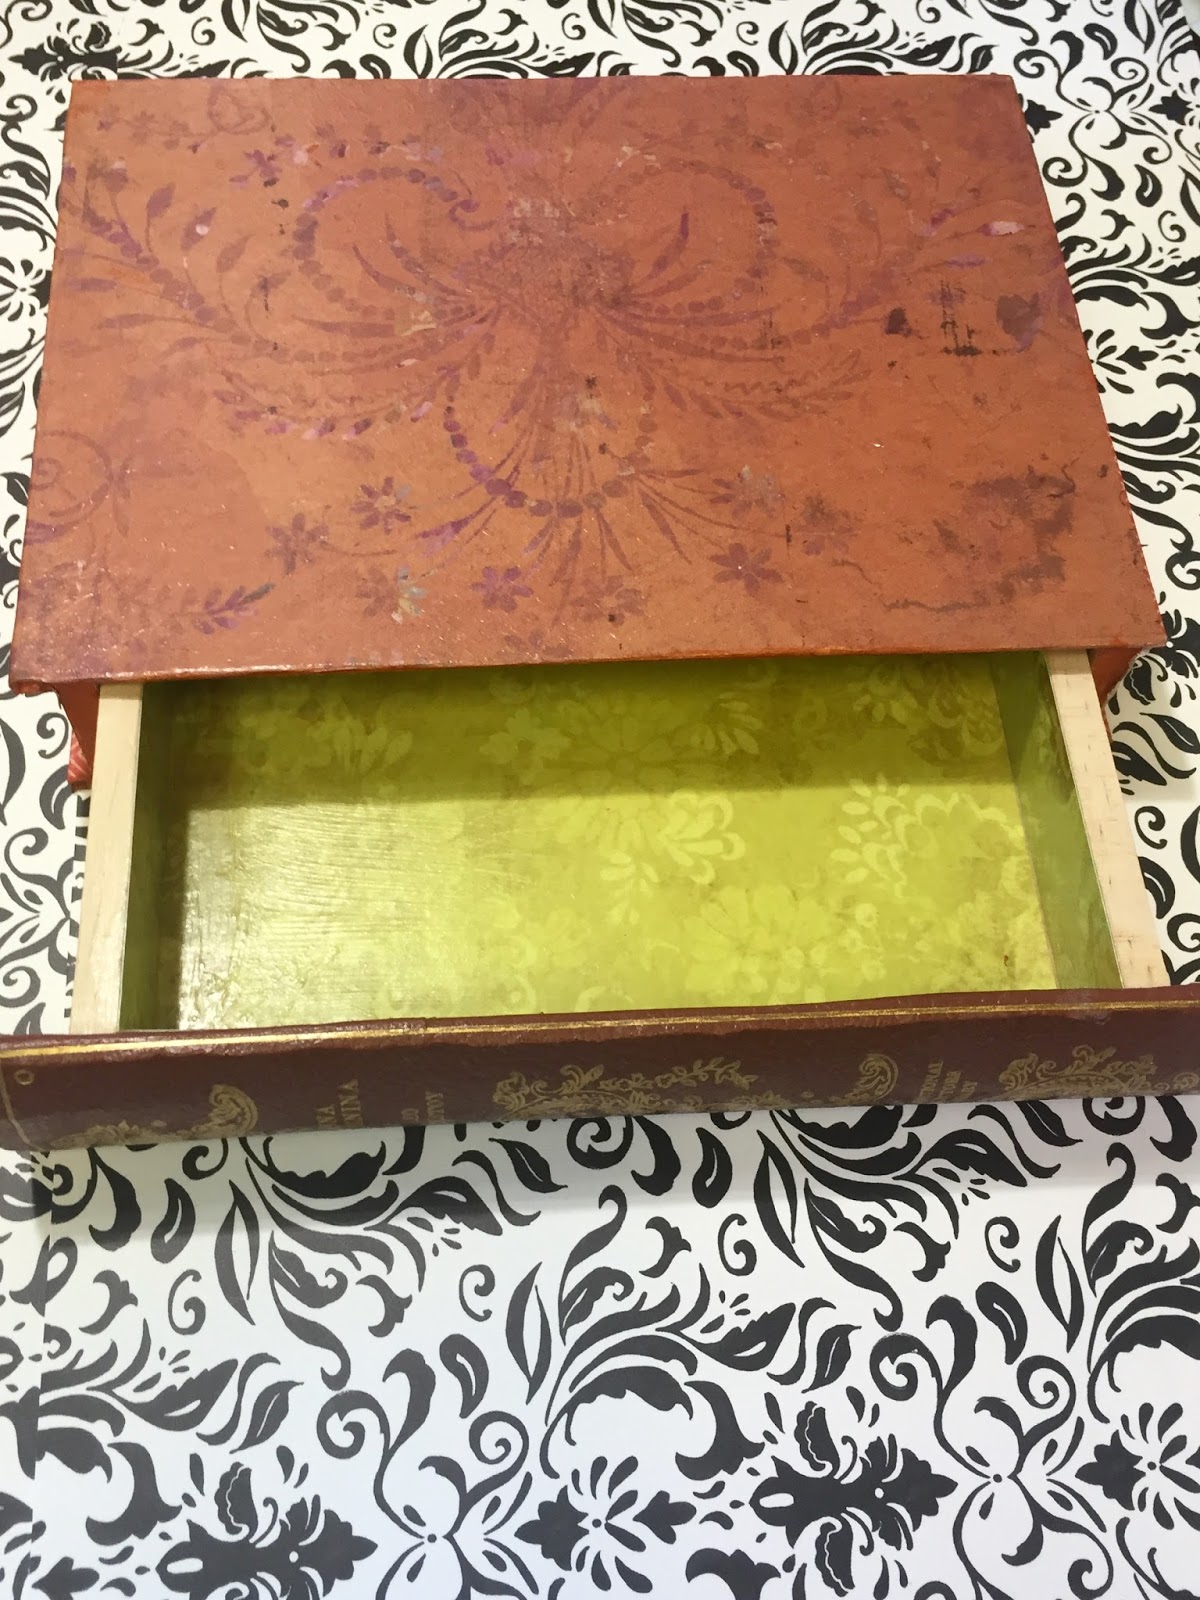
For today's project I finished this wooden book. Doesn't look like much at first glance but when completed it will hide in plain site in any bookshelf.   A good place to stash something you don't want out in the open.


You can find these wooden book boxes at craft stores or online.

I found an old book in a second hand store that the front and back covers weren't in the best shape but the spine was the right size to fit the spine of my box.  Carefully cut the spine off the book.  I saved the covers and pages for other projects.

You start by painting the top and bottom edges of the box spine to match your book spine. Next glue the book spine to the front of the drawer. (Box spine).   I left as much of the soft edge of the spine attached as I could to give me something to glue to the wooden spine.  That edge you wrap around the edge of the drawer and glue in place covering the wooden edge of the drawer.


Find yourself a scrapbook paper to match you book spine.  Paint the edges of the box to match the scrapbook paper with acrylic paint.  When the paint is dry glue the paper to the front and back of the box.  Next when your paper is dry give it a light coat of Mod Podge, if you like, to make it durable.
I found a washi tape in the same color family and applied that to the inner exposed edged of the book cover. You can just see a bit of the chevron pattern peeking out on the lower edge in the following photo. It gives the inside edge of the box the look of having end papers inside the cover just like real books have.


I had some tan packing paper, it's thinner than copy paper, that I cut the same length as the top, bottom and front edges of the book and about 1 1/4 times as wide.  Here you apply a liberal amount of Mod Podge to all the sides of the box (book pages).   Next, roughly accordion fold and scrunch the paper lengthwise and apply to the edges to resemble the pages of a book.  When that is dry lightly distress with a brown distress ink for an aged look.  Another idea would be to photo copy the edge of a real book and apply the image as your book pages.  I like the texture the scrunched paper gave.  Old books don't have smooth neat edges on their pages.


For the inside choose a coordinating paper and cut strips to glue around the 4 sides and 1 piece for the bottom.  Again, when that was dry I lightly coated the entire inside with Mod Podge.


Here is the finished book box.


And when it is put in a bookcase with other books no one can tell it is a book with a hidden drawer.


Happy Crafting!


Wednesday, October 21, 2015

Salvaged Wood Chalkboard


A few years ago I found this odd piece of wood in an old building.  I have no idea what it's original purpose was but I took it home and in the garage it went.  I had always intended to make something out of it.  Whenever  I saw it sitting out there all dusty and covered with cobwebs nothing ever came to mind.  I mean, look at it.  Strange hole in the center, feet on the bottom and plywood on top. But still, I could never bring myself to throw it away.  It even made a couple moves with me.  Somehow I always felt it still had a life to live.  Those turnings where so pretty and the piece seemed old and it was very sturdy.  Then one day out of the blue, I had it.  Of course, it would make a perfect chalkboard/menu board.  I didn't say anything to Mr. K, he would have just shook his head and said "really".  
Finally, I had my vision for the piece, so out to the garage I went to retrieve it, cobwebs and all.


I cleaned it up,  removed stray nails and brought out my trusty chalk paint.  It actually took 2 coats to cover that dark old stain.  


  I added a wooden finials, on the top corners, to give it a more finished look. I found a piece of 1/4" lauan plywood in the garage and cut it to fit, covering the center and the hole.  This center piece got 2 coats of chalkboard paint. Then I added a piece of lace around the top edge. It needed to fit with my shabby chic decor.

Here it is sitting on my stove before the finials I ordered had arrived.
 With my glue gun I added a few mulberry flowers at the base of each turning and at the top center. And then couple of French inspired button tags I get from a great little shabby chic shop in Nevada City.  Also hot glued a small piece of trim on the center bottom ledge to hold the chalk from falling.


It took many years to decide what to do with this piece but I am glad I never threw it out.
It sits on my buffet with a seasonal greeting or special menus.