Showing posts with label wreath. Show all posts

Monday, November 28, 2016

Small Pinecone Wreath


I have been saving small pine cones from a neighbors tree for several years.  I now have a big bucket of these little pine cones and the tree has been cut down.

This year I decided to make a small wreath.  I began by gluing a brown colored scrapbook paper to the front side of a piece of white foam core board.

After the glue was dry I traced a large and a smaller plate onto the brown paper and cut it out with a sharp cutter.


Once my form was cut out I began adding the small pine cones with hot glue.


When I had all the pine cones glued to the form I used some of my shipping paper and twisted it into a rope that I glued to the inside  and outside edges.


This completely covered the white foam core edges.
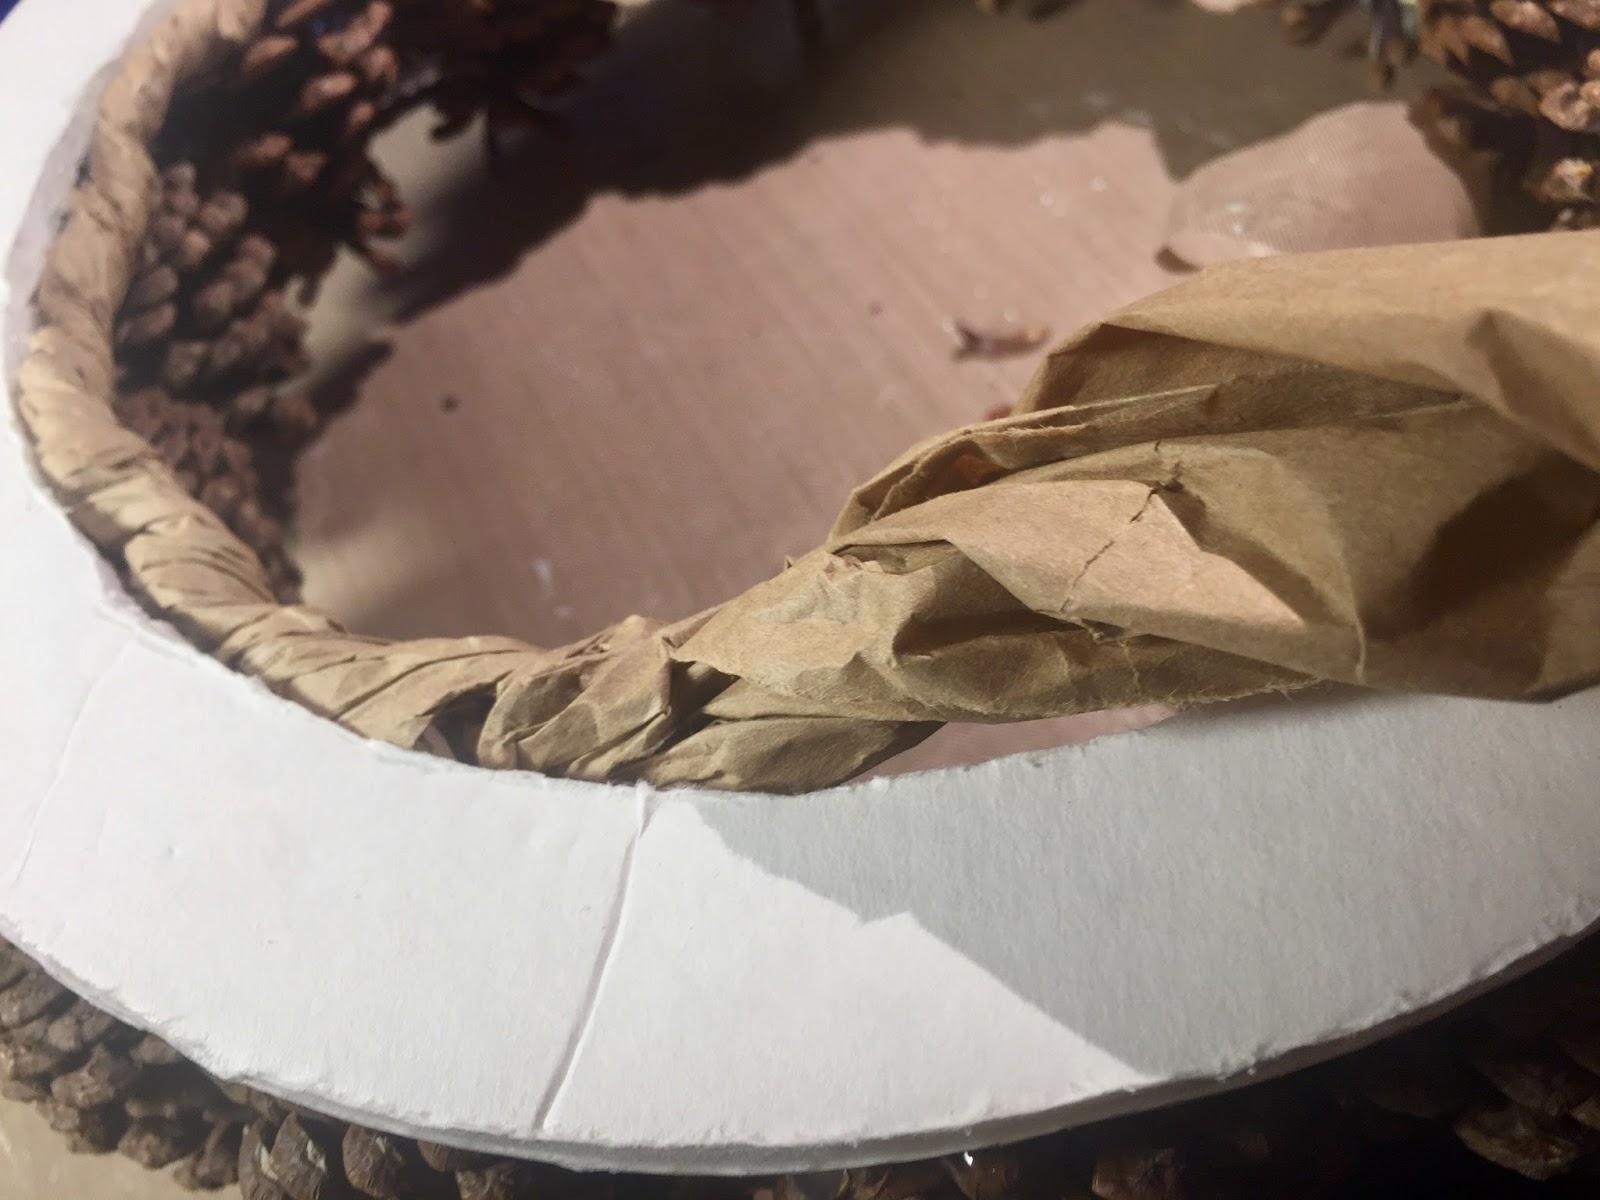
backside of wreath


Next I lightly brushed on some faux snow to the edges of the pine cones for a snowy effect.


To the bottom center I added a natural colored little bottle brush tree and added more snow around the base. 


 Then I added a bit of vintage lace to the top to act as a hanger.  I also glued a little silver bling to the tree.


Happy Crafting!


Tuesday, September 20, 2016

Black Crow Wreath


I collected a few items some from my stash and some from the Dollar Store to make my wreath.


The first thing I did was to wrap the wreath with the burlap style ribbon.


I formed a figure 8 at the bottom for the bird to stand on.


Next I cut a piece of the loose weave black fabric and using hot glue I added it to the top left side of the wreath.


Then I added a piece of twisted ribbon to the top for a hanger.


The crow was added to the bottom loop by inserting the metal prongs on his feet and gluing them place under the ribbon.  Then gluing the ribbon in place to steady the bird.


Next I glued Fall leaves and a branch that the bird can stand on.


To the leaves I glued a few metal gears then added a few orange beads.


Next I created a cobweb with hot glue on my silicone mat and hot glued it between the wreath and black fabric.


I added a flower under the crow.


I also used Glossy Accents to make his beak and eyes shiny.


And here is the finished wreath ready to hang.


Happy Crafting!


Monday, January 18, 2016

Peacock Feather Wreath


We heard back from Mr. K's doctor and his heart is fine. Seems he had such a low blood sugar that it sent his heart into fits and landed him in the hospital.  We are so happy that there is no damage to his heart.

well, now that everything is back to normal the area over my stove was looking a little blank after all the Christmas decorations came down. So I decided to use a plain twig wreath I had made last summer.  I think this one was from our Honeysuckle plant. This was a really quick project.  What took the most time was heating the glue gun.

I am on sort of on a peacock feather kick lately.  It all started when I bought the ribbon I made the bow for the wreath from that I purchased at Costco during the Holidays.  Then I bought pillow covers for my throw pillows in the living room and lastly a pack of feathers.  

I know some people believe peacock feathers are bad luck to have in the house.  I just can't help myself the colors are so beautiful.


here is a view of the back, it was just a bare twig wreath.


I simply chose about 12 of the prettiest feathers in the pack and started hot glueing them onto the wreath overlapping as I went, following the curve of the wreath and adding a simple bow at the bottom.


That is all there was to this project.  But it added a lot of color to my white kitchen.


It is nice to have blank wreaths handy when you need one.  During the warm months I collect twigs from the honeysuckle plants and curly willow tree in our yard to use for decorations later.  I simply strip the leaves off the twigs and form the wreaths of different sizes while the twigs are green and easy to bend.  Then let them dry for later use.


Happy Crafting!

Tuesday, November 24, 2015

Shabby Chic Lace Wreath


What to do with all my little pieces of lace left over from other projects?
How about a shabby chic wreath?

I started with a plain 12" Styrofoam wreath and began hot gluing each piece of lace to the wreath form wrapping around until the end of one piece and adding the next. Continued with a different lace until the entire form was covered.


When the wreath was completely covered I added handmade shabby flowers and a chiffon bow with a  center I made from blue and white faux pearls. Then added a little Eiffel Tower tag for one of my favorite shop that sell so many cute paper pieces.


Happy Crafting!