Tuesday, December 12, 2017

Apple Hill Trip 2017


This year's trip to Apple Hill was a gorgeous day.  Blue skies and warm.

Every year it is fun to visit a few different ranches plus some of the all time favorites.  There are over 40 ranches in this small area of the county, Larsen Valley, which is named after one of the original ranchers.


We started our visit at Larsen Ranch this year.  And since we went during the week the crowds were much smaller.  On the weekends it can take hours to make the 45 minute drive up the hill because there are so many out of area visitors.


They were in full swing boxing and transporting apples to market.


Love the old rusty vintage truck on display....


...and the old wooden wheel.


Another stop was a visit to High Hill Ranch for a slice of Apple Pie and a little crafters shopping.


And Mother Nature was displaying her beautiful Fall colors.


There parking lot is among these beautiful tall pine trees.  It is such a magical place for visitors from all over California and beyond.


Happy Travels! 


Thursday, December 7, 2017

Wooden Tray Makeover


I found this little tray at TJ MAXX awhile back in the discount aisle.  As always, loved the design but not the color so much. Too much of a sage green.


I was hoping this tray would fit on the top of my bread box to hold my most used spices.  And sure enough it is a perfect fit.
See the makeover of this breadbox on post dated April 10, 2017.


My first step was to paint the main body the same color I used on the breadbox, the pretty aqua color.


Then I decided to highlight all the open cutwork on the sides with white paint.

It almost makes it look like lace and I love the way the white brings out all the detail.


I took the tray outside to take this picture.  

This little tray is so pretty now, much lighter and airier in appearance.  


Here it is sitting atop the breadbox.

No more worries of the bottles falling off the top when I am busy cooking.


Happy Crafting!


SaveSave

Tuesday, December 5, 2017

Wooden Plaque with Bird


I  began with a plain unpainted wooden plaque that measures 12" x 12".


I also used wired twine and green leaves by the yard.


After sketching out the word love I formed the twine into the word "Love".  Then using hot glue a attached the leaves to the back of the word.


Next I set this aside until the plaque was finished.


I used white chalk paint for the first layer and lightly brushed it over the entire surface leaving parts of the bare wood showing through.


Next I randomly used these two colors to fill in the bare spots.


Still leaving some bare spots.


Here is the rough sketch I drew for the bird on a scrap piece of paper.  I covered the reverse side with pencil lead and made the tracing onto the wood plaque.


Here is the bird transferred to the plaque.


I painted the bird in white first to make the final colors on the bird pop.


Then I painted the bird, flower, leaves and red berries.


Added yellow berries, highlights and gray shadow around the images.


I also hot glued the twig for the bird to stand on.


And here is the plaque after the word was hot glued to the plaque and all finished.


 Then I turned around and there was my assistant and she is posing next to my tote bag that has here pictures all over it.  I wonder if she knew how cute she looked sitting there?  She is such a little diva.


 Happy Crafting!


Friday, December 1, 2017

New Butterfly Mold


Just received a new silicone mold in the mail that I ordered.  It is so cute and has 3 graduated molds.  Perfect for adding to future projects.


I used no heat air drying paper clay and dusted my molds with a tiny bit of corn starch for easy release.


After pinching off a small piece I kneaded the clay for a few seconds, rolled into a ball and pressed into the mold.


Making sure not to overfill the mold and press in evenly.


Next I used the side of a paint bottle to roll over the clay to make sure it is in all the details and as even as possible.  You can use anything round and smooth like a glass or a bottle side.


Then carefully roll the mold and gently remove the the clay and allow to dry.


I made the different sizes and let them dry, one flat and 3 with the wings up.


Once they were dry overnight I painted one of the butterflies with acrylic paint just to see how it would look.  

These can all be painted to match any project.


I love how all the detail shows.  Guess I will have go dig out my other shaped molds and see what I can make for future embellishments.

These mold can also be filled with hot glue, painted and used for embellishments.

These are so expensive when purchased at the craft stores.  It is very easy to make a ton of these for just a few pennies.  Wow!  


Happy Crafting!


Wednesday, November 29, 2017

Cute Little Monkey Lamp


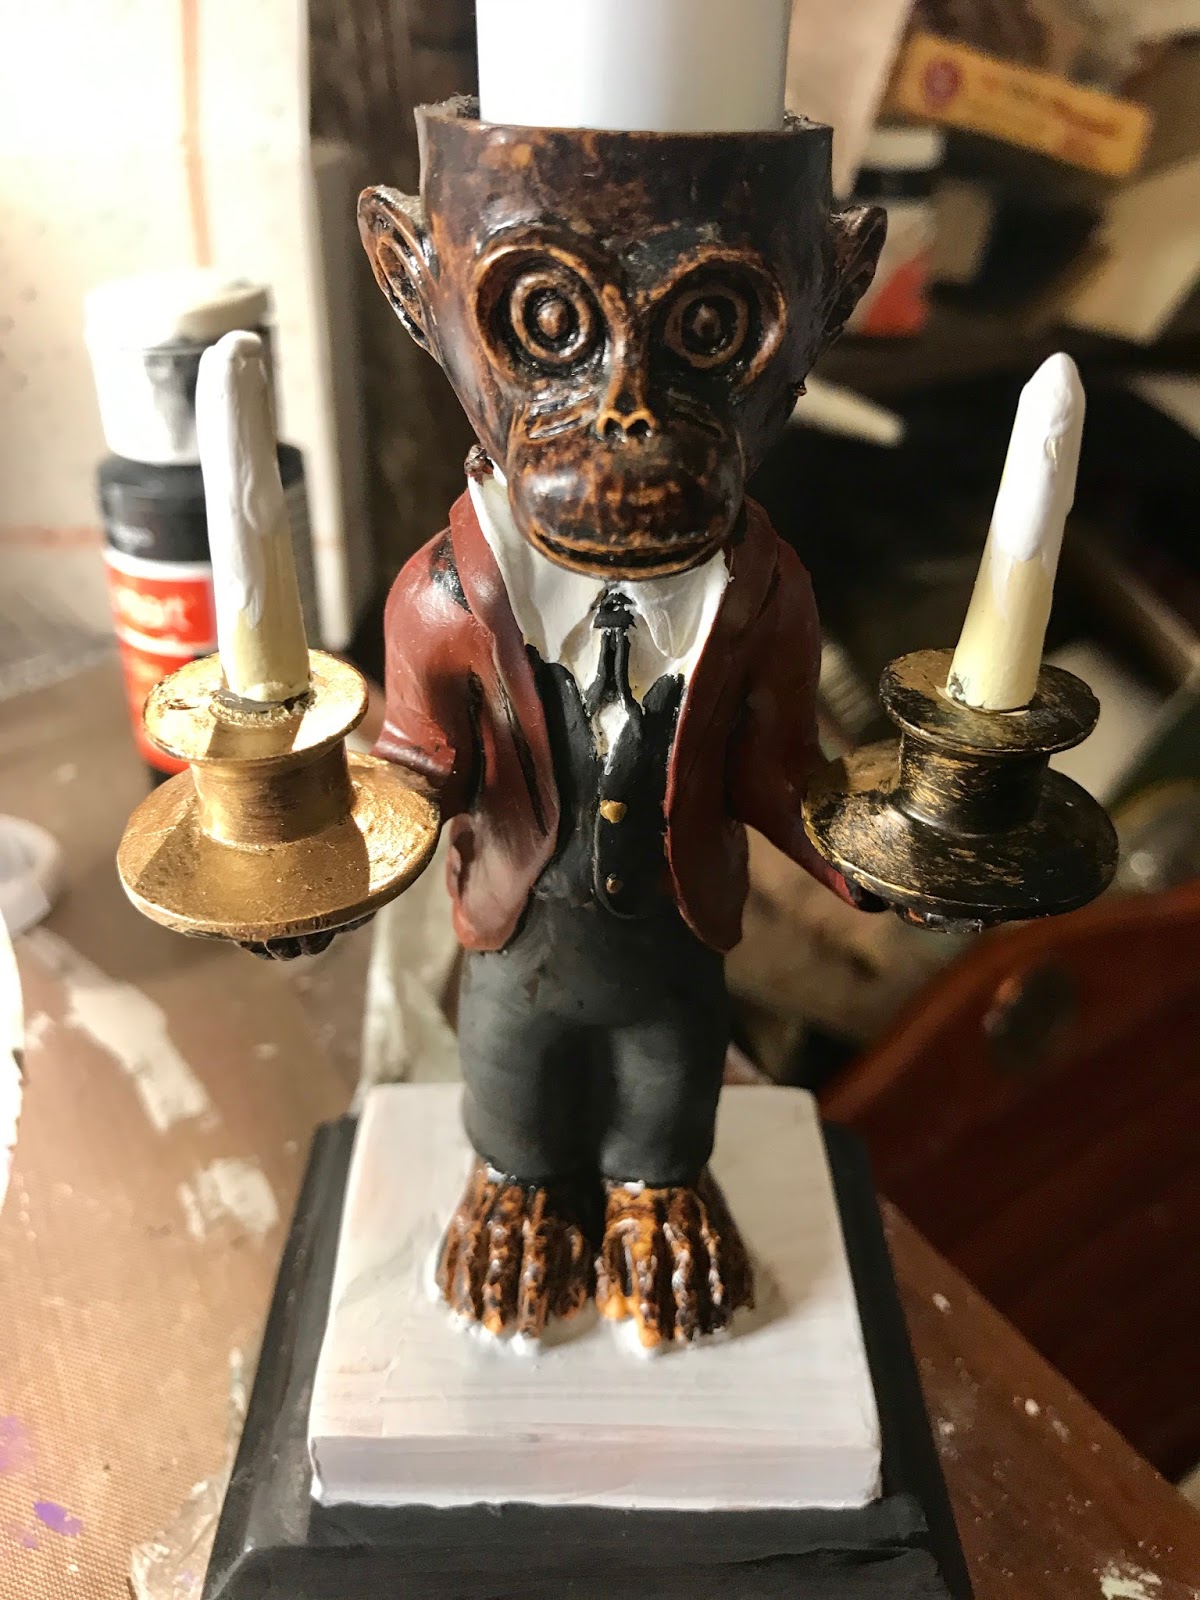
I pulled this poor little lamp, that has seen better days, out of storage. I wasn't crazy about the colors, either.  The little candle on the right side was broken off.


First thing I did was to glue the candle back in place.


Next, I repainted the base gray and added drips to the candles using white chalk paint.  I also painted the candleholders gold.


Then I painted the shirt white and the first coat of aqua paint on the coat.  I also painted the monkey with brown acrylic paint and his pants and vest black.


Now his coat has 2 coats.


Then I painted the lamp shade, no more red.


Using acrylic brown paint and a little water I worked the brown paint into the fabric.


Then added the aqua to the top and bottom bands.  


Using hot glue I added little flame tips to the candles and painted them with yellow and orange. The final thing I did was to paint the vest and stripes down the sides of the pants with a high gloss finish to give them the look of satin.


And here he is setting on the shelf in the kitchen I recently finished .


Happy Crafting!