Showing posts with label journal. Show all posts

Wednesday, April 5, 2017

New Journal with Lots of Bling


We went out to lunch today to our favorite Chinese restaurant and on the way home I stopped at Target to grab some nail polish remover.

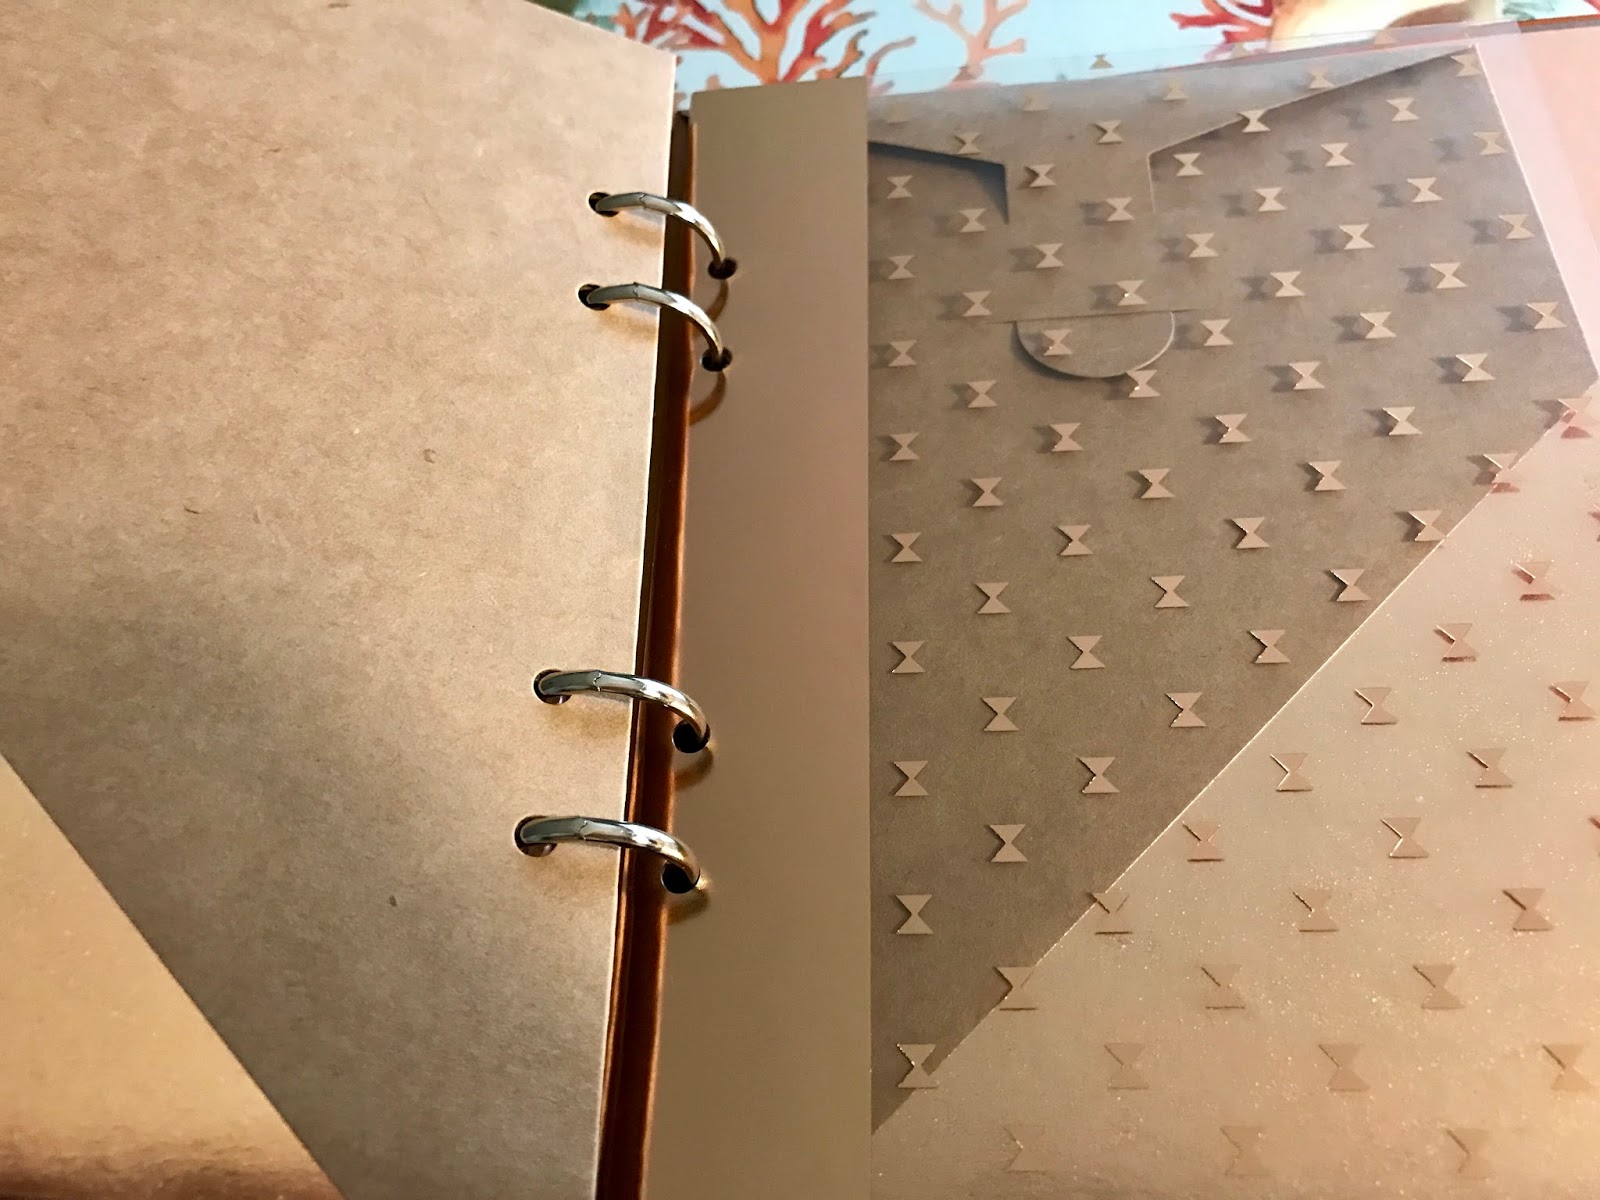
Well, while passing the markdown end cap I spotted the makings of a really cute journal.  Each piece was under $2.00.  I found the binder, divider pages and envelope pocket pages all at a very large discount.


I love the colors, shiny copper and natural brown paper.  There was also matching Washi Tape.


 There are 6 page dividers and I purchased 3 sets of 3 envelopes.


 Each of the page dividers is a different pattern.


The 9 envelopes I used 2 in front, 2 in back and one between each divider.  The corner of each envelope is dipped in copper, too.


I have matching copper scrapbook paper to use to decorate the front of the binder.


Using my Big Shot I cut out flower petals and glued them to the cover over a free hand stem I cut from the edge of the leftover paper.

I was left with a large section of paper I cut in half and scored to make a pocket for the front and back inside covers.  These I attached with Scor-tape.


I haven't quite decided what to use for the pages.  But once I do I will cut that paper to size and punch  holes to match the binder.


I gently curled the flower petals to give them a little dimension.


I addd a few rhinestone for bling and some bling faux rhinestone trim at the top and bottom of the front cover.


This journal is about the bling.


 Happy Crafting!


Friday, January 8, 2016

Sewing Notions Journal

My Mother had collected a lot of vintage notions, some dating back to the 1800"s.  One day while I was going through the box, she left to me, I decided to make them into a sewing journal.  I collected some images from Pinterest and found a paper line dedicated to sewing images that I used.  And so I began to create my journal.

Front Cover edged in vintage tatting


For the spine I used an off white lace and then pink corset tape I laced with white cording.

Dyed seam binding dangled down the spine with little vintage silver rhinestone buttons.


I used chip board that I covered for the covers, the pages on one side are from an old school instructional sewing book from the sixties and the other side I used the sewing themed scrapbook paper.  I made little tuck spots to hold as many of the antique sewing items as I could fit on the pages.

  I like the image in the bottom left corner, of a sewing pattern for a "Gone With the Wind" dress, on this page.


This page has a tiny pair of vintage sewing scissors, tags and envelope to hold any fabric samples I want so save in the future or sewing notes.  On the envelope I pinned a vintage yellow duck diaper pin.  The yellow piece on the left is a very old needle envelope from London, 1800's.


There is also a complete 1950 Workbasket needlework book I tucked behind a pink belly band.  Interesting reading, too.


Here I made a tag pocket and also tags are inserted behind the scrapbook page.
You can see there are tags all along the side of the pages that pull out for keeping notes or pictures of sewing projects.


More pieces of vintage notions and vintage measuring tapes.


This page has vintage hooks and a handmade flower.


More tags and notions.


Tags and tuck spots here.  Two cards of vintage hem tape.


This page has vintage rick rack, more tags and in the envelope, on the red card,  is a scissor sharpener from the 1940's.


This page has 2 needle cased that are Art Deco.  The scissor images I printed on clear acetate.


Here I added more tags a monogram for embroidery and printed the dressmaker image on clear acetate.  There is also a magnetic bookmark in the center top of the pages, the girl with the pink headband. And another yellow duck pin.


And on the last page I added and interesting little pair of scissors that have a screw adjustment in the center, some seam binding wrappers, a brown glassine envelope and a blue chalk pencil.

This was a fun album to make.  And reading all the wrappers from the vintage items was pretty interesting, too.


Happy Crafting!

Friday, November 27, 2015

Altered Vintage Book Cover Journal


So, who's out shopping on the day after Thanksgiving.  Wishing you light crowds and quick a trip.

I used the pages from this book on several other projects and decided to use these book covers for a journal.

I cut the back edges of the book covers close to the book board.  Then used a coordinating washi tape to cover the cut edge.  Next I punch 3 holes along the back edges and glued metal book corners in place to protect the worn corners of the book.


On the inside of the covers I glued two pieces from the original book with information about the author.  Next I coated both sides with Mod Podge to protect the covers.


To bind my new book I used 3 binder rings.  I had some cream colored paper in my stash that 
I cut down to 3 3/4" x 7".  I was able to get 3 journal pages from each sheet of paper.  I then punched 3 matching wholes in the new journal pages.  


For dividers I cut pieces of scrapbook paper to fit inside my book covers and added tabs to each of the 12 dividers.  I can use the tabs to divide by subject or by month.  Haven't decided how I want to label the tabs yet.


All that was left was to assemble the book.


It really makes a cute vintage inspired notebook.  And I was able to reuse the leftover parts of an old book and give it a new life.