Wednesday, February 14, 2018

Happy Valentines Day


Hope you all have a wonderful day.

Enjoy a little love today with family, friends, furry beings or even your love of nature.

Get out and do something you love today. And spoil yourself or someone else, today and every day.


That is what makes me happy, doing something random for some other person, friend, love or stranger.


RAK, random acts of kindness makes the world a better place.  Pass on a little love today.



Having a special day with my love.  Enjoy your special day, too.


Happy Valentines Day


SaveSave

Thursday, February 8, 2018

Vintage Market Medallion


I recently went to a vintage market.  I found an interesting metal gold colored medallion.  Not sure what it was originally intended to decorate.  And the seller didn't know either.

I decided I would make it into a pendant.


Oops, I forgot to take a photo of the front before I started to age it with Turquoise Rub N Buff patina.


Here is a picture of the really shiny backside.


There were two types of hooks on the back.  I choose to use a pair of pliers and gently bend the metal downward to touch the backside.


I added a nice coat of the patina to the center portion only.


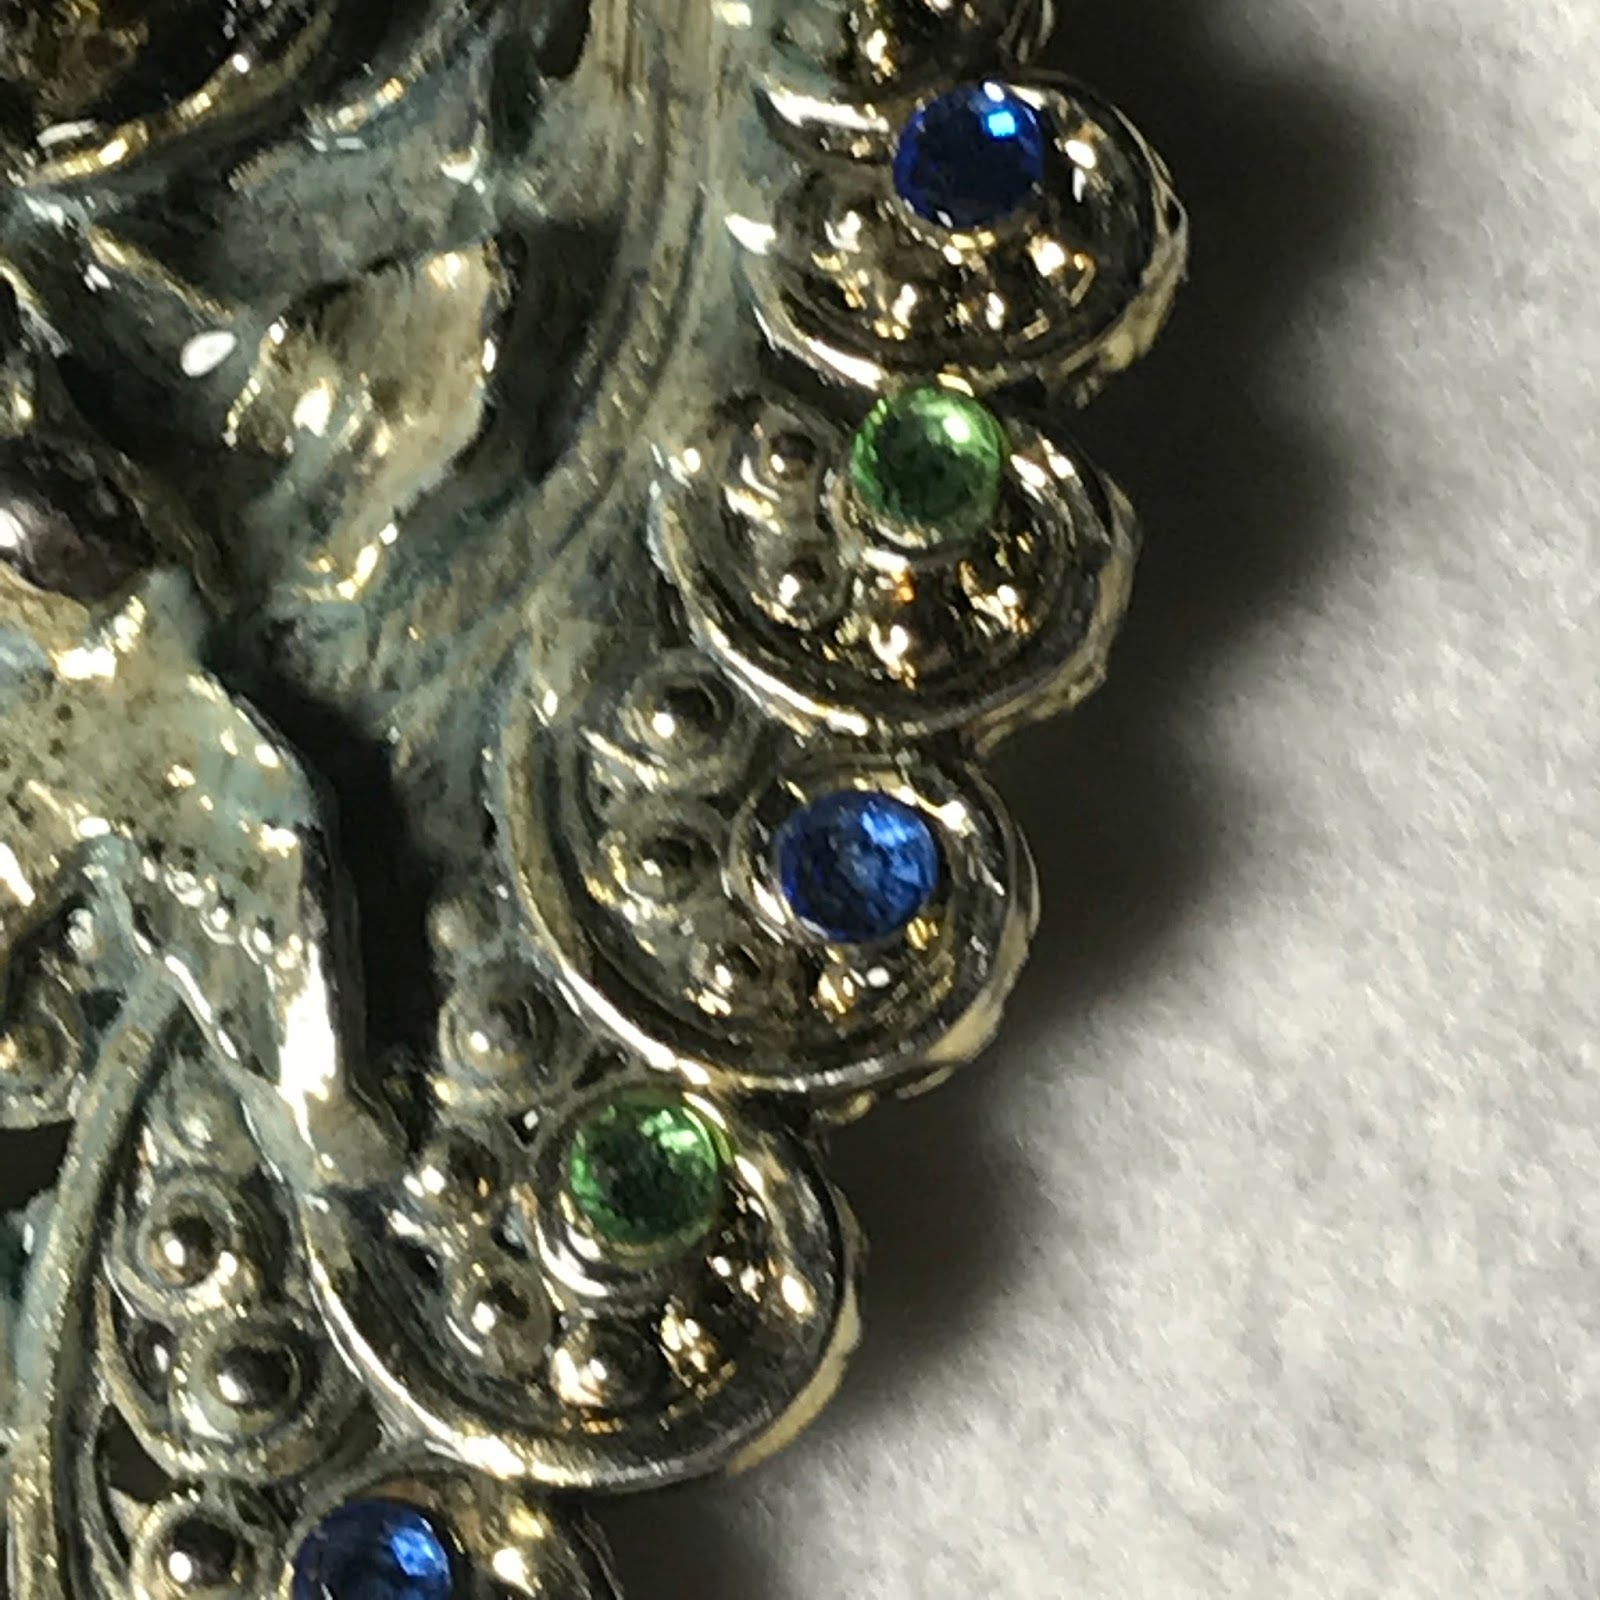
Next I went through my gem stash and chose to place blue and green stones around the edge.


Then I added a red stone to the rose and a couple of AB stones to the bottom. Then I buffed the patina  on the bird and surrounding areas.


I used Diamond Glaze to attach the stones and then I filled the entire piece with the Diamond Glaze.


 Diamond Glaze goes on cloudy and dries clear.


Here it is drying.  I left it to dry overnight.


While the piece was drying I wire wrapped 3 crystal drops and added them to the center bottom the next day.


Here you can see the patina after I buffed and the Diamond Glaze was dry.


Finally I added a gold chain.


Happy Crafting!


Tuesday, February 6, 2018

Upcycled Brown Shelf


I have been using an ugly 1980's brown shelf in my craft area that my husband had in college.

It was about time it got a makeover.  

Yesterday I removed all the junk I had stored (piled) there and cleaned the shelf really well and let it dry overnight.


First I gave the entire piece a coat of white chalk paint.


Yes, I"m working in my living room, the weather is too cold to work outside or in the garage.


I gave the support legs a second coat of white.

Then using Serentiy Blue I painted all the shelves.


When the chalk paint was dry I added a few touches of gold to the spindles and the finials at on the top.


I also went to the Dollar Store and bought storage containers that fit the shelves.  I left the very top without any of the large containers.  There I added a lamp to help light this corner.


This was a quick one day job.  Now I can't wait to organize all my crafting stuff that I use when working downstairs.  My main craft room is upstairs.  But I have this little corner were I sometimes work adjacent to my sewing area off the living room.

Tomorrow will be supply sorting days.  Keeping the good stuff and tossing the junk.

  I love organizing!  This should be fun uncovering all the forgotten stuff I had piled on this shelf and putting all the stuff away in a the baskets that makes sense and makes the stuff easy to see and use.


Happy Decorating!


Friday, February 2, 2018

Sock Gnome Winter Version


I have noticed the cute little gnomes all over the internet and thought I would make one for winter decor.  I think gnomes are so cute for any time of year.  A good source of socks for these little guys is the Dollar Store.  For mine I am just using what I have on hand.

Although the one below has faux fur beard mine is made of eyelash yarn since I didn't have any faux fur on hand.


I started with a solid weathered gray sock for the body and a striped one for the hat that I had on hand, also.  I bought a set of 3 pairs not long ago at Costco and just didn't like the feel of them on, so they became perfect for my gnome.


After cutting the sock off at the heel I filled the toe half with rice and lightly bounce it to get the shape I wanted for my gnome.


I secured the top with some twine tied tightly with a knot.


Next I cut the striped sock at the heel.


Using hot glue I pinched the top of the hat in the back and glue to a point.


Next came the nose.  I cut a square of muslim fabric placed a cotton ball in the center formed a ball and tied securely.


Then using hot glue I glue the nose in place under the hat before I glued the hat in place.


Next came the beard.  I cut a piece of white felt into the shape of a beard and hot glued rows of the eyelash yarn to cover the entire piece of felt.


I cut a notch at the top of the beard to fit around the nose and hot glued the beard in place.


I also bent the hat to the left and added a flower with a little of the yarn.


Happy Crafting!


Tuesday, January 30, 2018

Sock Gnome Valentines Version


On a rare visit to Walmart yesterday I spotted these Christmas stockings for only 19 cents.  I immediately thought I could use these to make Valentines Day gnomes.  Of course I did, what else would a person think of when seeing a stack of Christmas stockings?


I used the toe of the stockings for the base of my gnome.  I also cut the white top off to cut out the beard.


I began forming my gnome by filling the toe with rice and tying the top with twine to secure.


Next I fitted the top of the leftover sock from my winter gnome as the hat.


Then it was time to cut the beard from the white fabric.  Once it was cut out I ran a bead of hot glue along the edge on the wrong side and rolled the edge to the back.

I also cut out and stuffed the nose and glued it in place.


Then glued the beard in place. Next I folded the hat to the wrong side and glued it in place.


And finally I tied his hat in the middle and at the top with white eyelash yarn and glued two red hearts cut from the red stocking material.  I also looked through my stash and found two crystal gem hearts that I added to finish my gnome.


Happy Crafting!