Wednesday, January 10, 2018

December Travels Part 1


I hope everyone had a wonderful Christmas and New Years.  Now that the holidays are past it is time to get back to a regular routine.

We spent most of December on the high seas cruising to Mexico and made it home just in time to celebrate the holidays at home.

Our cruise left out of Los Angeles at the Port of San Pedro.  It was almost dusk as we sailed out of port.


Next day we spent the day at San Diego where hubby got to visit with an old class mate he hadn't seen in over 40 years.


Once out to sea we had the luck of passing another cruise ship.  Quite a rare site.  We have spent a lot of time cruising and have only seen another cruise ship at sea maybe one other time.  Looks like a Holland America ship.  We were on a Princess ship, our favorite cruise line.


Our second  stop was Cabo San Lucas.  Always love looking at the rock arch at Lands End,


We were anchored very far off the shore.


There was a boat race going on which made the tender trip to town close to 20 mins.  We stayed onboard that day.  No fun taking a small boat that far and we have been to Cabo many times.  Just spent a relaxing day enjoying the view from our balcony.


Our next port was La Paz in the Sea of Cortez. We took an excursion to see Hotel California in the small village of Todo Santos where we were served lunch, a variety of local cuisine.  One surprise we were served a pineapple tamale.  It was really delicious.


They were having a motorcycle rally.  The small quiet town was filled with bikes everywhere.


We were able to visit the towns beautiful cathedral.


Then had free time to visit several art galleries.  In one of the galleries I saw this adorable hummingbird carved out of avocado wood.


I thought this crumbling building was interesting with the wispy clouds in the sky.


The town was a lovely village and the weather was perfect with a light breeze blowing.


Spotted this truckload of goats on the way out of town.  Not something I see everyday.


Shot this view of the sea from the window of the bus on the way back to the ship.


And there's our ship waiting to carry us to our next destination.


And we sailed off into the sunset.


Happy Travels!


Sunday, December 31, 2017

Happy New Year


Wishing everyone a wonderful New Year.


Safe and healthy and prosperous.


Happy Wishes for the New Year!


Monday, December 25, 2017

Merry Christmas


Here's wishing you a Merry Christmas filled with good friends, family and good food.


Filled with wonderful memories of Christmases past.


And a wishing you day brimming
 with joy and excitement from our house to yours.


Merry Christmas!

Friday, December 22, 2017

Vintage Fair Finds


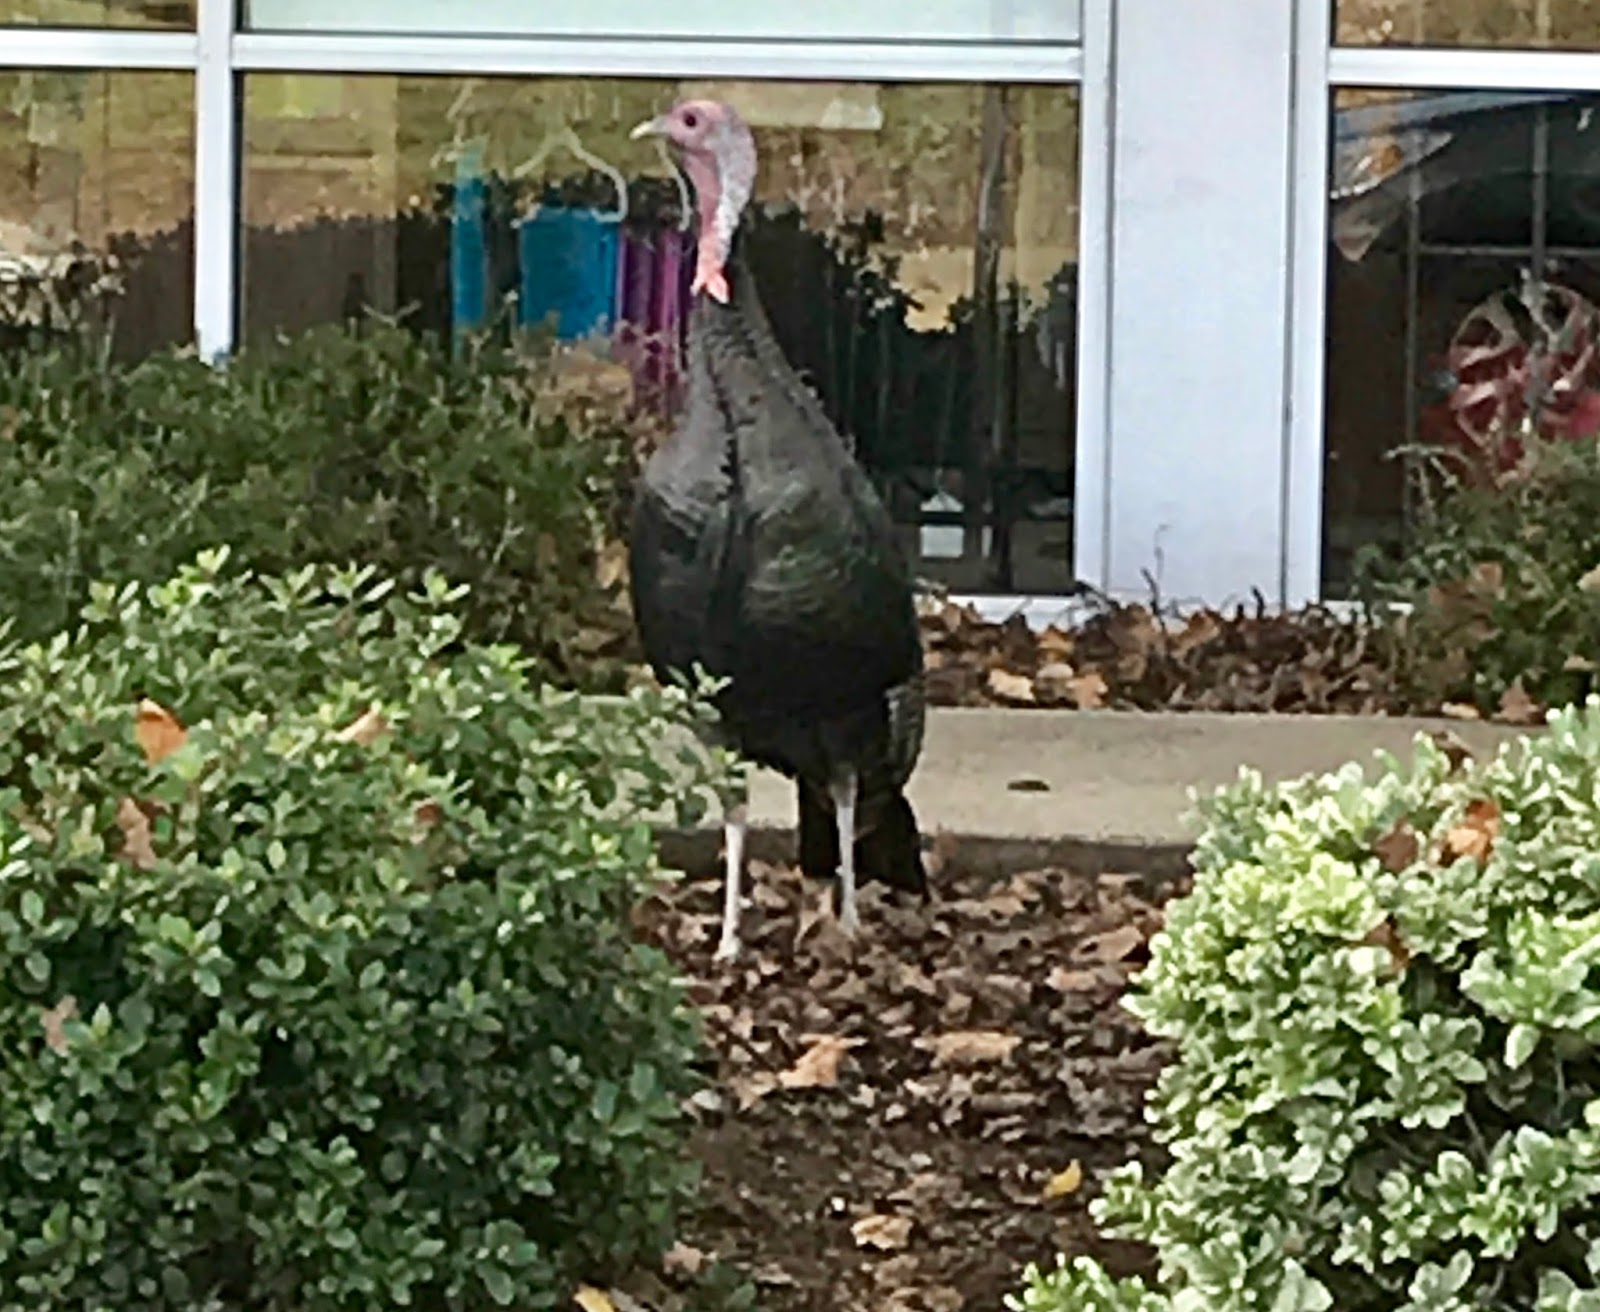
While driving home this guy was standing at the street corner staring at us when we stopped for the red light.  This is a really busy street in the middle of town.  Yet the wild turkeys are thriving.  It is said they are one of the most successful reintroduction of wildlife in the country.  They are everywhere.


Here is the only vintage item I found this month.  It is about two feet long and looks to be an old piece of oak trim.  I think I will make a skinny sign with it.


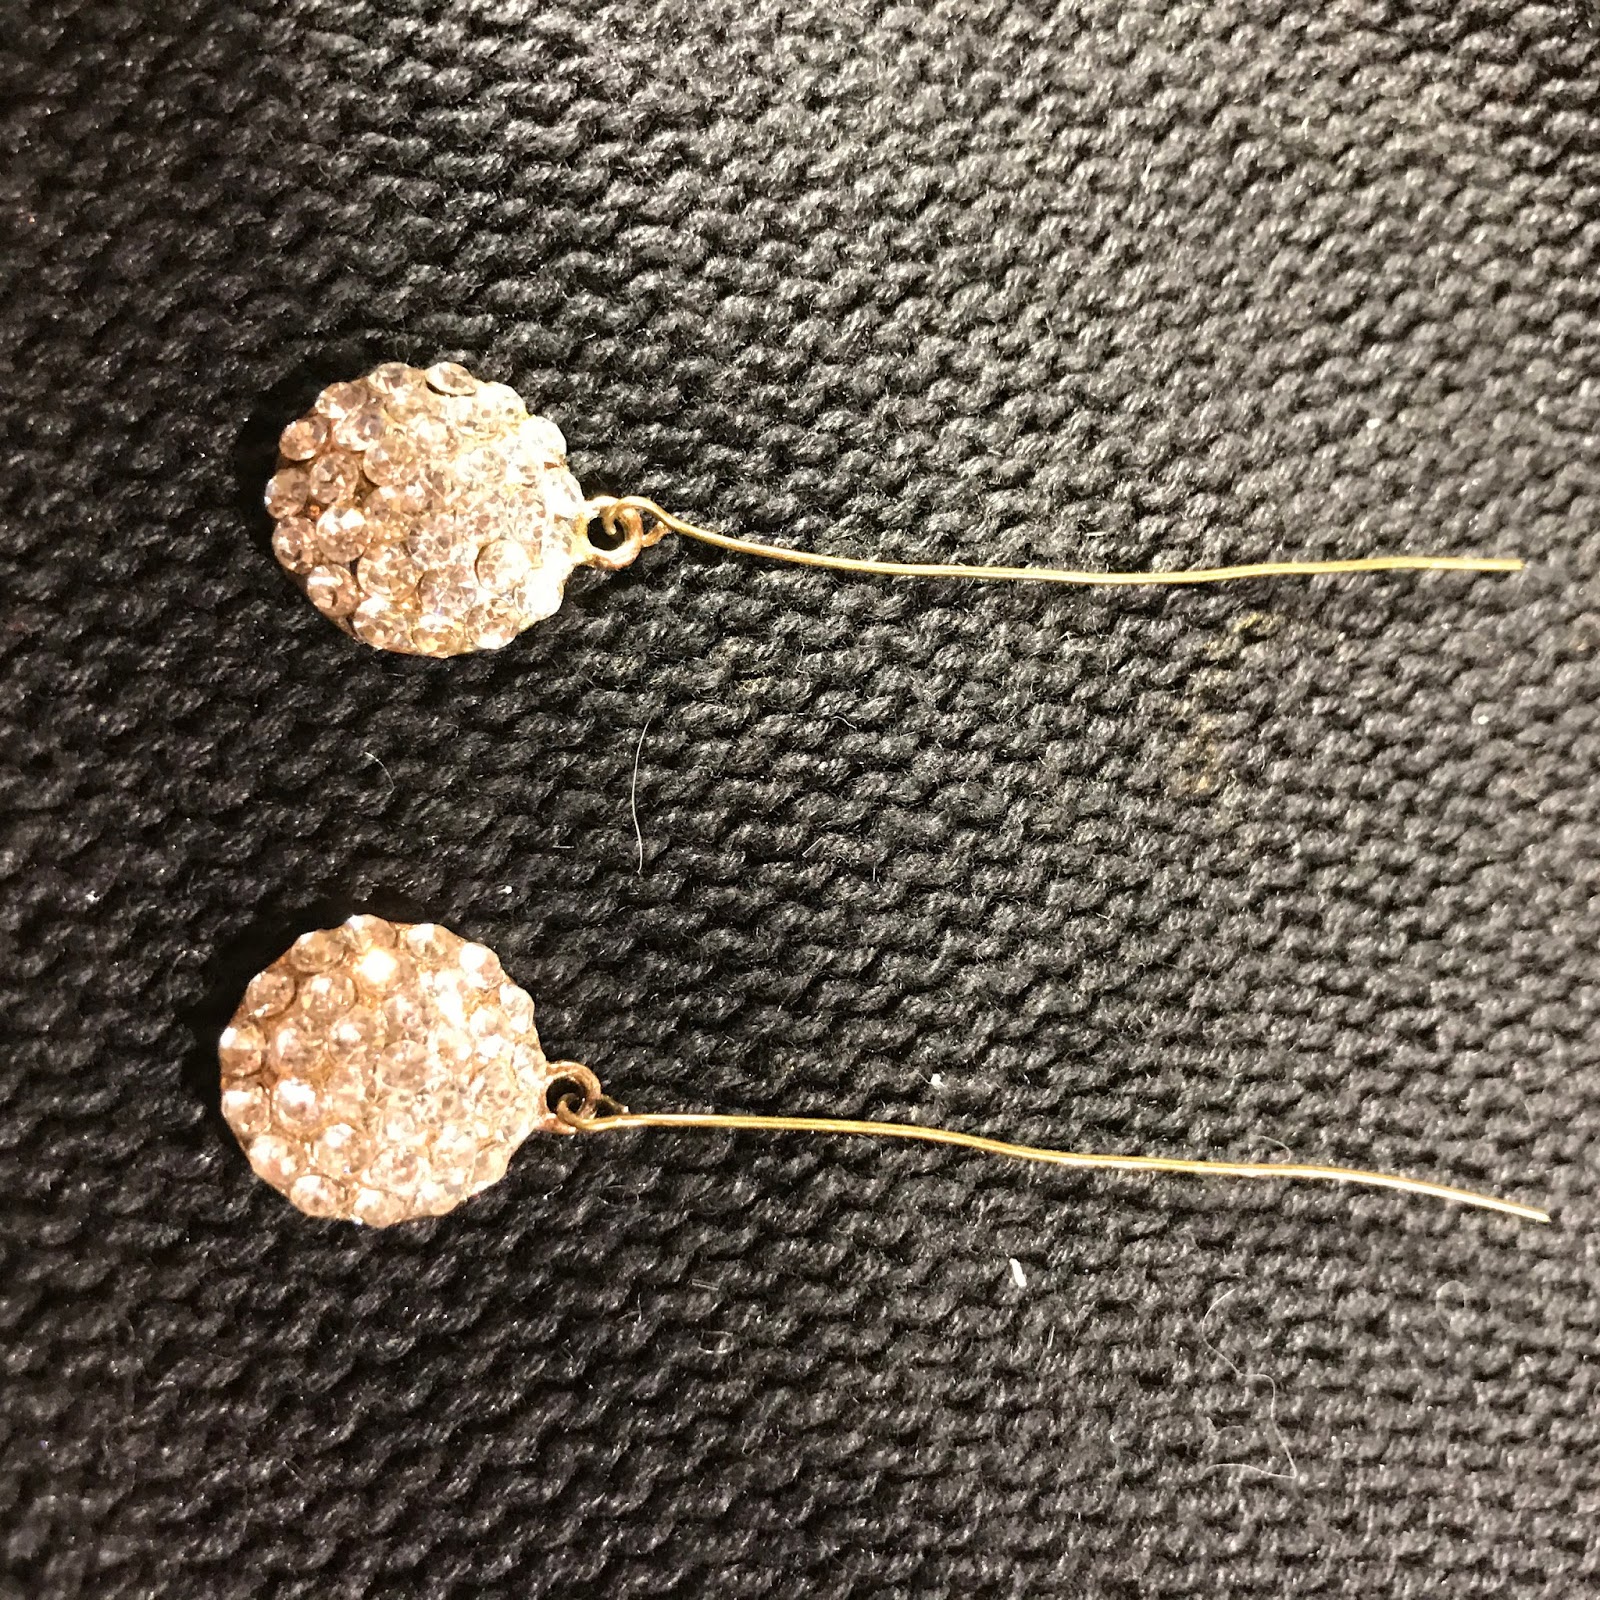
I also bought these little pieces of bling.  They were only $3.00 each.  The little round crown fits on an old bottle I bought a few months ago.  

 I decided to make a pair of earrings for the Holiday Season from the round rhinestone balls. Haven't decided how I will use the crown pin, yet.


I went to my stash and gathered a few items.


I began with the rhinestone balls for the bottom piece.


And added to them from there.

They look like just the thing for this time of the year.


Happy Crafting!


Wednesday, December 20, 2017

Bushel Basket Makeover.


I have a couple of bushel baskets I have had hanging around the garage for at least 40 years.  I finally found a use for one of them this year. I am using it as a container for my Christmas tree.

I know 40 years.  But when you find something really neat but don't have a use for it but just can't bring yourself to toss it out, it just sits collecting dust until just a the right project comes along.

I found these baskets in an old barn that belonged to an early pioneer in the area where I grew up.  I never really payed much attention to them.  But this year when I decided to paint one I noticed a very faded stamp.  I can't quite make out the date but it is either 1898 or 1893.

So when I painted this basket I made sure not to paint over that stamp, instead I covered the area with a clear acrylic varnish to preserve the area.


I decided to paint it white and a blue green.


I painted the vertical wood white making sure to leave some of the woodgrain visible.


The horizontal wood I painted with the blue green paint.  I am really happy the way it turned out.


And here it is with our 4 foot tree sitting in the basket.


I have both sitting on my curbside find trunk I also repainted.


Happy Decorating!


Monday, December 18, 2017

Handmade Christmas Ornaments


This year I decided to decorate for Christmas using white, green and pearls.

I started by creating some new handmade ornaments.

First I ordered some blank wooden ornaments to form the base. They came in a pack of 25.  For this project I only used 12.


The first thing I did was to paint front and back of each ornament with white acrylic paint.

Then I went to Pinterest and found 12 vintage style black and white images sized to fit the wooden ornaments, printed 6 to a page and printed with my laser printer.  Using Mod Podge I glued one image to each ornament.  I didn't worry that the images didn't completely cover the entire ornament since I was going to partially cover them with paperclay molded pieces.


When the glue was dry I used sandpaper to sand off the excess paper and smoothed all the edges.


Then using paperclay and 3 different IOD moulds I made appliqués for the tops and bottoms of the ornaments.  I used the same mould for all the bottoms of the ornaments but used different moulds on the tops of the ornaments.

I just used parts of appliqués.  Filling just the portion I wanted to use with the paperclay.


I removed the appliqués from the moulds and using white glue I glued the appliqués to the ornaments.  While the appliqués were wet I used the wooden end of a fine point paint brush to make the top hole.


The next thing was to let the appliqués dry and them paint the paperclay white.  Once I had the appliqués painted I mixed water with the white paint to make a wash and quickly washed the images and rubbed off most of the white to give the images a softer look.  Image on the left is before the wash.


Next I made a gray wash and applied that to the paperclay appliqués and immediately rub the wash off the raised areas.  Image on left is before gray wash.


Next I applied two shades of glitter to the sides of each ornament.  I ran a bead of white glue down each side and sprinkled with the glitter.


I let everything dry then cut about 8" of silver gray ribbon to make hangers for each ornament.


I made a few more paperclay ornaments the same way.  Moulded the clay, removed from mould, let it dry, painted white, but this time I rubbed the raised areas with silver Rub N Buff. Then added glue to the centers and sprinkled with glitter.  Next I cut off a few pieces from lace in my stash and hot glued to the bottom of each ornament.


IOD Mould


For these I add pink checks and lace medallions to the dried ornaments.  Again I made a hole in the center top with the wooded end of a fine point paint brush to create the hole for hanging while the clay was wet.


And here they are hanging on our tree.


Happy Crafting!