Showing posts with label metal. Show all posts

Thursday, January 18, 2018

DIY Metal Cloche


I have been seeing the metal screen cloche everywhere.  Then I saw a way to make one on Pinterest using a metal downspout strainer. I thought they were so cute but too expensive to buy retail.  Time to get crafty.


I began by wiring the opening along the back together on the strainer,  next I gently pushed and pulled the strainer into an bell or cloche shape.


I used my IOD mould  and paper clay to form a medallion in which I removed the center, making room to add the Tim Holtz crystal knob.  


Then I screwed the knob and medallion to the top and painted the medallion and strainer with a copper colored acrylic paint.  On the new cloche wire I painted the wire with a hit and a miss application, not covering the entire wire.  Leaving parts of the silver wire showing to give an aged appearance, you could also spray paint the entire piece white or black.  


I shaped the bottom of the edge to fit a couple of candy dishes I own.  One red and clear and the other blue.

This little Hummel figurine belonged to my hubby's mother.  It fits perfectly.


Here is a little blue angel in the blue dish.


It even looks good all by itself just sitting on the table.

And best of all the whole Cloche cost under $5.00.


Happy Crafting!


SaveSave

Thursday, February 2, 2017

Painted Spring Candleholder


It is so hard to believe we are already in the month February.  Although yesterday felt like a Spring day with temperatures in the 60's.  Today we are back to cooler and cloudy weather with rain in the forecast for later this week.

A few week ago I found this funny little metal candle holder at a thrift sale, I think I paid $1.00.  I immediately thought it would be gorgeous painted for Spring in soft pastels with a few crystals added.

You can see it in the background of the photo below.


Here is a better shot after I added 4 wooden beads to cover the screw threads beneath the cups that hold the candles.  There was probably some sort of large bead here originally.

When I first spotted it I thought it reminded me of cherry blossoms.


So I began by painting the entire piece white and letting it dry.


Next I painted the petals of the flowers soft pink and the leaves a soft green.  I also painted the wooden beads at the top pink and green


Then I hung a few chandelier icicle shaped crystals on the branches.


Then tied a pouf of nylon netting to the base of the branch and fluffed it out.


And lastly I added a pair of bobeches with crystals to the candle cups.

I will probably use this as part of my Easter centerpiece this year.

So happy that it turned out the way I envisioned.


before


after


Happy Crafting!


Friday, November 6, 2015

Altered Mini Metal Box Broach/Pin


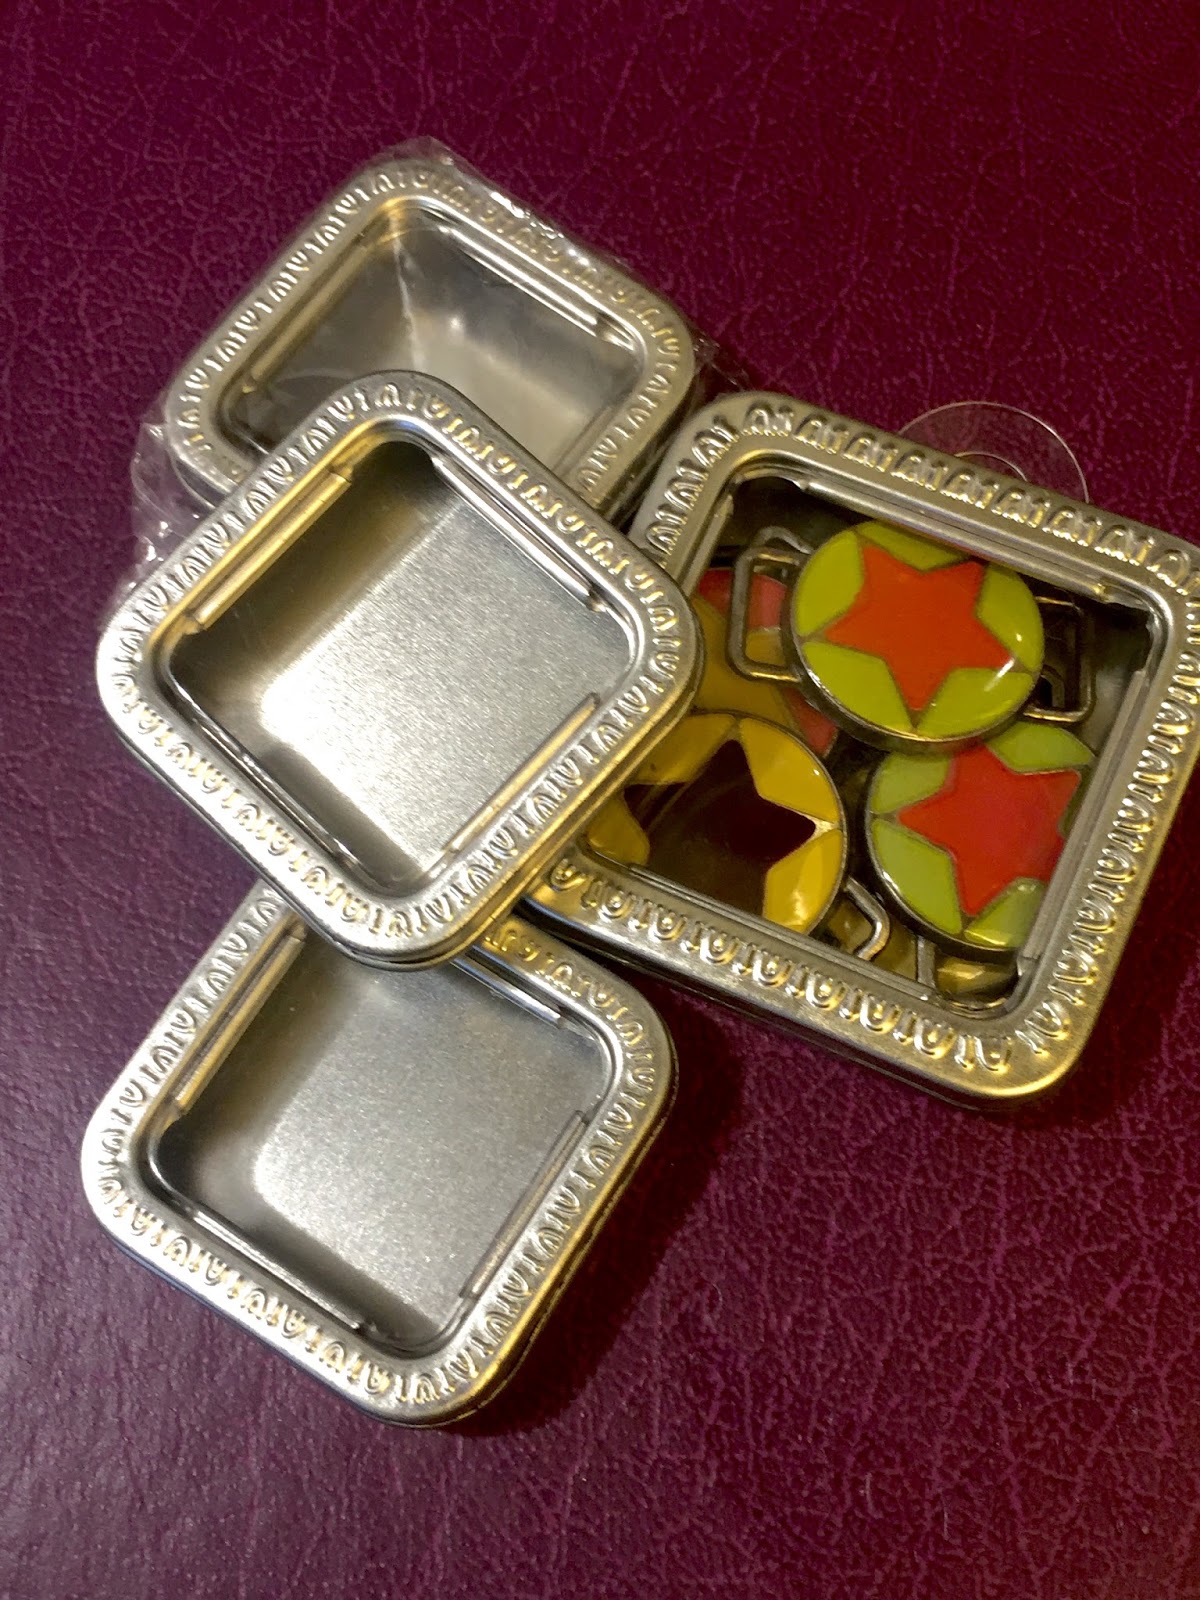
What do you do with all the little metal boxes that craft supplies come in?

Have at least a dozen of these in 2 different sizes.  Some empty, some full of craft items.

Well, I decided to make a broach with one of them.  I used the  smaller size which is about a 2" square.  They all come with a plastic window.


First off, if you like, remove the plastic window.  Just punch a hole in it and grab it with a pair of pliers and tear it out.  It removes pretty easily.
  This make your image more visible.

Then find an image you like.  I printed one off Pinterest, using a small enough setting on my printer to fit inside the bottom of the box.  You need to remember the lid has a lip that covers part of the opening, so make sure your image fits the opening of the lid.


Next find a tiny piece of scrapbook paper that compliments your image and glue that to that inside bottom of the box.  Mine was green with tiny white flowers.  Carefully cut around your image and center it in the bottom of the box elevating it on a dimensional glue tab.  This gives your picture some depth.

I chose to give my image a little bling with Stickles glitter round her hat and 2 tiny amber colored rhinestones for earrings.

At this point you can glue any embellishments that match your image.  I decided to use 3 very tiny pink rosebuds to form her bouquet.

Next you will want to glue the lid onto the bottom of the box.  And cover the seam.  Here I used a pale violet velvet rick rack.  On the back of the box I used hot glue to attach the pin mechanism to the box, making sure some of the glue oozed through the openings on the pin back.  This will give it more of a holding power.  You could also use jewelry glue or E6000.


For more bling I glued 2 rows of tiny clear rhinestones strips around the lip on the top of the box.
Then added a tiny scrap of white lace to the bottom corner and a small pink flower.


Love the vintage image of the girl and her hat.  
Now she is ready to adorn my coat or scarf this winter.


Happy Crafting!