Here I collected a variety of items to create a shabby chic crown.
A wooden die cut, metal filigree piece, some bling and a piece of metal trim.

I began by forming the metal trim into a circle about 4" in diameter and held it in place with a clip until it dried.

For the little piece of filigree I simply gave it a slight curve to match the bend of the metal.

I know, now of these items match. But it really doesn't matter because when it is all put together I will paint the pieces to match.
Here I used a piece of wide ribbon to glue to the back of the die cut and cut holes in the open areas for later bling.

Then it was time to assemble the crown by gluing all the pieces together. Once the glue was dry I gave the entire crown a coat of pink chalk paint.

Then I glued a rhinestone into each open area.

Next I sanded the metal to distress it and glued the long piece of bling around the bottom of the metal edge.

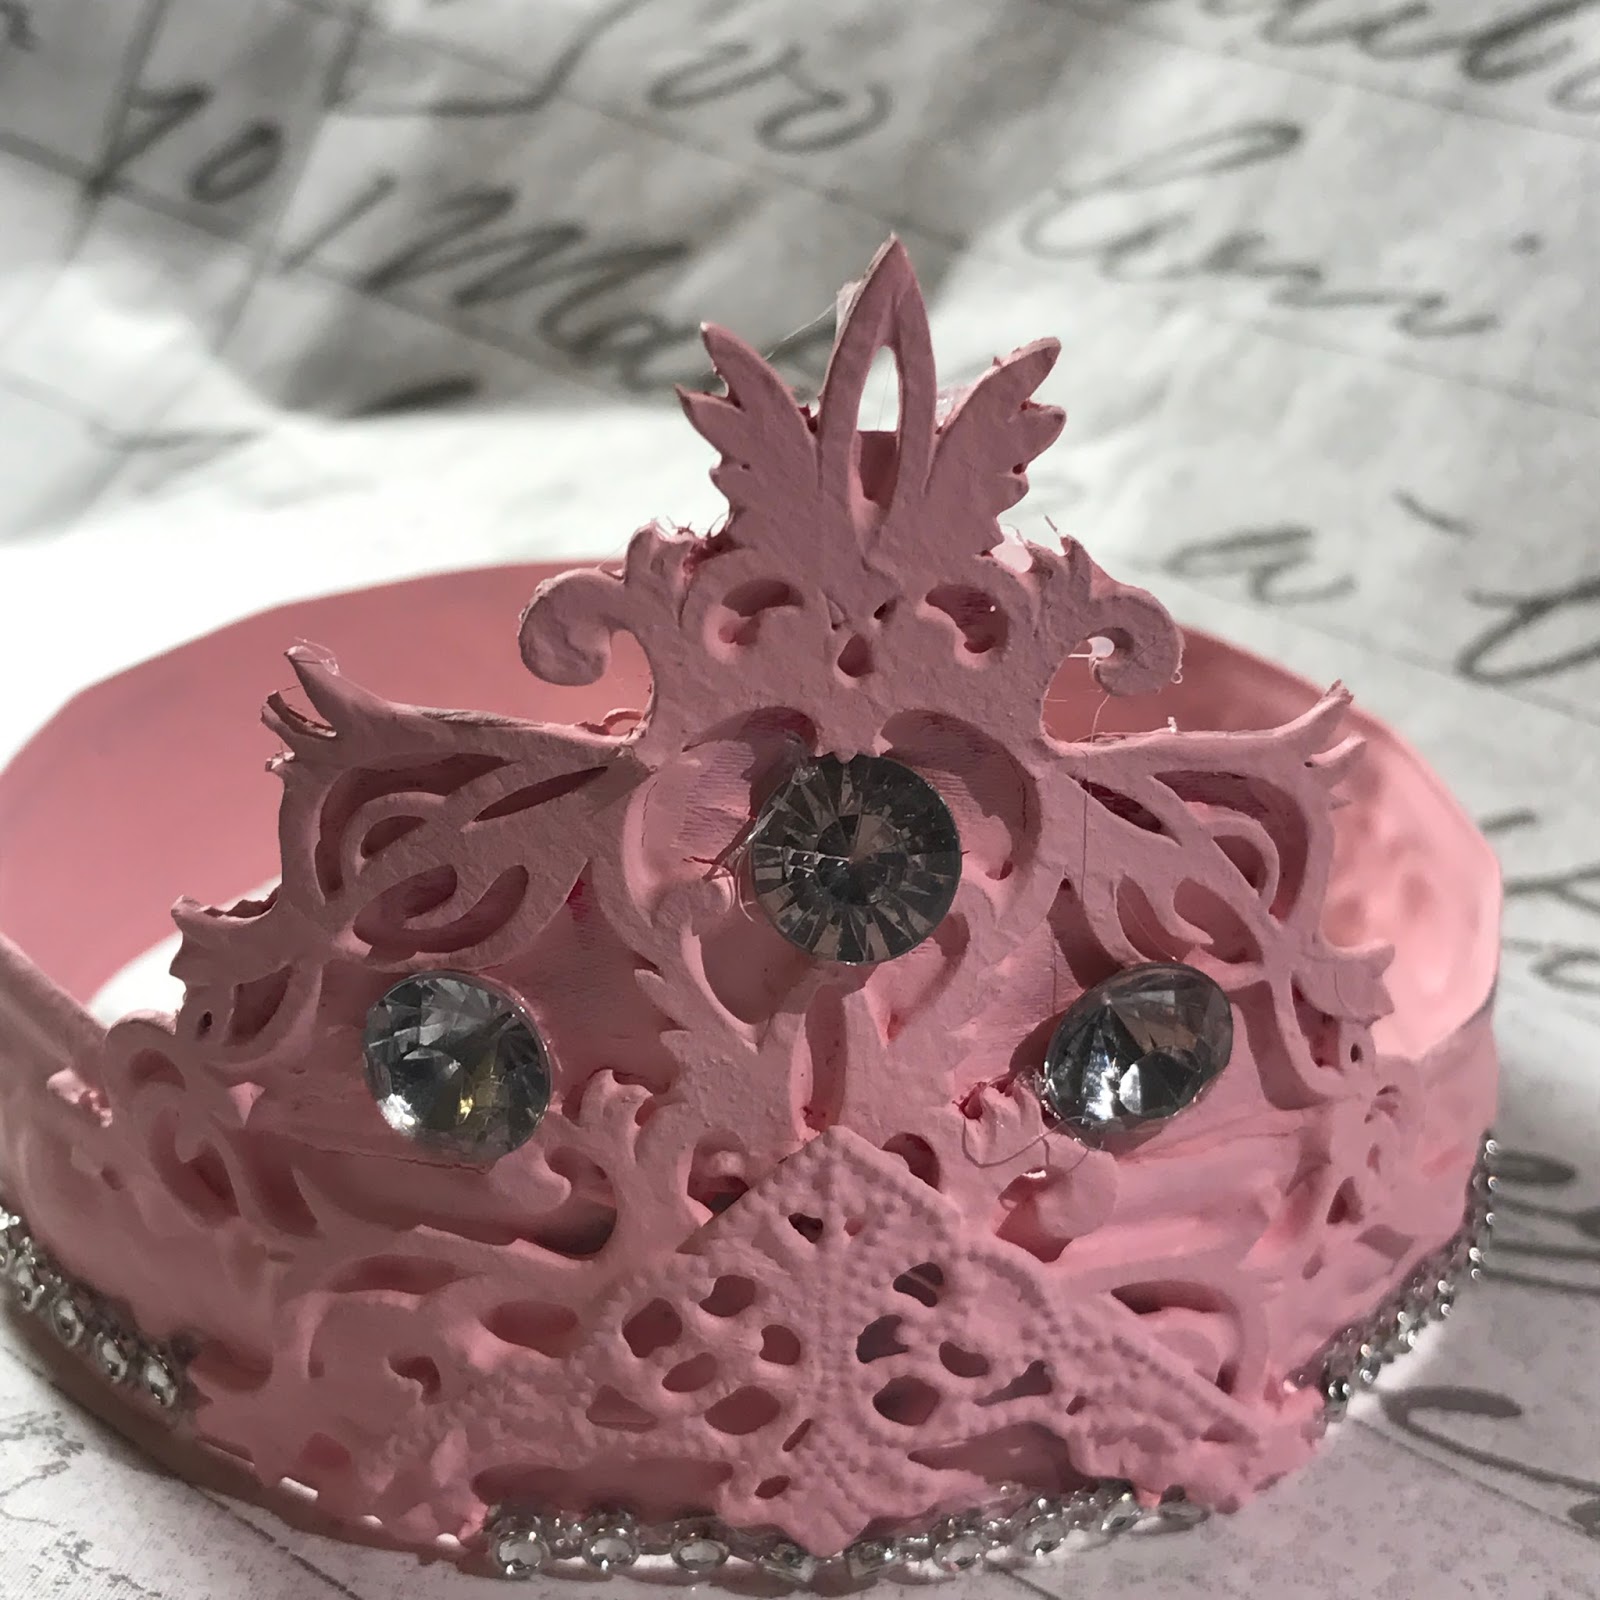
Once it was completed all the different elements blended into each other forming the little pink crown.

Here I placed it on a female bust in a small vignette. You can see a silver shaker in the foreground I turned into a picture or memo holder. I love it when I find a single shaker in the vintage stores. There are so many things you can make out of them. Like this holder or a tassel to hang from a knob, for example.
I am sure this little crown will find it's way to other areas around the house as the seasons change.

Happy Crafting!
No comments:
Post a Comment