This is a rather long post. There were many steps to this little makeover.
I have been looking for just the right birdcage at the right price to makeover for a long time.
Not too long ago I came across this green birdcage at a thrift store for under $5.00. This one is quite large over 2 feet tall and about 12 inches across.


Of course, the color was all wrong. After giving it a good washing I used a brush and painted the entire piece white using chalk paint. I really like the matte finish this paint left on the wire of the cage. It has a vintage appearance.

My idea was to make a light out of it with an over the top Marie Antoinette vibe.
Awhile back I also found this brand new set of placemats, napkins and napkin rings at another thrift store for $2.00 for the set of four, still sealed in the original box. I had no idea what I would use them for but just tucked them away for a future project. For this project I needed a sheer fabric. So, while going through my stash I figured these napkins would be perfect.

I used one napkin to cut out a circle to cover the top of the cage plus a seam allowance. And used 2 1/2 other napkins to sew to the circle for the side drapes. I stitched a large button hole in the center top for the hanging ring to slip through. Then I used one of the napkin rings on the top to cover the hanging metal ring.


Then I hung a string of crystals from the center inside and added a metal rhinestone crown to the top.


Now I am satisfied with my new light. It gives off a soft glow and the new little chandelier sparkles inside the cage from the light of the lamp.
I have it sitting on a little round table that forms its stand. Oh, I almost forgot I added another piece of gorgeous white lace hot glued to the bottom of the cage itself.
Yep, it turned out over the top. I could definitely image a piece like this in Marie Antoinette's room. A birdcage fit for a queen.


My idea was to make a light out of it with an over the top Marie Antoinette vibe.
Awhile back I also found this brand new set of placemats, napkins and napkin rings at another thrift store for $2.00 for the set of four, still sealed in the original box. I had no idea what I would use them for but just tucked them away for a future project. For this project I needed a sheer fabric. So, while going through my stash I figured these napkins would be perfect.

I used one napkin to cut out a circle to cover the top of the cage plus a seam allowance. And used 2 1/2 other napkins to sew to the circle for the side drapes. I stitched a large button hole in the center top for the hanging ring to slip through. Then I used one of the napkin rings on the top to cover the hanging metal ring.


Next I cut a piece of gorgeous lace to sew to the bottom hem.
 |
| lace and gold glitter ribbon |
The fabric had a loose enough weave I could slip a piece of wire through it to use as tiebacks on each side of the door. I twisted the wire on the inside to secure and formed the ends into loops to finish off the sharp ends of the wire.


Then I cut two piece of the gold glittered ribbon about 6 inches long. Pinching the center I slipped it under the wire tieback to form tales for the tassels that I applied next.


For the tassels I used two tasseled curtain tiebacks I bought at a Gypsy Vintage Marketplace. I twisted the cord and hot glued it in place to form fleur d lis for each side cutting off the remaining cording. That left me with about 2 1/2 yards of pretty cording for another project.


I hot glued one tassel to each side of the tiebacks.

Then it was time to fill the inside of my cage. I tried several different arraignments. The main item I wanted to use was a small glass shaded lamp with crystals that had belonged to Mr. Gold rush gals mother's.
I added a few tiny vintage books, a gold tassel on the door, some dried roses and a white doily, plus a pair of high top doll shoes.

Then I hung a string of crystals from the center inside and added a metal rhinestone crown to the top.

But I didn't like the look, so I moved the roses up front and added a French styled figurine. That was better but still not right. What was I missing? Of Course, a chandelier. But where to get one. I thought maybe I could make one. Well that was another whole project.

I started by Googling paper chandelier pattern images and found the perfect sized piece.

I followed the instructions, cut 2 pieces from cereal box cardboard, stapled them together along the center and folded them to form an X pattern. I also caught a piece of string in the staples to hang the finished chandelier.

Next I painted the entire piece white and let that dry. As soon as the paint was dry I colored the tips of the candles with orange and yellow markers to resemble flames and covered the entire piece with Mod Podge and Fairy Dust glitter.

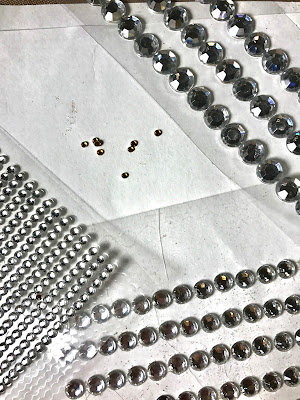
Once that was dry I added crystals to the piece and clear beads to form a little bling. The tiny amber crystal I glued to the tips of the flames.


Now I am satisfied with my new light. It gives off a soft glow and the new little chandelier sparkles inside the cage from the light of the lamp.
I have it sitting on a little round table that forms its stand. Oh, I almost forgot I added another piece of gorgeous white lace hot glued to the bottom of the cage itself.
Yep, it turned out over the top. I could definitely image a piece like this in Marie Antoinette's room. A birdcage fit for a queen.

Happy Crafting!
No comments:
Post a Comment