We have had two wonderful days of gentle rain. According to today's newspaper, last year was the driest winter in 500 years. I hope this rain is a sign of a better winter to come.
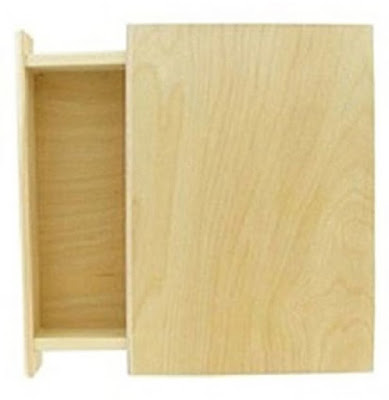
For today's project I finished this wooden book. Doesn't look like much at first glance but when completed it will hide in plain site in any bookshelf. A good place to stash something you don't want out in the open.
You can find these wooden book boxes at craft stores or online.
I found an old book in a second hand store that the front and back covers weren't in the best shape but the spine was the right size to fit the spine of my box. Carefully cut the spine off the book. I saved the covers and pages for other projects.
You start by painting the top and bottom edges of the box spine to match your book spine. Next glue the book spine to the front of the drawer. (Box spine). I left as much of the soft edge of the spine attached as I could to give me something to glue to the wooden spine. That edge you wrap around the edge of the drawer and glue in place covering the wooden edge of the drawer.

Find yourself a scrapbook paper to match you book spine. Paint the edges of the box to match the scrapbook paper with acrylic paint. When the paint is dry glue the paper to the front and back of the box. Next when your paper is dry give it a light coat of Mod Podge, if you like, to make it durable.
I found a washi tape in the same color family and applied that to the inner exposed edged of the book cover. You can just see a bit of the chevron pattern peeking out on the lower edge in the following photo. It gives the inside edge of the box the look of having end papers inside the cover just like real books have.

I had some tan packing paper, it's thinner than copy paper, that I cut the same length as the top, bottom and front edges of the book and about 1 1/4 times as wide. Here you apply a liberal amount of Mod Podge to all the sides of the box (book pages). Next, roughly accordion fold and scrunch the paper lengthwise and apply to the edges to resemble the pages of a book. When that is dry lightly distress with a brown distress ink for an aged look. Another idea would be to photo copy the edge of a real book and apply the image as your book pages. I like the texture the scrunched paper gave. Old books don't have smooth neat edges on their pages.

For the inside choose a coordinating paper and cut strips to glue around the 4 sides and 1 piece for the bottom. Again, when that was dry I lightly coated the entire inside with Mod Podge.

Here is the finished book box.
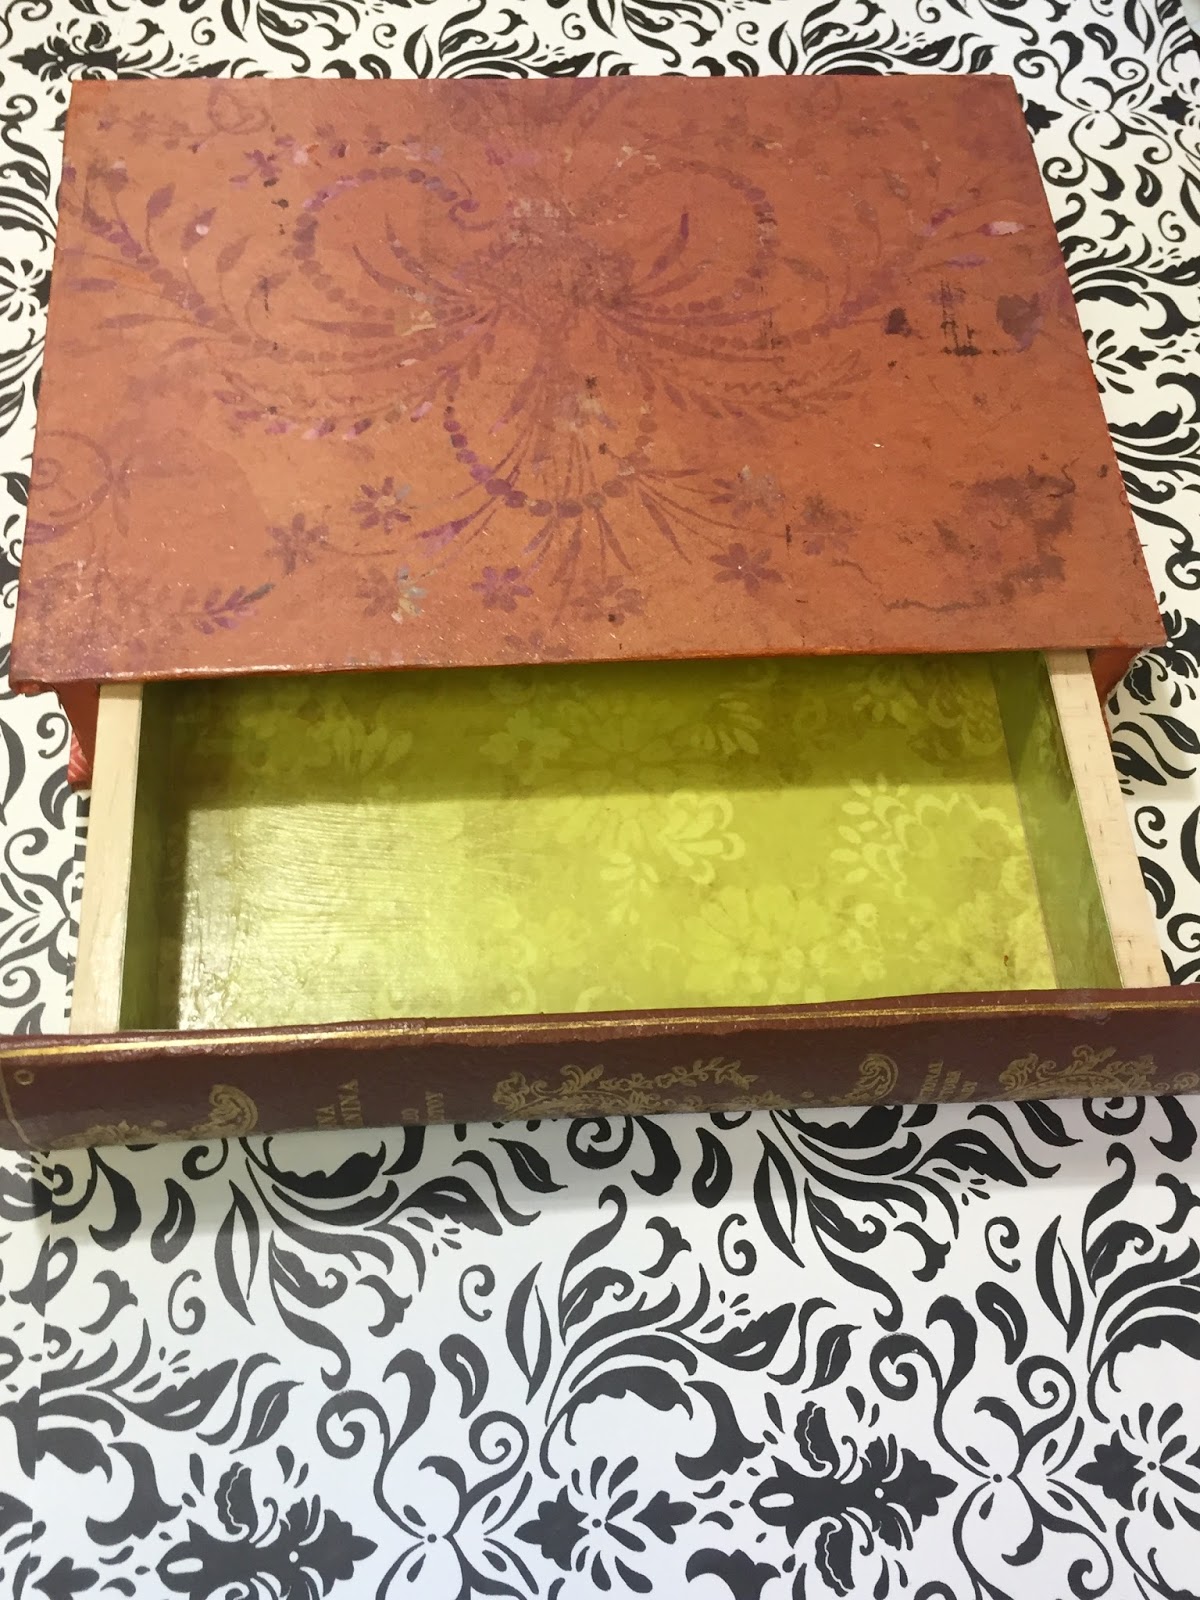
And when it is put in a bookcase with other books no one can tell it is a book with a hidden drawer.

Happy Crafting!
No comments:
Post a Comment